

4 Free Fertilizers You Probably Have at Home – and How to Use Them Like a Pro
Discover how to turn common kitchen scraps like juice pulp, pasta water, Epsom salt, and coffee grounds into powerful, organic fertilizers. Perfect for Canadian home gardeners looking to nourish their plants without spending a dime.

Discover how to turn common kitchen scraps like juice pulp, pasta water, Epsom salt, and coffee grounds into powerful, organic fertilizers
Whether you’re tending a balcony herb garden in downtown Vancouver or a backyard veggie patch in the suburbs, one thing’s for sure: healthy soil = happy plants.
As someone who’s been in landscaping for 25 years and helping customers grow at DH Garden Centre for over a decade, I’ve seen many folks overspend on fertilizers—when the best ones are sitting right in their kitchen.
Let me show you 4 powerful, completely free fertilizers you probably already have at home. More importantly, I’ll guide you on how to use them the right way, what plants they’re best for, and how to avoid common mistakes.
1. 🍊 Juice Pulp — A Sweet Treat for Your Soil
What is Juice Pulp?
Juice pulp is the fibrous residue left behind after extracting juice from fruits and vegetables—what’s usually tossed in the compost bin or worse, the trash. But don’t be too quick to throw it away! This so-called “waste” is actually a nutrient-rich organic material that your garden soil will love.
When you use a juicer at home, you’re separating the liquid from the solids—but what’s left behind is loaded with insoluble fiber, trace minerals, and beneficial plant enzymes that can dramatically boost your soil’s health when used the right way.
Why Juice Pulp Works as a Fertilizer
Juice pulp acts as a natural soil conditioner and fertilizer, helping in multiple ways:
-
Organic Matter Boost: It adds valuable bulk to your soil, improving soil aeration and encouraging strong root development.
-
Microbial Activity: The sugars and enzymes in the pulp feed beneficial microbes, which in turn break down organic material into nutrients your plants can absorb.
-
Improved Moisture Retention: The fibrous texture of pulp helps sandy or fast-draining soils retain more water—especially helpful during Vancouver’s warmer months.
This makes it a smart, sustainable choice for gardeners who want to enrich their soil naturally, without reaching for synthetic fertilizers.

This makes it a smart, sustainable choice for gardeners who want to enrich their soil naturally, without reaching for synthetic fertilizers.
How to Use Juice Pulp in the Garden
There are several effective ways to apply juice pulp as fertilizer, depending on your setup and plant needs:
1. Compost It (Best for Long-Term Soil Building)
Add juice pulp to your compost bin or pile as a “green” component. It’s high in nitrogen and breaks down quickly, especially when balanced with “browns” like dry leaves, shredded paper, or straw. After a few weeks, you’ll have rich, crumbly compost ready to nourish your garden beds.
Tip: Mix it in evenly to prevent flies or bad odors. If you’re composting citrus-heavy pulp, balance it with extra browns to neutralize acidity.
2. Apply as a Direct Mulch (For Quick Soil Feeding)
Mix fresh pulp into the top few inches of your garden soil or raised beds. You can also spread a thin layer around your plants and top it with a light mulch (straw, dry leaves, or bark) to keep pests away and promote faster decomposition.
Warning: Don’t leave pulp exposed on the soil surface—it may attract ants or fruit flies.
3. Make a Liquid Fertilizer or “Compost Tea”
Blend 1 part pulp with 3 parts water in a blender. Strain the mixture through a cheesecloth or fine mesh, then use the liquid to water your plants at the base or apply as a foliar spray to feed through the leaves.
This method delivers nutrients fast and is perfect for container gardens and balcony planters.
Best Plants for Juice Pulp Fertilizer
Juice pulp is especially beneficial for fast-growing, nutrient-hungry plants such as:
-
🥬 Leafy greens: lettuce, kale, arugula, Swiss chard
-
🌿 Culinary herbs: basil, mint, parsley, cilantro
-
🌺 Flowering plants: marigolds, pansies, calendula
-
🥕 Root crops (in composted form): carrots, beets, radishes
These plants thrive in soil rich in organic matter, and they’ll show visible improvement in color, growth rate, and leaf size when fed with nutrient-boosted pulp.

Juice pulp is especially beneficial for fast-growing, nutrient-hungry plants
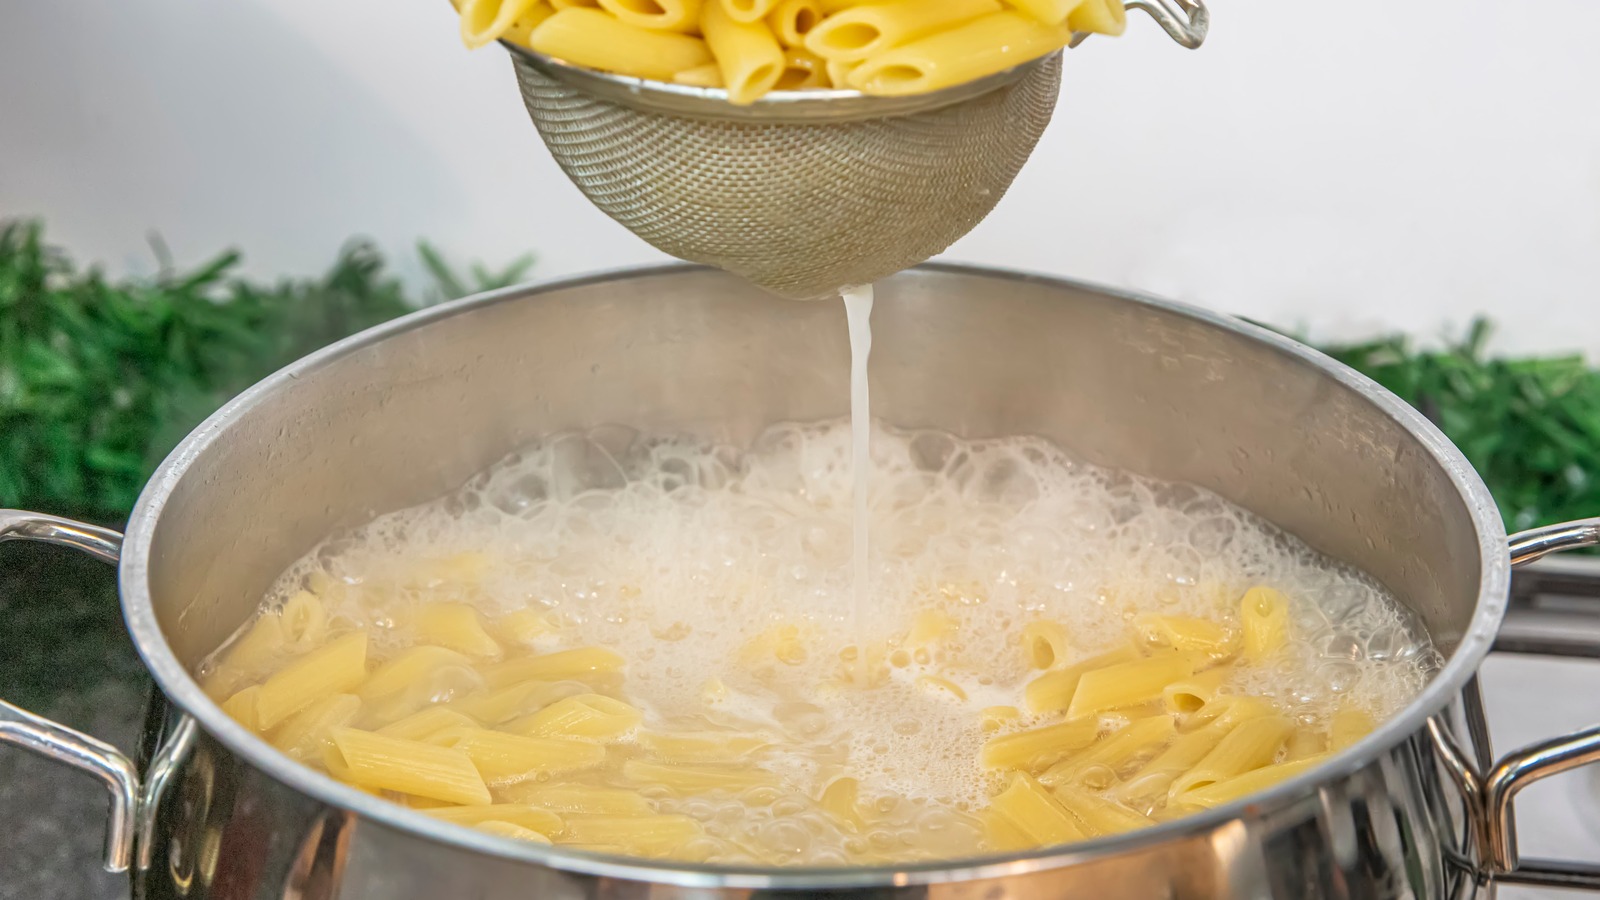
2. 🍝 Pasta Water — The Starchy Secret for Plant Boosts
What Is Pasta Water?
Pasta water is the starchy, nutrient-rich liquid left over after boiling pasta—and yes, that includes rice or potatoes too. Most of us pour it down the drain without a second thought. But in the garden, this humble by-product becomes a gentle, organic fertilizer that feeds your soil and supports healthy plant growth—especially in potted plants and raised beds.
If you’re trying to grow organically, reduce waste, or just give your plants a natural boost without buying commercial fertilizer, unsalted pasta water is one of the easiest homemade solutions out there.
Why it works:
When cooled, pasta water is a gentle elixir filled with starch and trace minerals like calcium, potassium, and zinc—perfect for feeding soil microbes.
When cooled, pasta water is a gentle elixir filled with starch and trace minerals like calcium, potassium, and zinc—perfect for feeding soil microbes.
🌿 How to Use Pasta Water in the Garden
Using pasta water is simple—but there are a few key guidelines to follow for maximum benefit and plant safety:
1. Let It Cool Completely
This is non-negotiable. Pouring hot pasta water on soil can kill beneficial microbes and damage plant roots. Always let it reach room temperature before applying.
2. Use Only Unsalted, Oil-Free Water
Salt is harmful to plants—it dries out roots and disrupts the soil’s natural nutrient balance. If you’ve added salt or cooking oil to your water, don’t use it on your plants. Salted pasta water can, however, be repurposed to kill weeds in your driveway cracks or patio joints.
3. Apply Around the Root Zone
Pour the cooled, unsalted pasta water directly into the soil around your plants’ roots. Do this every 2 to 3 weeks during the active growing season for a gentle mineral boost.
4. Avoid Overwatering
Use pasta water in place of your regular watering to avoid oversaturating your soil. It’s not a daily ritual—it’s a periodic supplement.
Best Plants for Pasta Water Fertilizer
Because of its mild nature, pasta water is a great fit for more delicate or compact growing environments:
-
🪴 Houseplants: Spider plants, pothos, peace lilies, ZZ plants, and ferns all appreciate the extra nutrients.
-
🫑 Container-grown vegetables: Tomatoes, peppers, cucumbers, and lettuce in pots or grow bags.
-
🌱 Seedlings and young transplants: A diluted dose encourages healthy root development and leaf growth during early stages.
These plants often live in limited soil volumes, where nutrients get used up quickly. Pasta water offers a natural top-up without the risk of over-fertilizing.

Because of its mild nature, pasta water is a great fit for more delicate or compact growing environments
⚠️ Pro Tips for Safe & Effective Use
-
Only use once every 2–3 weeks. Frequent application can lead to excess microbial activity or soggy soil.
-
Use it immediately after it cools. Don’t store pasta water for too long—it can ferment and attract unwanted bacteria.
-
For extra benefit, combine it with compost tea. This adds even more microbial diversity to your soil!
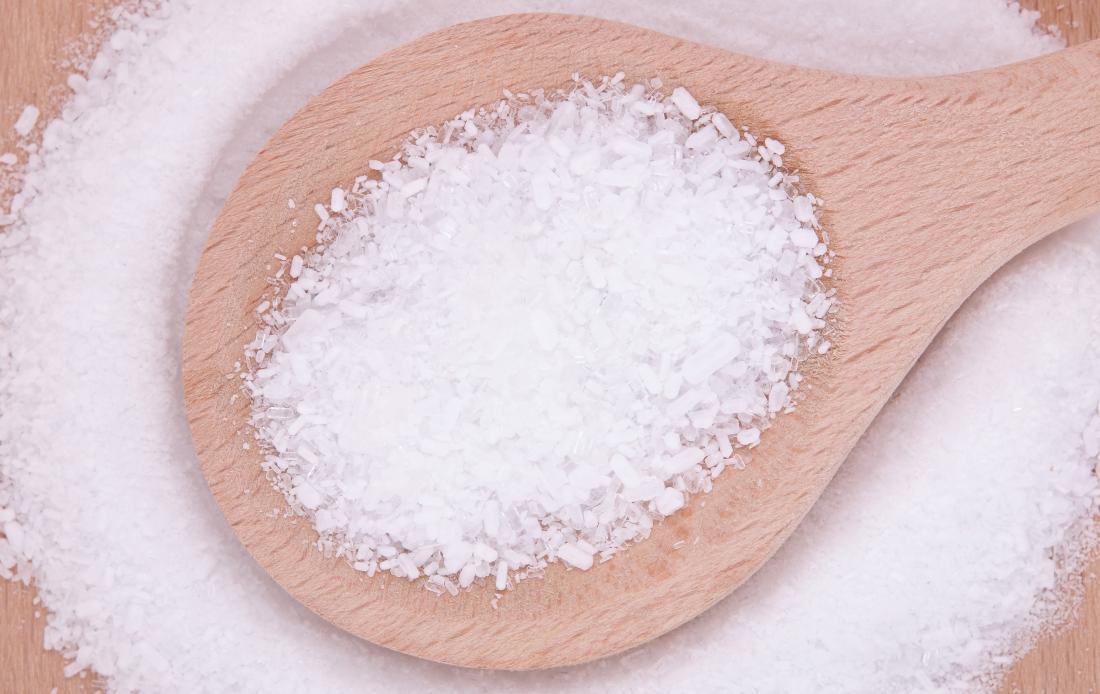
3. 🧂 Epsom Salt — The Unsung Hero for Greener Growth
What it is: Magnesium sulfate—a naturally occurring mineral compound.
Why it works:
Magnesium boosts chlorophyll production, which means greener, healthier plants. Sulfate improves nutrient uptake, making this especially helpful during the growing season.
4. ☕ Coffee Grounds — A Rich, Earthy Nitrogen Boost
What it is: Used coffee grounds from your morning brew.
Why it works:
Rich in nitrogen, coffee grounds improve soil fertility and attract earthworms—nature’s best soil aerators.
How to use:
-
Dry them out first. Wet grounds clump and can go moldy. Spread them to dry before use.
-
Mix with compost or mulch: Combine with carbon-rich browns like leaves or shredded paper.
-
Sprinkle lightly: Around acid-loving plants or mix into the top few inches of soil.
Best for: Blueberries, hydrangeas, azaleas, spinach, carrots, strawberries.
Pro tip: Go easy—too much coffee can lower your soil’s pH and overload it with nitrogen. A light hand, once a month, is enough.

Rich in nitrogen, coffee grounds improve soil fertility and attract earthworms—nature’s best soil aerators.
What to Avoid When Using These Free Fertilizers
-
Overuse. Even natural fertilizers can cause nutrient imbalances. Stick to monthly or bi-weekly applications unless plants show deficiency.
-
Mixing incompatible materials. For example, don’t apply Epsom salt and nitrogen-heavy coffee grounds at the same time—it can overwhelm young plants.
-
Ignoring plant preferences. Know which plants like acidic vs. neutral soil, and tailor your fertilizer accordingly.
🌿 Frequently Asked Questions (FAQ)
1. Can I mix all four fertilizers together and use them at once?
It’s best not to mix them all at once. Each of these free fertilizers serves a different purpose and works best when applied based on your plant’s specific needs. For example, Epsom salt adds magnesium, while coffee grounds increase nitrogen—used together in excess, they could cause nutrient imbalance. Apply them separately and monitor how your plants respond.
2. Is it safe to use these homemade fertilizers for indoor plants?
Yes! All four options—juice pulp, pasta water (unsalted), Epsom salt, and dried coffee grounds—can be used for indoor plants when applied in moderation. Just make sure you’re not overwatering, and keep an eye out for pests that might be attracted to food-based fertilizers like juice pulp.
3. Will juice pulp attract ants or flies to my garden?
It can if you apply it directly and leave it uncovered. To prevent pests, always mix juice pulp into the soil or compost it before use. You can also lightly cover it with mulch to keep insects away and help it break down more efficiently.
4. How often should I fertilize with Epsom salt or coffee grounds?
-
Epsom salt: Once every 2–4 weeks is usually enough.
-
Coffee grounds: Once a month in small amounts. Too much can make soil overly acidic or water-retentive.
5. Can I use pasta water if I added salt to it?
No—never use salted pasta water on your plants. Salt dehydrates roots and kills beneficial microbes. Only use unsalted, cooled-down pasta water.
6. Are these fertilizers safe for vegetable gardens?
Absolutely. In fact, they’re fantastic for vegetable gardens when used correctly. Juice pulp and coffee grounds add nutrients, Epsom salt improves fruiting in tomatoes and peppers, and pasta water gently boosts root growth.
7. Do coffee grounds repel or attract pests?
They do both. Coffee grounds can repel slugs and snails thanks to their texture and caffeine content, but if left damp in excess, they might attract fungus gnats. Always dry your grounds before applying and use them sparingly.
8. Can I use these fertilizers during the winter months?
In winter, plant activity slows down—so hold off on fertilizing most indoor or dormant outdoor plants. But composting your juice pulp or storing dried coffee grounds for spring? That’s a smart move.
Final Thoughts from Darrell at DH Garden Centre
Your garden doesn’t need expensive solutions. Sometimes, it just needs a little creativity—and a bit of compost magic from your kitchen scraps.
At DH Garden Centre, we’re passionate about helping you grow better, smarter, and more sustainably. Whether you’re growing lettuce on your windowsill or a food forest in your backyard, we’ve got the know-how (and the organic soil blends!) to support your journey.
Come visit us at 3742 West 10th Avenue, Vancouver, or browse our soil and compost collection online at dhgardencentre.com. Let’s grow something beautiful—together.