At DH Garden Centre in Kitsilano, we love helping customers bring timeless charm to their gardens, whether they have sprawling backyards or just a sunny little porch. One flower that never fails to turn heads and lift spirits is the hollyhock.
With its towering spires and old-fashioned elegance, the hollyhock is more than just a flower, it’s a statement. And here’s the best part: you don’t need a big garden bed to grow them.
Recently, one of our lovely customers asked:
“Can hollyhocks grow in pots? If planting from seeds, when to start and how deep? I have a sunny porch but it rains all winter.”
That inspired this blog post. So today, I’m answering her question and maybe yours, too.
Let’s dive into how to grow hollyhocks in pots or from seeds, even in rainy climates like Vancouver.
Why Grow Hollyhocks?
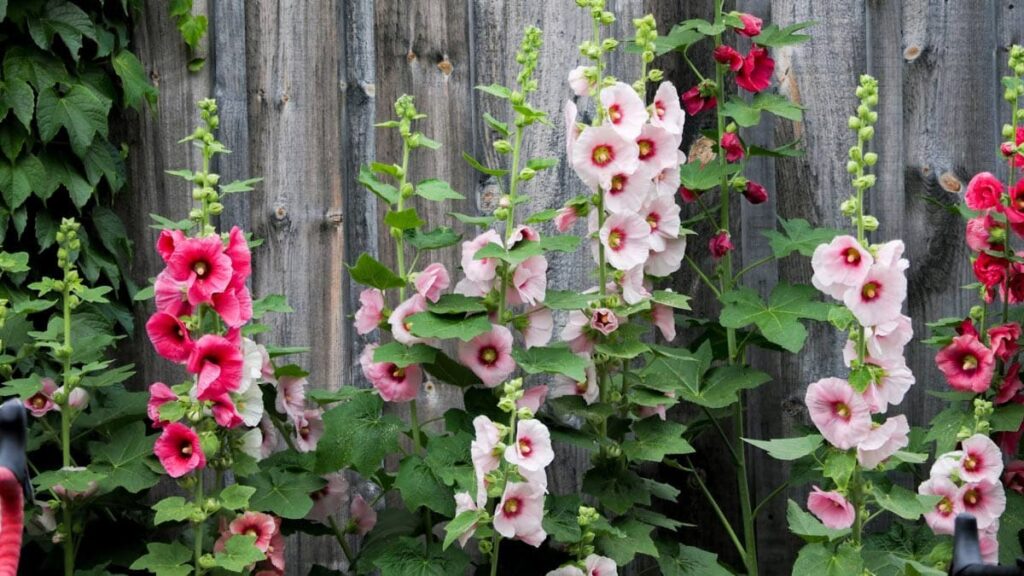
Hollyhocks (Alcea) are more than just tall flowers, they’re a throwback to cottage gardens, childhood memories, and old-world charm. With flower stalks that can reach up to 8 feet, they bring instant vertical drama to even the smallest spaces. Whether you’re working with a backyard bed or a sunny Vancouver porch, hollyhocks offer impact without needing much ground space.
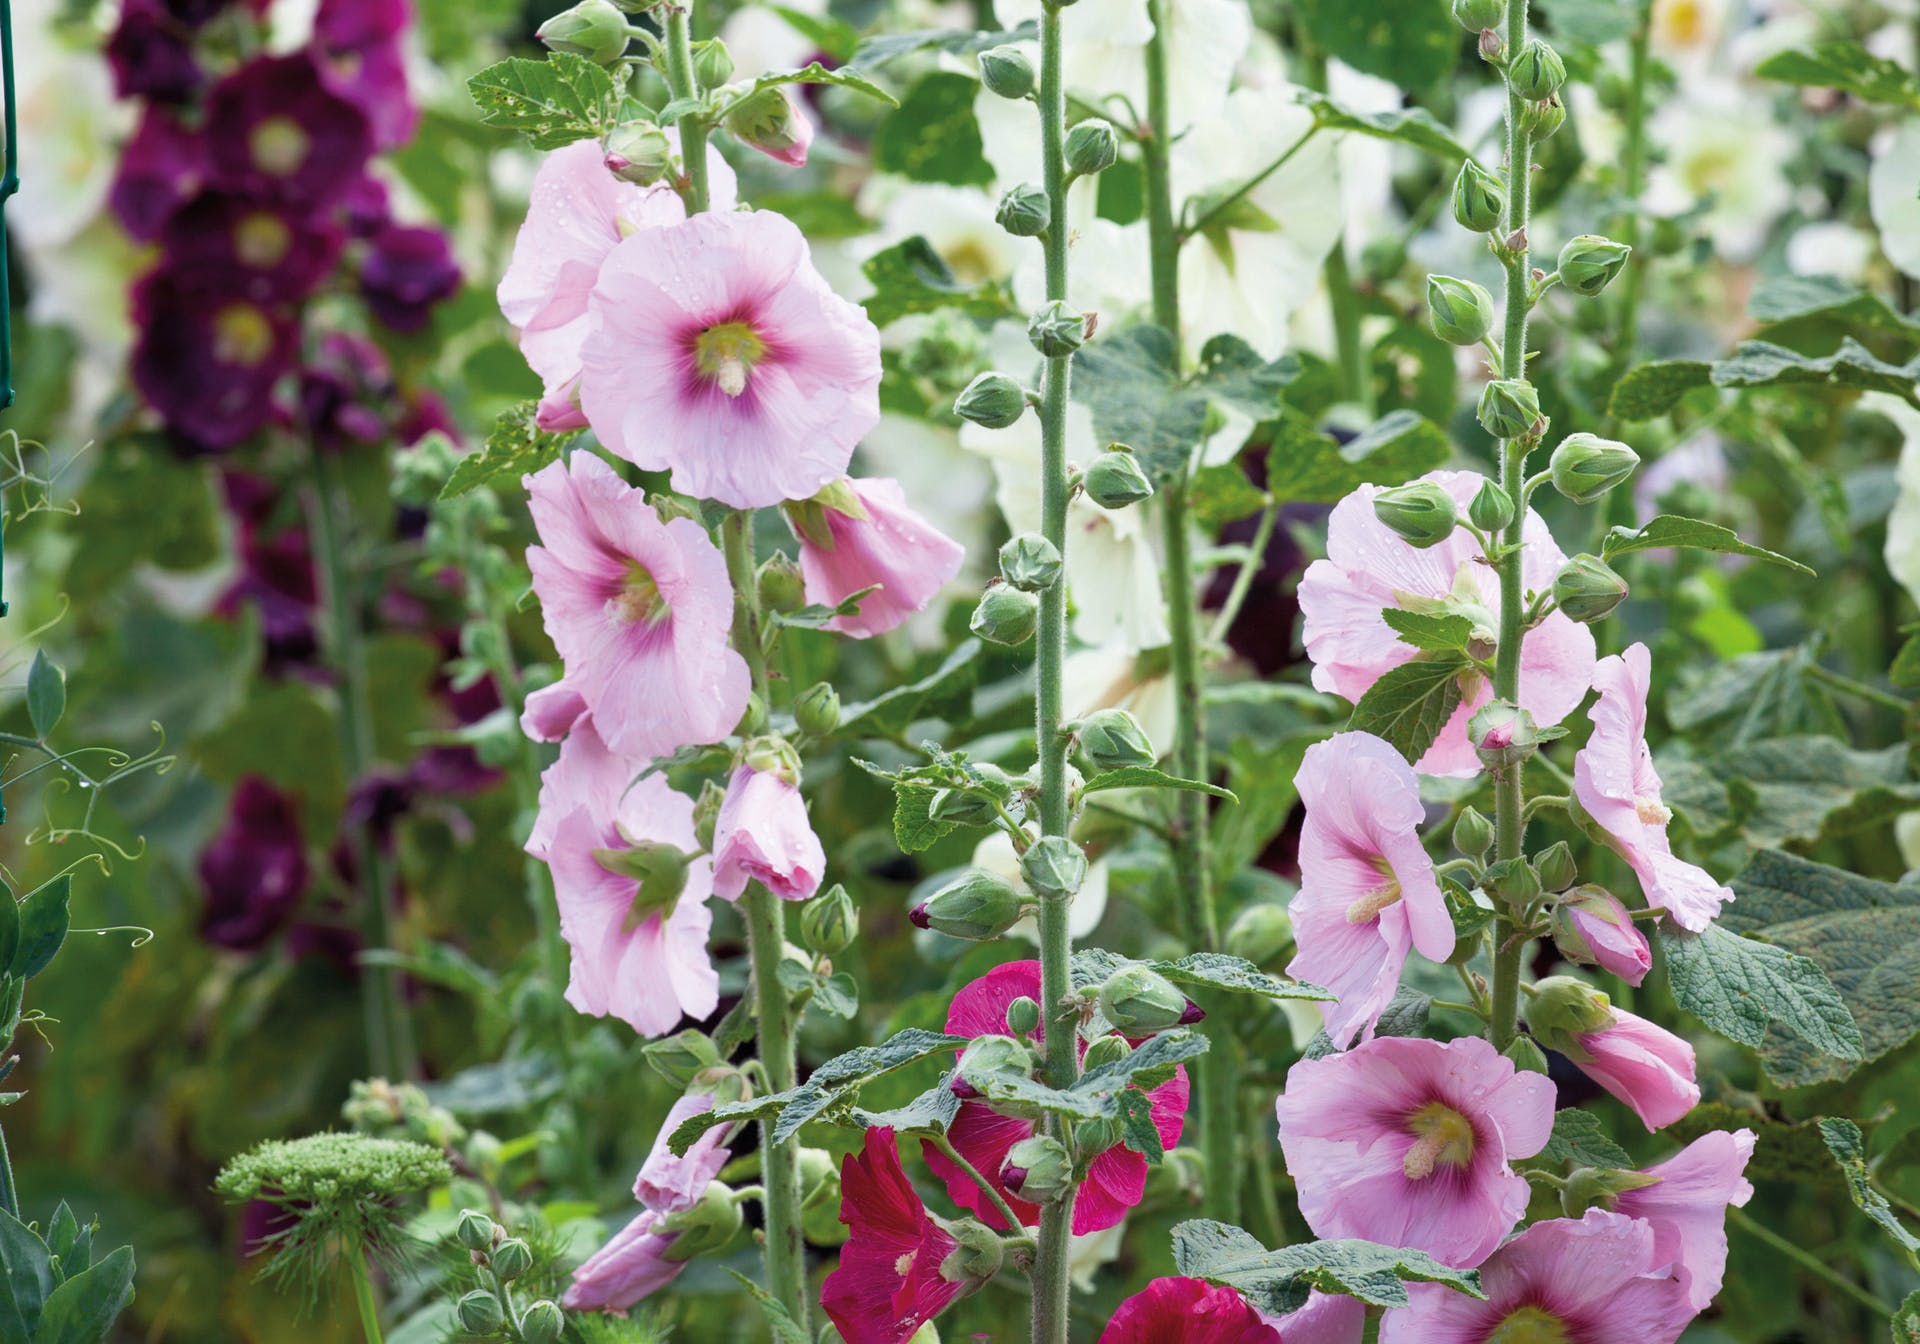
They bloom in stunning shades – pinks, reds, whites, deep purples, even near-black and attract bees, butterflies, and pollinators all summer long. Plus, they’re surprisingly low-maintenance. As long as you give them rich soil, deep containers (if growing in pots), and plenty of sun, hollyhocks will thrive. And if you let some flowers go to seed, they’ll self-sow and return year after year with minimal effort.
So if you want a plant that’s bold, nostalgic, and easy to grow hollyhocks are it. Romantic, towering, and unforgettable.

They bloom in stunning shades – pinks, reds, whites, deep purples, even near-black and attract bees, butterflies, and pollinators all summer long
Can You Grow Hollyhocks in Pots?
Yes—hollyhocks can absolutely be grown in containers, and it’s a fantastic option for gardeners with limited space. In fact, container gardening is one of the most practical ways to enjoy these tall, dramatic flowers on balconies, patios, or small urban yards. But if you want your hollyhocks to thrive in pots, careful attention to container size, soil quality, and positioning is key.
🌿 Container Requirements for Hollyhocks
When learning how to grow hollyhocks in pots, one of the most important things to understand is that hollyhocks develop a long central taproot. This means they need a deep and wide container to grow properly and anchor their tall stems.
-
Depth: Choose a container that is at least 16 to 18 inches deep to allow room for the taproot to grow downward without restriction.
-
Width: A pot that’s 14 to 16 inches in diameter provides better stability and enough surface area for the root zone.
-
Material: Terracotta or ceramic pots are excellent because they allow for airflow and moisture regulation. However, plastic containers are acceptable as long as they have ample drainage holes to prevent waterlogging.
If your container is too shallow or narrow, the plant may become root-bound, unstable, or stunted in height—especially problematic for a flower that can grow over six feet tall.

When learning how to grow hollyhocks in pots, one of the most important things to understand is that hollyhocks develop a long central taproot.
🌞 Light Needs: Give Them the Sun They Crave
Hollyhocks are sun lovers. To successfully grow hollyhocks in pots, your container must be placed in a location that receives at least 6 to 8 hours of direct sunlight each day.
-
Ideal placement: A south-facing or west-facing balcony, patio, or deck is best.
-
Avoid shaded areas: Without enough light, hollyhocks will become leggy, weak, and more susceptible to fungal diseases like rust.
Sunlight is not just helpful—it’s essential for strong stem growth, healthy foliage, and abundant blooms.
🌱 Soil Requirements: Build a Rich, Well-Draining Base
When it comes to how to grow hollyhocks in pots successfully, your soil mix will make or break your results. Hollyhocks are heavy feeders that need nutrient-rich soil with excellent drainage. A compact or soggy mix will lead to poor growth or root rot.
Here’s a proven container soil mix for hollyhocks:
-
1 part high-quality potting soil (peat-free if possible)
-
1 part compost or aged manure for slow-release nutrients
-
1 part perlite or vermiculite to improve drainage and aeration
Before planting, amend the soil with a slow-release organic fertilizer –preferably one balanced in nitrogen, phosphorus, and potassium (e.g., 10-10-10 or 5-10-5).
Once your hollyhocks are established and growing, begin liquid feeding every 3–4 weeks with a diluted organic fertilizer or compost tea to support stem development and flower production.
Once your hollyhocks are established and growing, begin liquid feeding every 3–4 weeks with a diluted organic fertilizer or compost tea to support stem development and flower production.
🛠 Pro Tips for Container Success
-
Support early: As soon as your hollyhocks reach 12–18 inches, stake them using bamboo poles or a trellis to prevent wind damage.
-
Group pots together: If growing multiple hollyhocks, cluster containers to act as natural windbreaks.
-
Mulch the topsoil: A thin layer of mulch helps retain moisture and keeps roots cool in summer.
-
Rotate the pot: Every couple of weeks, rotate your container slightly to ensure even light exposure and balanced growth.
Starting Hollyhocks from Seed
Growing hollyhocks from seed is incredibly rewarding—and budget-friendly. Here’s how to do it, even in rainy Canadian winters.
When to Plant Hollyhock Seeds:
You have two main options:
1. Late Summer to Early Fall (Best for Biennial Blooming)
-
Sow seeds in August or September
-
Plants will establish roots and form leafy rosettes
-
They’ll go dormant in winter and bloom the following summer
This method mimics their natural cycle and gives the best blooms.
2. Early Spring Indoors (Great for Containers)
-
Start seeds indoors in February–March
-
Transplant seedlings outdoors once frost risk has passed (usually late April to early May in Vancouver)
How to Plant Hollyhock Seeds
Indoors:
-
Fill seed trays or 4-inch pots with moistened seed-starting mix.
-
Sow seeds ¼ inch deep.
-
Cover lightly with soil and mist.
-
Keep warm (18–21°C) and moist.
-
Seeds usually germinate in 10–14 days.
-
Once true leaves form, transplant to a larger pot or harden off for outdoor planting.
Outdoors:
-
Prepare garden soil or container with a loose, fertile mix.
-
Sow seeds directly into the soil ¼ inch deep.
-
Space 12–18 inches apart if sowing multiple.
-
Keep moist until seedlings establish.

How to Plant Hollyhock Seeds
Should You Keep Them Inside First?
If you’re planting hollyhocks in early spring and starting from seed, yes—keep them indoors in a warm, sunny window or under grow lights.
But if you’re planting in fall, they can stay outside through the winter. Just protect young plants from excessive rainfall with a cloche or place containers in a sheltered spot.
Caring for Hollyhocks in Rainy Winters
Vancouver’s rainy season can be a challenge for many plants—but hollyhocks can survive if you take precautions.
Tips for Overwintering:
-
Avoid waterlogging by ensuring excellent drainage
-
Add a layer of mulch to protect roots from freeze/thaw cycles
-
Raise pots off the ground with pot feet or bricks
-
Shelter pots under a porch roof or eave to reduce rainfall exposure
For first-year seedlings in containers, you can move them into an unheated garage or cold frame to prevent excess wetness.
Supporting Tall Hollyhocks in Pots
Hollyhocks can reach 6–8 feet. To prevent wind damage or toppling:
-
Insert bamboo stakes or a decorative trellis early in the season
-
Use soft ties to gently secure the main stem
-
Group multiple pots together for natural windbreak
Bonus tip: planting against a fence or wall not only adds support but also reflects heat and light to promote better growth.
When Will They Bloom?
-
First-year bloom is unlikely unless you’re growing a specific annual hollyhock variety (e.g., Alcea rosea ‘Majorette’).
-
Most traditional hollyhocks are biennials:
-
Year 1: Grow leaves and roots
-
Year 2: Send up flowering stalks
-
After blooming, they often die, but…
How to Keep Hollyhocks Coming Back
Hollyhocks are technically biennials, but many gardeners treat them as self-seeding perennials. Here’s how to ensure you have blooms every year:
-
Leave a few flowers to set seed
-
Collect seeds in late summer and re-sow in fall
-
Label new pots or garden patches for succession
By doing this, you’ll always have some blooming, some growing—a continuous cycle of color.
Troubleshooting Common Hollyhock Problems
1. Rust Fungus
-
Looks like orange or yellow spots on leaves
-
Common in humid or rainy areas (hello, Vancouver!)
-
Prevent with good airflow, spacing, and organic fungicide sprays
2. Aphids
-
Spray with insecticidal soap or neem oil weekly
3. Floppy Stems
-
Usually from poor staking or not enough sun
-
Stake early and make sure they’re getting full light
FAQs: Growing Hollyhocks in Canada
Q: Can hollyhocks survive winter in pots?
A: Yes, if the pot is deep enough and well-draining. Add mulch or shelter from rain to avoid root rot.
Q: When should I fertilize hollyhocks in containers?
A: At planting with a slow-release fertilizer, then liquid feed every 3–4 weeks during active growth.
Q: Do hollyhocks need to be pinched back?
A: Not usually. Let them grow tall, but remove faded blooms to prevent excessive seed drop if you don’t want self-seeding.
Q: What variety of hollyhock blooms in the first year?
A: Look for Alcea rosea ‘Majorette’ or other dwarf annual varieties.
Final Thoughts: Hollyhocks Bring Old-World Charm to New Gardens
If you’ve got a small space, a sunny porch, or even just a few large pots—you can grow hollyhocks.
They’re dramatic. They’re nostalgic. And with a little care (and drainage!), they’ll thrive even through Vancouver’s rainy winters.
Come visit us at DH Garden Centre in Kitsilano, Vancouver, or explore our online store at dhgardencentre.com. We carry:
-
Hollyhock seeds (including first-year flowering varieties)
-
Terracotta pots in the perfect depth
-
Organic soil mixes and fertilizers
-
All the plant support supplies you need
Let’s bring some vertical drama and vintage charm to your garden—one flower spike at a time.


