

Learn how to decorate a Christmas tree like a professional designer with this detailed 8-step guide. From fluffing and lighting to ribbon placement, stems, ornaments, and finishing touches, this step-by-step tutorial helps you create a stunning Christmas tree with depth, balance, and designer-level detail.
How to Decorate a Christmas Tree Like a Designer: The 8-Step Professional Method
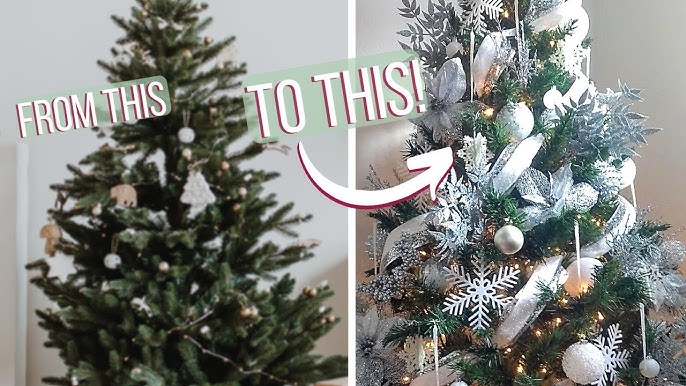
Decorating a Christmas tree is one of the most joyful parts of the holiday season but it can also feel overwhelming when you look at those perfectly styled designer trees and wonder how on earth they achieved that polished, layered, and cohesive look.
The truth is: designer-quality trees follow a system. And once you learn that system, the process becomes completely manageable, even fun.
In this detailed guide, inspired by the expert techniques of interior designer and educator Jennifer DAV Ford, we break down the eight essential steps to decorating a Christmas tree like a true professional.
With the right sequence and a few insider tricks, you’ll turn any tree real or artificial into a stunning holiday centerpiece.
Let’s dive in.
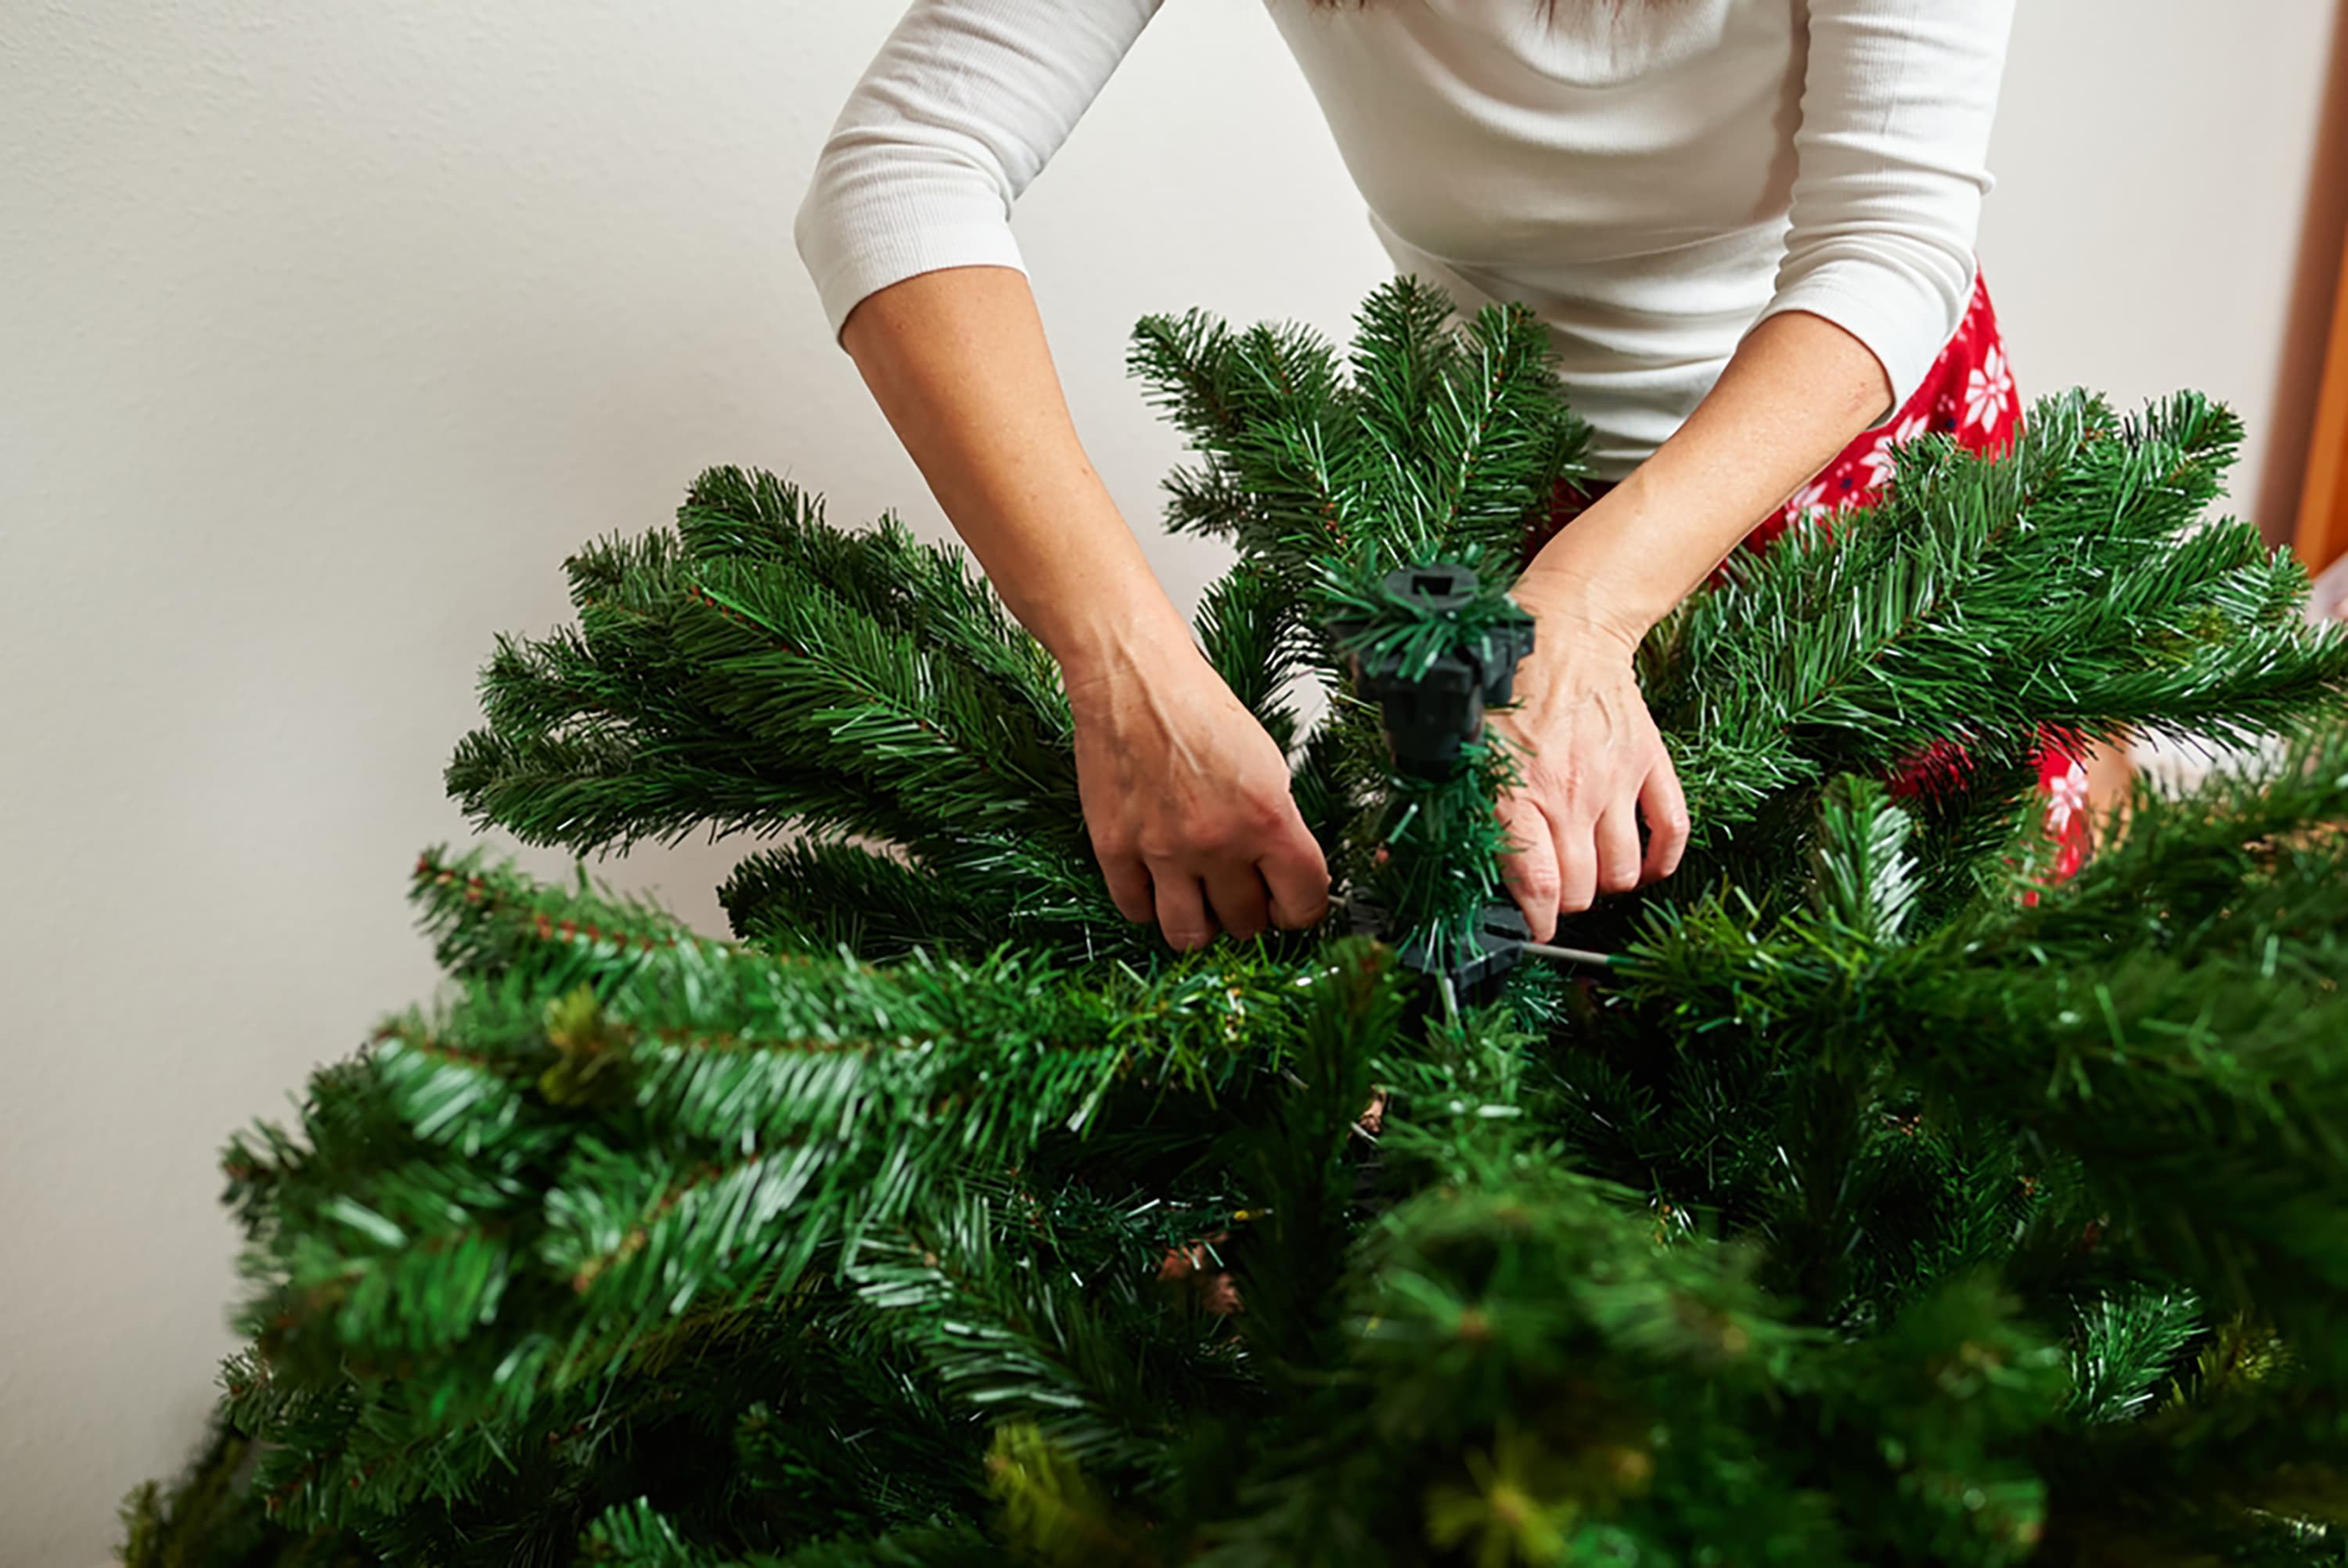
1. Fluff Your Tree: The Foundation of Every Beautiful Tree
It might sound simple, but fluffing the tree is the most important step in creating a polished final look. Whether your tree is brand-new or has been stored all year, compressed branches lead to gaps, flat spots, and uneven light distribution.
Why Fluffing Matters
-
It restores fullness and symmetry.
-
Fills visual “holes” before decoration begins.
-
Creates layers for lights, ribbon, and ornaments to sit naturally.
-
Gives the tree a professional, voluminous appearance.
Pro Tips from Designers
-
Wear an apron with pockets for ornament hooks, scissors, floral wire, and tools.
-
Work from the bottom up and from the inside out.
-
Separate each branch tip so they spread in multiple directions, not clumped together.
A well-fluffed tree immediately looks 40% more “designer” before you even add a single decoration.
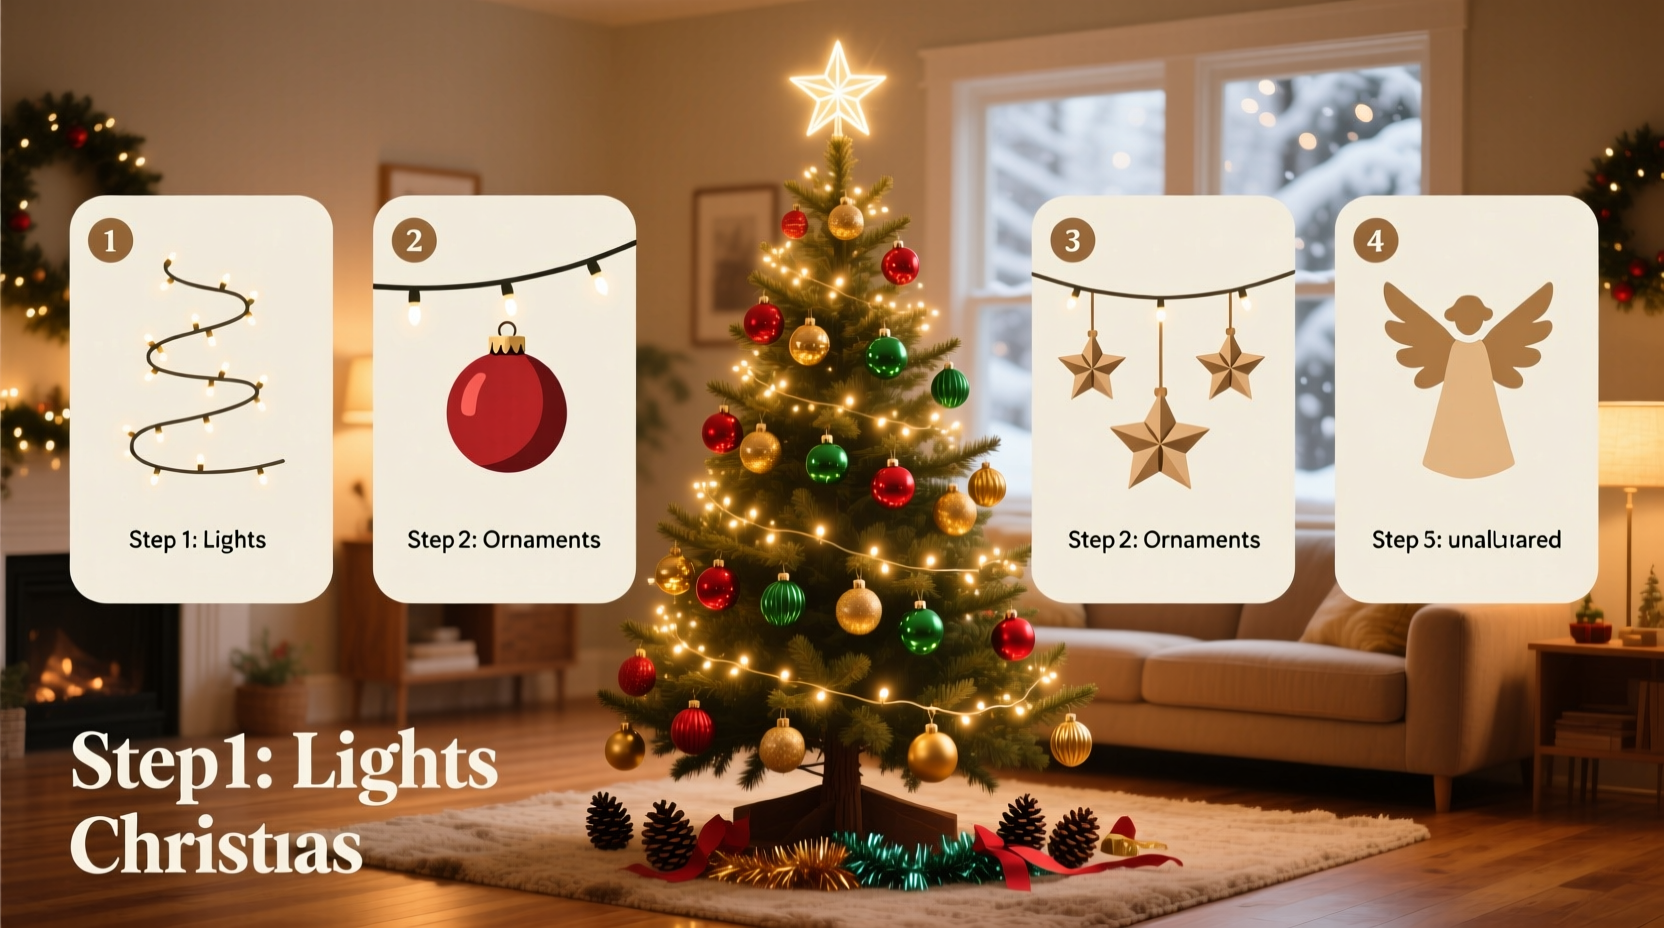
2. Add the Lights: The Most Important Visual Layer
Lights are the magic of a Christmas tree. They create warmth, depth, and sparkle. But most pre-lit trees lose functioning bulbs within a few years, and designers often layer additional lights for a richer glow.
Cluster Fairy Lights: The Designer’s Secret Weapon
Jennifer recommends LED cluster fairy lights because:
-
They have flexible wires that can be tucked deep into the branches.
-
If one bulb goes out, the rest stay lit.
-
They offer a soft, elegant glow instead of harsh traditional lights.
-
Many versions include timers (8 hours on, 8 hours off).
How to Place Lights Like a Designer
-
Avoid wrapping lights only around the outside.
-
Weave them in and out of the branches, pushing lights deep into the tree for dimension.
-
Use 2 boxes for a 7-ft tree and 3 boxes for a 9-ft tree.
-
Light from the inside out for a layered glow that feels luxurious.
Adding a second light layer instantly elevates the entire tree.
3. Add Light-Reflecting Ornaments for Depth
Before adding decorative ornaments, designers often use inexpensive, glittered plastic ornaments placed deep inside the tree.
Why This Works
-
They fill darker spots.
-
They catch and reflect the lights to make the tree look brighter.
-
They create contrast behind the outer ornaments.
Place these “light boosters” all the way inside the tree, not on the outer branches.
Even though Jennifer didn’t use them this year due to fairy lights, this hack works extremely well for trees that need extra brightness or dimension.
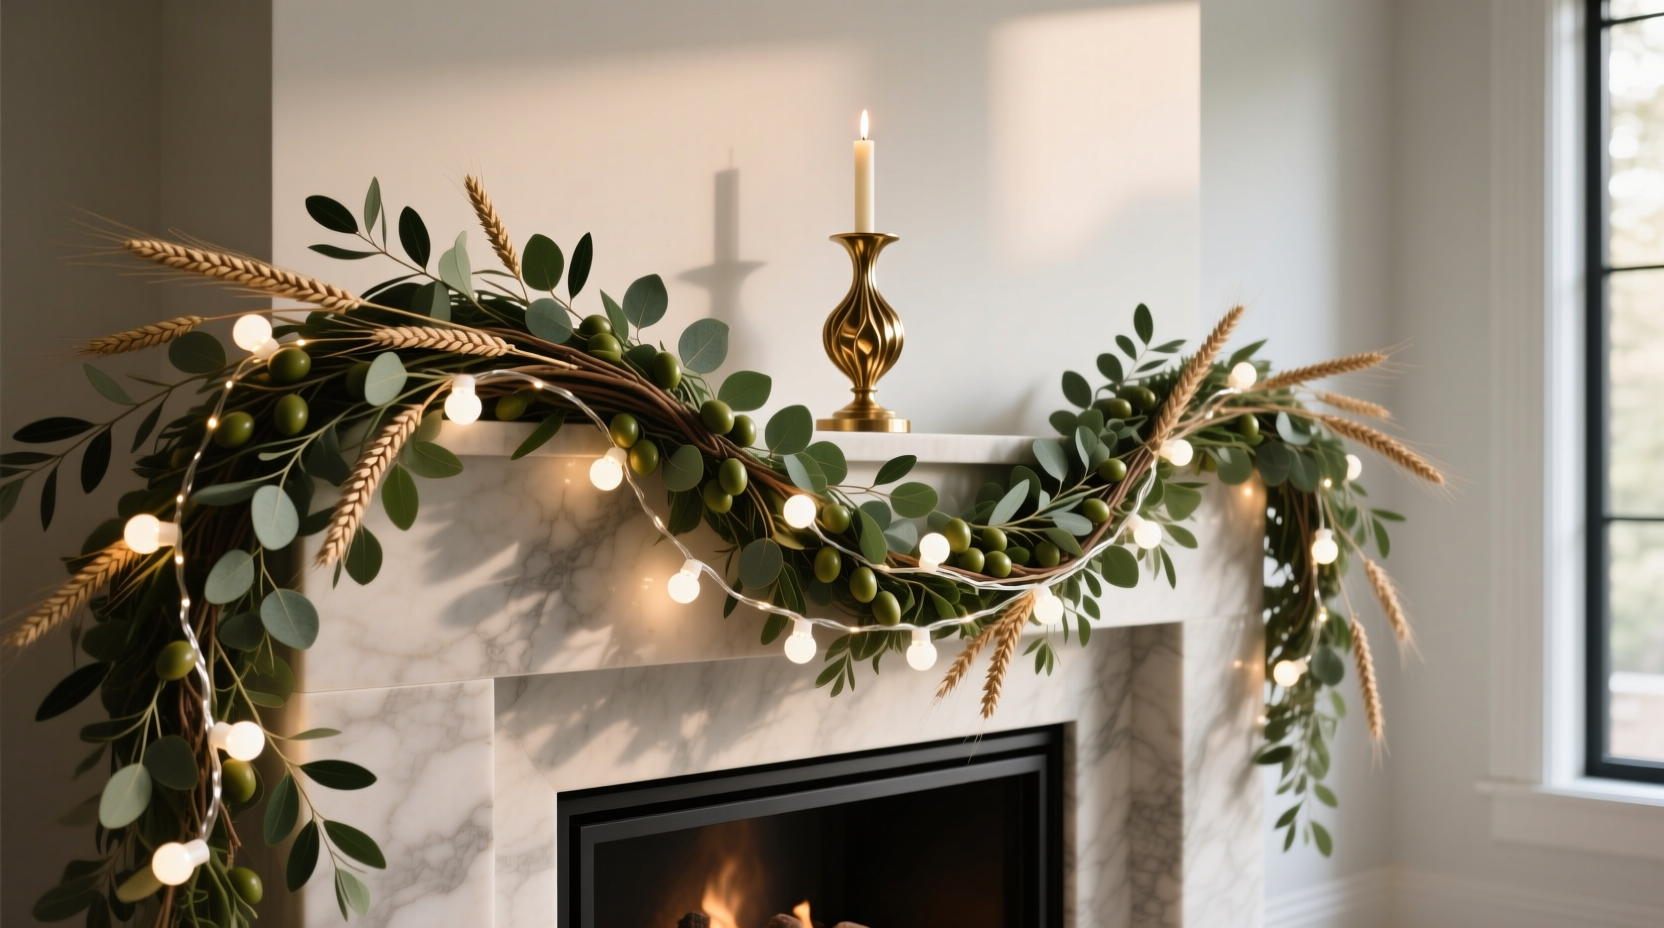
4. Add Garland: The Structural Layer
Garland helps establish flow and movement around the tree. Whether you choose beaded garland, wood garland, ribbon garland, or floral garland, this is the moment to add it before ornaments block your access.
Jennifer chose natural wood garland for a subtle, organic look.
Garland Placement Tips
-
Drape it loosely avoid pulling it tight.
-
Let it sit on branches rather than hanging stiffly between them.
-
Space it evenly in vertical or horizontal patterns depending on your design style.
Garland sets the tone for the overall style of the tree natural, elegant, modern, or traditional.
5. Add Ribbon: The Signature Designer Technique
Ribbon is the hallmark of professional Christmas tree design. Done well, it adds movement, texture, and color that ties the whole tree together.
How to Prepare Ribbon Like a Designer
-
Cut 36-inch pieces.
-
Fold each piece in half to create a single loop.
-
Secure with floral wire.
-
Place the looped ribbon inside the tree, not at the tips.
-
Pull tails gently downward and shape them.
The Diamond Method for Perfect Placement
To ensure even ribbon distribution, Jennifer uses the diamond method:
-
Place one ribbon piece at the top, one bottom-left, one bottom-right, and one on the opposite side.
-
Repeat this diamond pattern around the entire tree.
This guarantees that the ribbon flows beautifully and symmetrically.
Advanced Ribbon Variation
Want a more luxurious look?
Create two loops instead of one by:
-
Leaving one tail longer.
-
Bringing it up to a nearby branch.
-
Securing it to create a cascading waterfall effect.
Designers often combine two or three different ribbons:
-
a wide base ribbon
-
a medium textured ribbon
-
a thin decorative ribbon with beads or shimmer
Jennifer introduced a thin, beaded ribbon to add sparkle and vertical flow.
6. Add Picks and Stems: The Secret to Designer Depth
Picks and stems are what truly transform a tree. They create texture, dimension, and fullness.
Types of Picks Designers Use
-
Faux greenery (cedar, pine, eucalyptus)
-
Glittered stems
-
Berry stems
-
Metallic sprays
-
Floral accents
How to Use Stems Correctly
-
Add picks before ornaments.
-
Insert stems into bare “holes” to fill gaps.
-
Cut large stems into smaller pieces to reduce waste.
-
Angle stems outward not parallel to branches to create dimension.
-
Allow stems to extend slightly beyond the tree’s natural shape to give it depth and movement.
This step alone can make a simple tree look professionally styled.

7. Add Ornaments: From Largest to Smallest
Now comes the fun part ornaments. The order in which you place them determines whether your tree looks balanced or chaotic.
Designer Ornament Order
-
Large ornaments first (create anchor points)
-
Medium ornaments next (fill mid-level gaps)
-
Small ornaments last (detail work)
Why Hooks Are Better Than Strings
Hooks allow ornaments to:
-
Hang naturally
-
Sit closer to the branch
-
Look as if they are “growing off the tree”
Strings, on the other hand, push ornaments outward and break the illusion of depth.
Professional Tips
-
Gently bend the branch downward over the ornament cap to hide it.
-
Hot glue the caps onto expensive glass ornaments to prevent breakage.
-
Mix textures: matte, shiny, glitter, patterned.
-
Introduce a few statement ornaments for visual interest.
Great ornaments elevate the entire design. And as Jennifer recommends: shop Christmas clearance for next year’s luxury ornaments.
8. Add Droplets: The Final Layer for a Luxury Finish
The final step is what gives the tree its “over-the-top” designer magic droplets, or glass/acrylic hanging accents.
These include:
-
Icicles
-
Crystal drops
-
Teardrops
-
Beads
-
Snowfall strands
Why They Work
-
They catch light like jewelry.
-
They introduce movement.
-
They add vertical elegance that visually “pulls the tree together.”
Use the full length of the nearly invisible fishwire so droplets blend seamlessly.
This final step gives the tree its polished, sparkling, magazine-worthy finish.
Conclusion: You Can Decorate a Tree Like a Designer
A beautifully decorated Christmas tree doesn’t happen by accident it happens by following the right sequence and layering each element with intention.
The 8-step designer method recap:
-
Fluff your tree
-
Add lights
-
Add reflective ornaments inside
-
Add garland
-
Add ribbon
-
Add picks and stems
-
Add ornaments (large → medium → small)
-
Add droplets for a luxury finish
Once you follow these steps, you’ll be amazed at how professional your tree looks full, layered, balanced, and glowing from the inside out.
Decorating like a designer isn’t about expensive décor.
It’s about technique, layering, and flow.
And now you know exactly how to do it.

Whether you’re shopping for plant lovers, hunting for meaningful plants, or simply looking to add a touch of green to your own holiday décor, DH Garden Centre has everything you need for a joyful, vibrant, and beautifully green Christmas.
Visit DH Garden Centre today: where the holidays grow brighter, one plant at a time.