
Gardening is an incredibly rewarding experience, but waiting months for a harvest can sometimes feel discouraging—especially for beginners. The good news is that several vegetables and greens grow in as little as 10 to 30 days, allowing you to enjoy fresh, homegrown food quickly. Whether you have a large backyard, a small patio garden, or an indoor setup, these crops are perfect for both new and experienced gardeners looking for quick results.
At DH Garden Centre, we believe that starting with easy, fast-growing plants is key to building confidence and cultivating a love for gardening. Whether you’re growing in Vancouver’s temperate climate or facing shorter growing seasons in colder Canadian regions, this guide will help you plant, nurture, and harvest delicious greens and vegetables in record time.

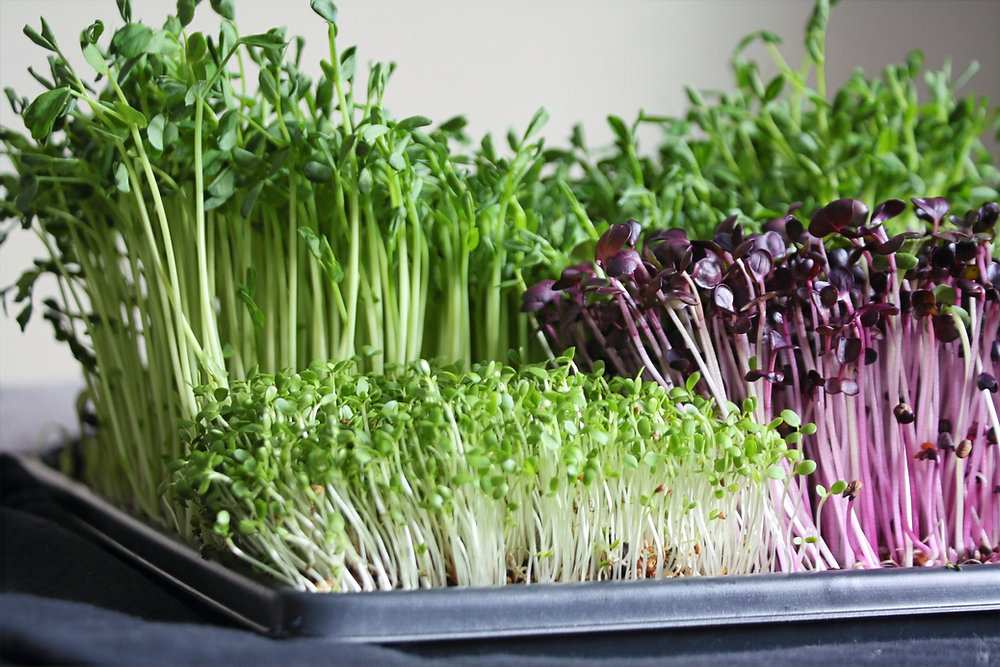
1. Microgreens – The Fastest Superfood (10–12 Days)
Microgreens are nutrient-packed, quick-growing, and ideal for urban gardeners, apartment dwellers, and those with limited space. These tiny greens are the baby versions of full-sized plants like arugula, mustard greens, radishes, and even sunflowers. By planting them densely in shallow trays, you can harvest them within 10–12 days and enjoy their fresh, concentrated flavors.
Growing microgreens at home is a simple and rewarding way to enjoy fresh, nutrient-dense greens year-round. Follow this detailed, step-by-step guide to successfully cultivate your own microgreens:
1. Gather Essential Supplies:
Before starting, ensure you have the following items:
-
Seeds: Choose high-quality, untreated seeds labeled specifically for microgreens. Popular options include broccoli, radish, sunflower, and arugula.
-
Growing Medium: Options include organic potting soil, coconut coir, or specialized growing mats made from natural fibers.
-
Growing Trays: Shallow trays with drainage holes are ideal. Standard 10×20-inch trays are commonly used.
-
Spray Bottle: For misting seeds and maintaining moisture levels.
-
Light Source: Natural sunlight or artificial grow lights to provide adequate illumination.

2. Prepare the Growing Trays:
-
Clean the Trays: Ensure all trays are clean to prevent mold or contamination.
-
Add Growing Medium: Fill each tray with approximately 1 to 2 inches of your chosen growing medium.
-
Moisten the Medium: Lightly mist or water the medium until it’s evenly moist but not waterlogged.
3. Sow the Seeds:
-
Measure the Seeds: Refer to seed-specific guidelines for the appropriate seeding density. Generally, 1 to 2 ounces of seed per 10×20-inch tray is recommended.
-
Distribute Evenly: Sprinkle the seeds uniformly across the surface of the moistened growing medium, ensuring even coverage.
-
Press Seeds Gently: Lightly press the seeds into the medium to ensure good seed-to-soil contact.
4. Initiate Germination:
-
Cover the Seeds: After sowing, cover the trays to block light, promoting germination. This can be done by stacking trays or using a dark, breathable material.
-
Maintain Moisture: Check the trays daily, misting as necessary to keep the medium moist.
-
Monitor Germination: Most microgreens germinate within 2 to 3 days, depending on the seed variety.
5. Provide Light and Airflow:
-
Uncover the Trays: Once the seeds have germinated and small sprouts are visible, remove the covers to expose them to light.
-
Lighting: Place the trays in a location with ample indirect sunlight or under grow lights for 12 to 16 hours daily.
-
Air Circulation: Ensure proper airflow around the trays to prevent mold growth.
6. Watering and Care:
-
Consistent Moisture: Keep the growing medium consistently moist by watering from the bottom (placing trays in a shallow water-filled container) or gently misting from the top.
-
Avoid Overwatering: Ensure excess water drains away to prevent root rot.
7. Harvesting Your Microgreens:
-
Timing: Microgreens are typically ready to harvest 7 to 14 days after planting, when the first true leaves have developed and the plants are about 2 to 3 inches tall.
-
Harvest Method: Using clean scissors or a sharp knife, cut the microgreens just above the growing medium’s surface.
-
Post-Harvest: Rinse the harvested microgreens gently under cool water and pat dry with a paper towel.
8. Storage and Enjoyment:
-
Storage: Store harvested microgreens in a sealed container or plastic bag in the refrigerator. They are best consumed within a few days for optimal freshness.
-
Culinary Uses: Add microgreens to salads, sandwiches, smoothies, or as garnishes to various dishes for a nutritional boost and flavor enhancement.
:max_bytes(150000):strip_icc():format(webp)/GettyImages-1729551319-ae8b8de7457b457c908731290b68090d.jpg)
By following these steps, you can successfully grow microgreens at home, providing a continuous supply of fresh greens to enrich your diet.
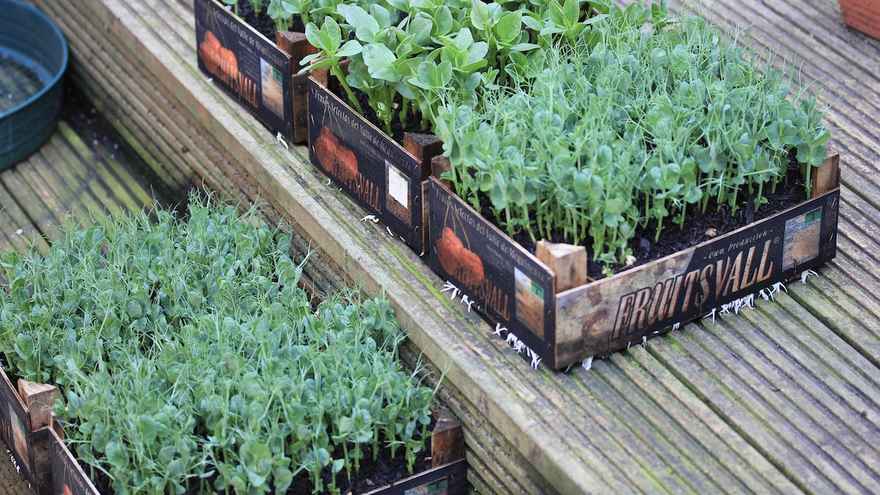
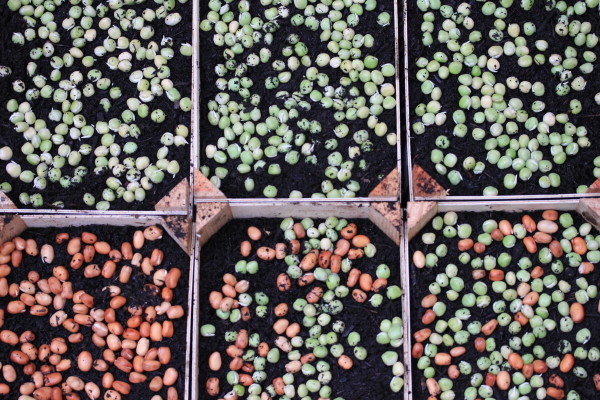
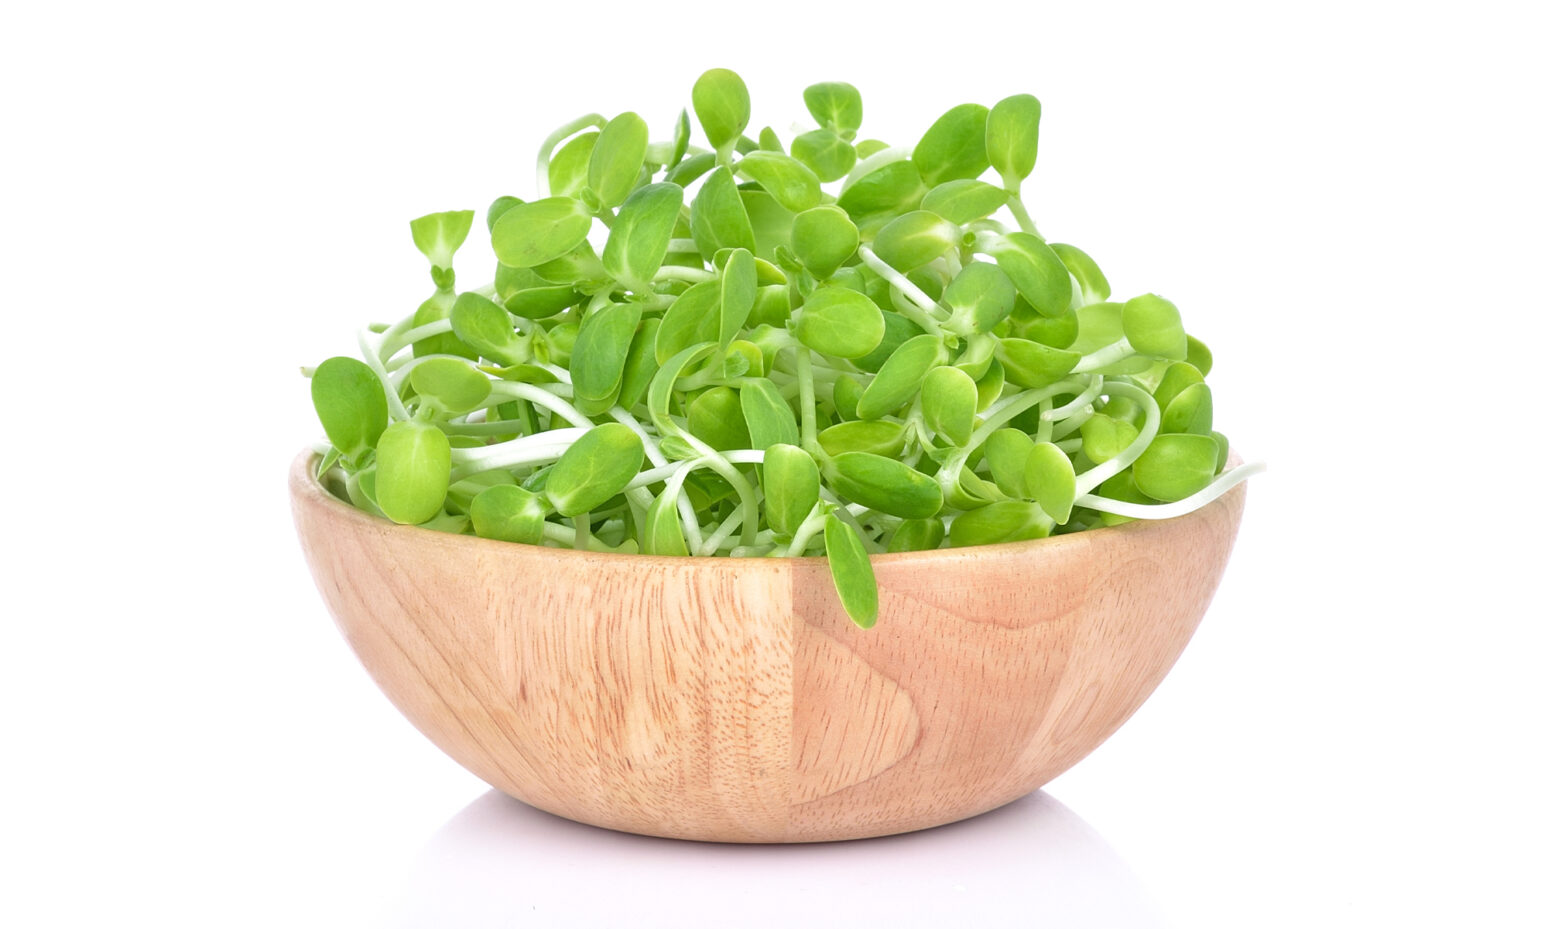
2. Pea Shoots & Sunflower Sprouts (12–15 Days)
Pea shoots and sunflower sprouts are not only quick to cultivate but also bring delightful flavors and textures to various dishes. Pea shoots offer a sweet, fresh taste reminiscent of young peas, while sunflower sprouts provide a nutty, slightly earthy flavor. Both are rich in vitamins and antioxidants, making them excellent additions to your meals.
How to Grow Pea Shoots:
-
Select Your Seeds: Opt for dried peas suitable for sprouting. Dried peas sold for cooking are often suitable and more economical than specialized seeds.
-
Soak the Seeds: Place the peas in a bowl and cover them with water. Let them soak for 24 hours. This process initiates germination and softens the seed coat.
-
Prepare the Growing Medium: Choose a shallow container with drainage holes, about 2-3 inches deep. Fill it with high-quality potting compost, leaving a half-inch gap from the top. Water the compost thoroughly and let excess water drain out.
-
Sow the Seeds: After draining the soaked peas, spread them evenly across the moist compost surface, ensuring minimal gaps between them. Cover the seeds with a thin layer of compost, approximately the thickness of a pea, and lightly water the surface.
-
Provide Optimal Conditions: Place the container in a location with indirect sunlight. Maintain consistent moisture in the compost by checking daily and watering as necessary.
-
Harvesting: Within two to three weeks, when the shoots reach about 3-4 inches in height, they are ready for harvest. Pinch off each shoot just above the bottom leaves. Some shoots may regrow, offering a second harvest.
How to Grow Sunflower Sprouts:
-
Choose the Right Seeds: Select raw, hulled sunflower seeds intended for sprouting. Ensure they are free from any chemical treatments.
-
Soak the Seeds: Place the sunflower seeds in a jar and add plenty of water. Allow them to soak for up to 8 hours or overnight.
-
Rinse and Drain: After soaking, rinse the seeds thoroughly and drain them well.
-
Prepare the Growing Tray: Fill a shallow container with about 2 inches of potting soil. Ensure the container has drainage holes to prevent waterlogging.
-
Sow the Seeds: Spread the soaked sunflower seeds evenly across the soil surface, ensuring they are densely packed but in a single layer. Cover them with a thin layer of soil, approximately 1 inch thick, and water thoroughly.
-
Provide Optimal Conditions: Place the container in a sunny window, ensuring it has proper drainage. Water as needed to keep the soil damp but not overly wet.
-
Harvesting: In about two to three days, you’ll see sunflower sprouts start to appear. In another couple of days, when the sprouts are 2-3 inches tall, they are ready to harvest. To harvest, simply use scissors to snip them off at the base.
Culinary Uses:
-
Pea Shoots: Their tender texture and sweet flavor make them ideal for salads, stir-fries, and as garnishes for soups and sandwiches.
-
Sunflower Sprouts: Their crunchy texture and nutty taste complement salads, wraps, and can even be blended into smoothies for an added nutrient boost.
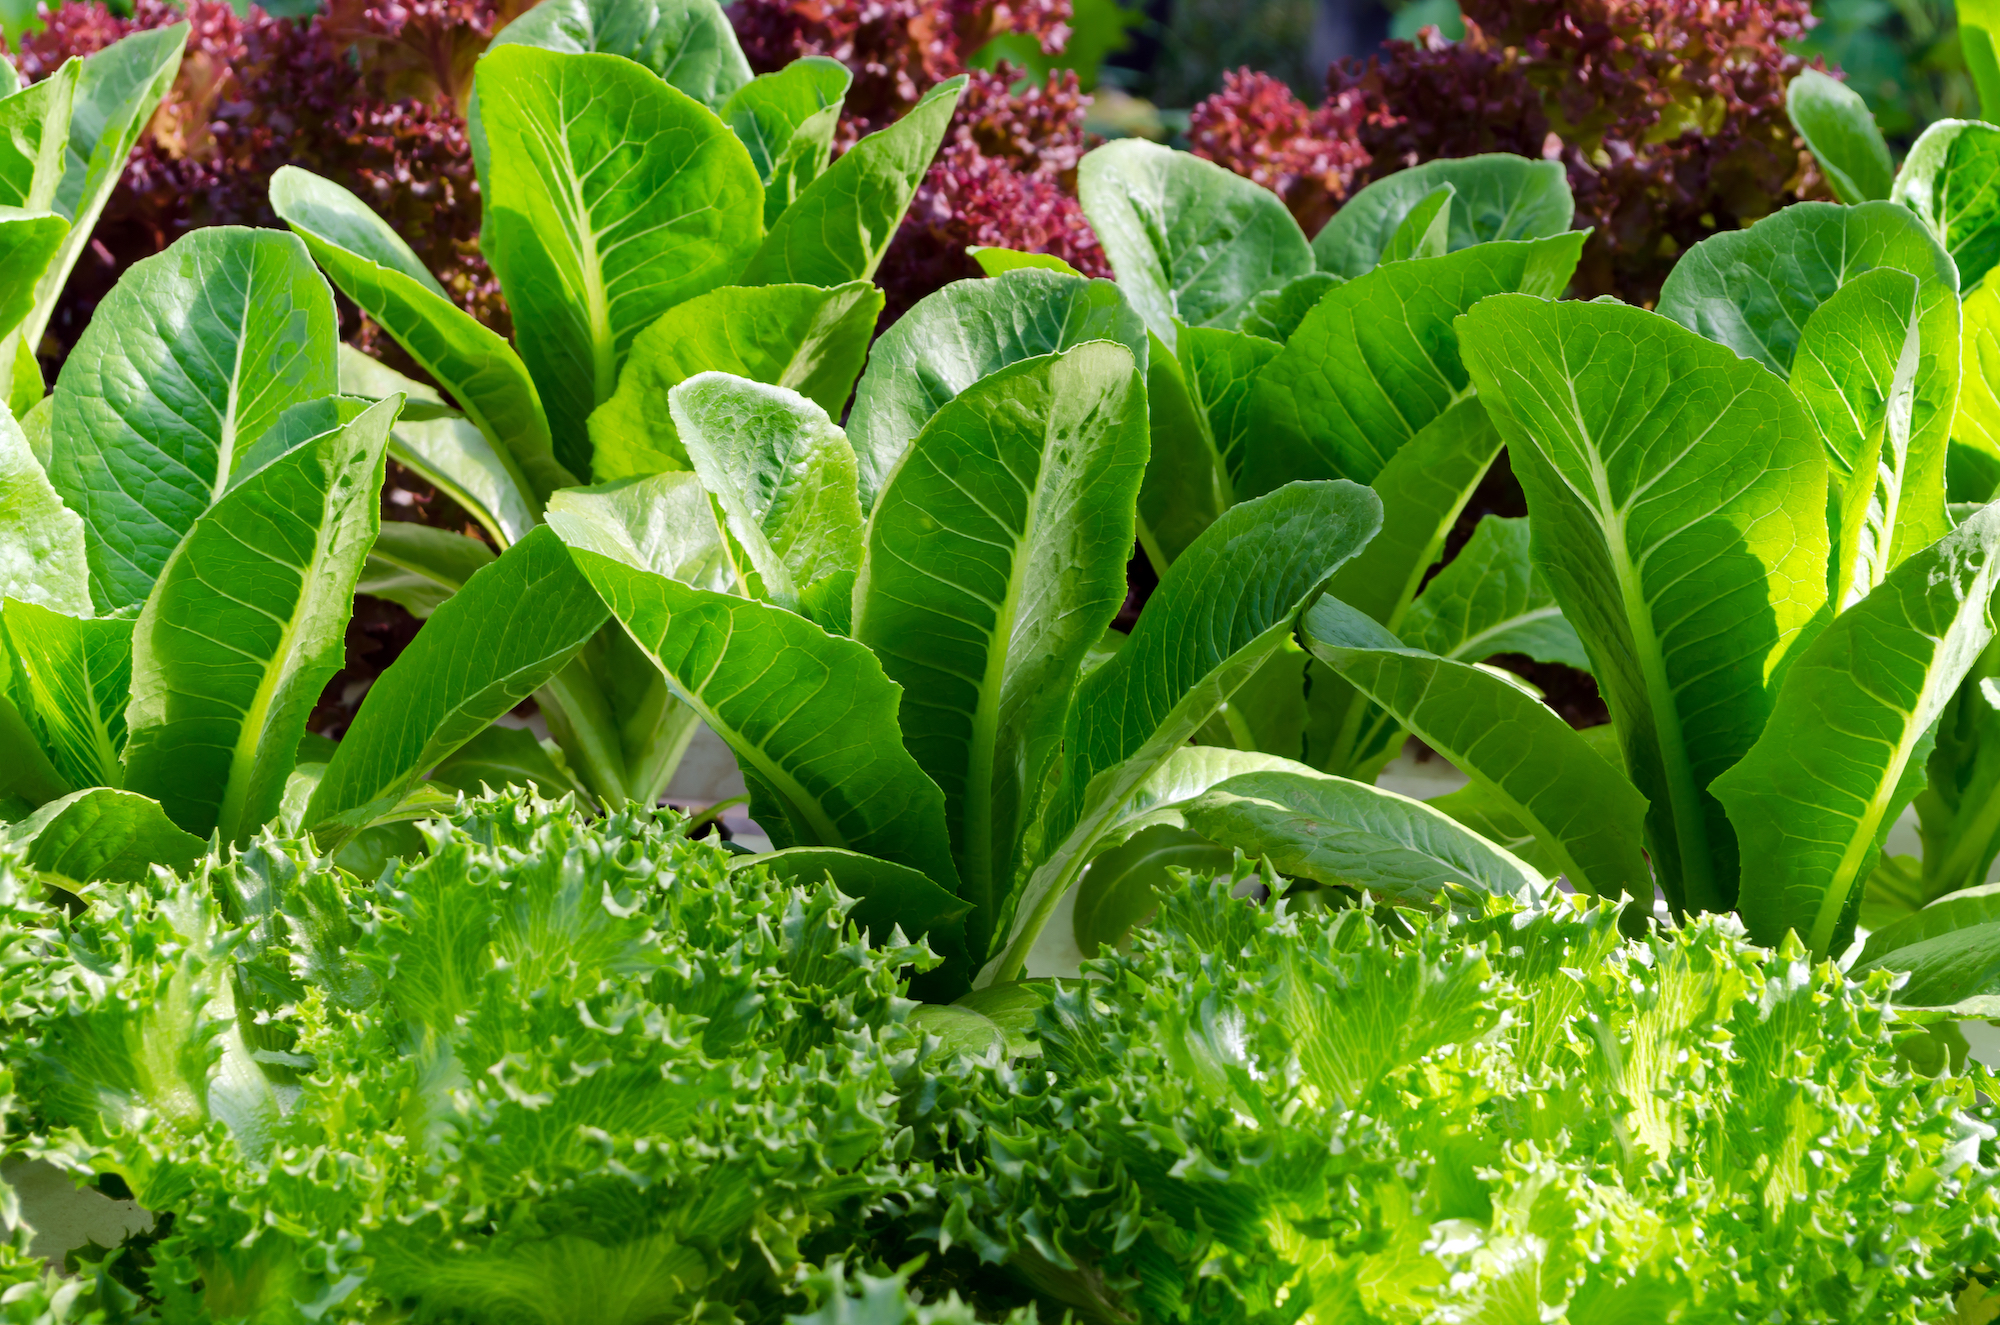
3. Baby Lettuce – Fresh & Crisp in 20 Days
Growing baby lettuce is a rewarding endeavor that allows gardeners to enjoy fresh, crisp greens in as little as 20 days. Varieties such as looseleaf, butterhead, and romaine are particularly suitable for rapid growth. As a cool-season crop, lettuce flourishes in both outdoor gardens and indoor hydroponic systems.
How to Grow Baby Lettuce:
-
Sowing Seeds:
- Directly sow lettuce seeds into prepared soil beds or containers equipped with proper drainage. For optimal results, incorporate 2 to 3 inches of compost into the soil to enhance fertility.
-
Soil Moisture:
- Maintain consistent soil moisture, ensuring it remains evenly moist without becoming waterlogged. This balance is crucial to prevent root diseases and promote healthy growth.
-
Harvesting Technique:
- Begin harvesting by picking the outer leaves first. This method, known as “cut-and-come-again,” encourages continuous leaf production throughout the growing season.
-
Light Requirements:
- When cultivating lettuce indoors, ensure the plants receive at least 5 hours of bright light daily. Utilizing grow lights can supplement natural sunlight, promoting robust growth.
Recommended Lettuce Varieties for Quick Harvest:
-
Black-Seeded Simpson: An heirloom variety celebrated for its heat tolerance and sweet flavor, making it a popular choice among gardeners.
-
Monte Carlo Romaine: Known for its compact growth and mild taste, this variety is ideal for small spaces and indoor gardening.
-
Parris Island Romaine: Offers a mild, buttery flavor and is noted for its disease resistance, making it suitable for various growing conditions.
4. Baby Radishes – Ready in 25 Days
Radishes are among the fastest-growing root vegetables, offering a crisp texture and peppery flavor that enhances various dishes. Their rapid growth and minimal space requirements make them perfect for small gardens or container planting.
Radishes are among the fastest-growing root vegetables, offering a crisp texture and peppery flavor that enhances various dishes.How to Grow Radishes:
-
Soil Preparation:
- Radishes thrive in loose, well-draining soil with a pH between 6.5 and 7.0.
- Loosen the soil to a depth of at least six inches to facilitate proper root development.
-
Sowing Seeds:
- Directly sow radish seeds ½ inch deep and one inch apart in rows spaced 12 inches apart.
- For a continuous harvest, plant seeds every two weeks during the growing season.
-
Watering:
- Maintain consistent soil moisture to prevent radishes from becoming woody or developing a bitter taste.
-
Thinning:
- Once seedlings emerge, thin them to two inches apart to ensure adequate space for bulb formation.
-
Harvesting:
- Radishes are typically ready for harvest when the roots reach about one inch in diameter, usually within 25 days.
- Avoid leaving them in the ground too long, as they can become pithy or overly spicy.
Best Fast-Growing Radish Varieties:
- Cherry Belle: Matures in approximately 22 days; known for its bright red skin and mild flavor.
- French Breakfast: Ready in about 25 days; features an oblong shape with a crisp texture.
- White Icicle: Takes around 27 days to mature; offers a slightly spicy flavor and elongated white roots.
Culinary Uses:
- Fresh: Add sliced radishes to salads for a refreshing crunch.
- Pickled: Preserve them in vinegar-based solutions for a tangy snack.
- Roasted: Toss with olive oil and roast to mellow their peppery flavor.
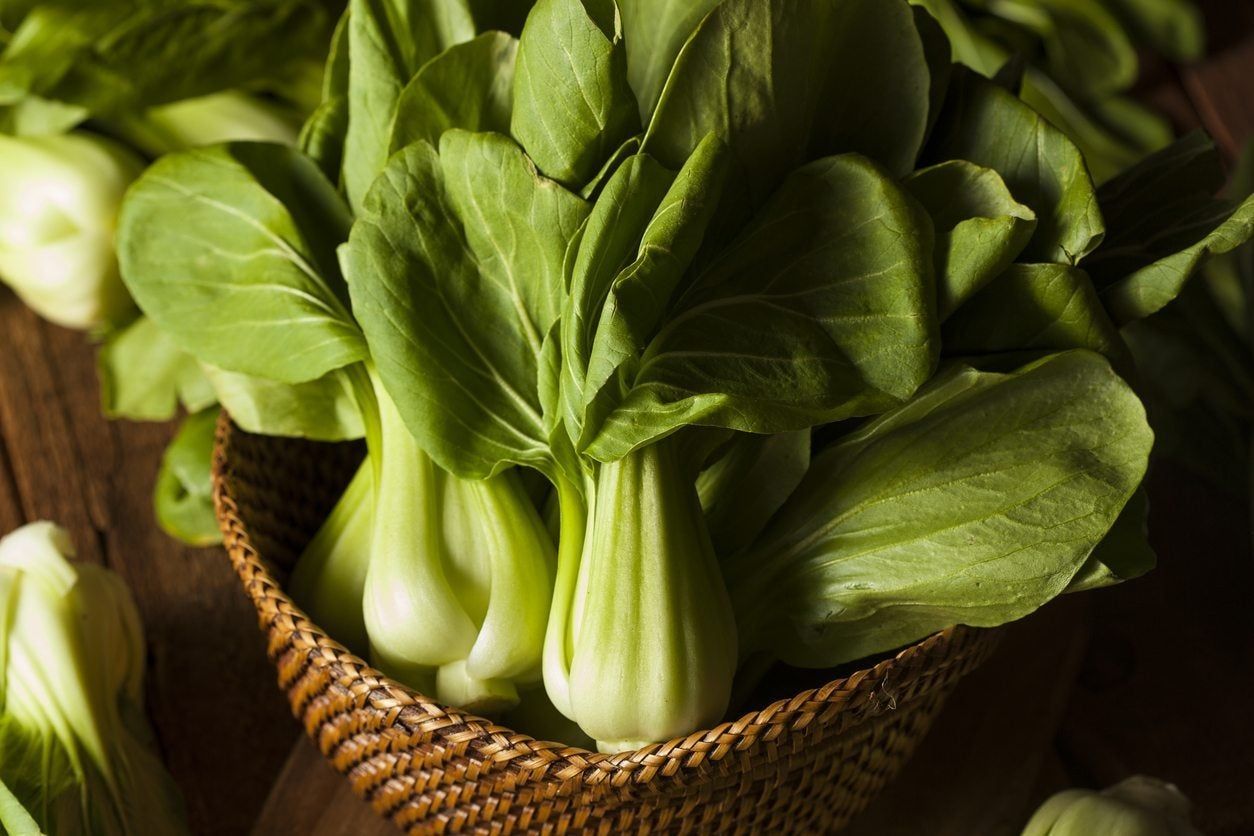
5. Baby Bok Choy – Delicious & Fast (30 Days)
Bok choy, also known as pak choy, is a type of Chinese cabbage that grows rapidly and is rich in vitamins A, C, and K. Its tender leaves and crisp stems make it a versatile ingredient in various cuisines.
How to Grow Baby Bok Choy:
-
Soil Preparation:
- Plant in rich, well-draining soil with a pH between 6.0 and 7.5.
- Incorporate compost or well-rotted manure to enhance soil fertility.
-
Sowing Seeds:
- Direct sow seeds ¼ inch deep and one inch apart in rows spaced 18 inches apart.
- Alternatively, start seeds indoors 4-6 weeks before the last frost and transplant seedlings outdoors when they have two true leaves.
-
Spacing:
- Thin seedlings or transplant them to be 6 inches apart to allow adequate space for growth.
-
Watering:
- Keep the soil consistently moist but not waterlogged to prevent bolting (premature flowering).
-
Light Requirements:
- Bok choy prefers full sun but can tolerate partial shade, especially in warmer climates.
-
Harvesting:
- Baby bok choy is ready to harvest when it reaches 4-6 inches in height, typically around 30 days after planting.
- Cut the plant at soil level or harvest individual outer leaves as needed.gardeningknowhow.com
Best Fast-Growing Bok Choy Varieties:
- Shanghai Green: Matures in 25-30 days; known for its tender, pale green stems and mild flavor.
- White Stem: Ready in about 30 days; features crisp white stems and dark green leaves.
Culinary Uses:
- Stir-Fries: Quickly sauté with garlic and soy sauce for a simple side dish.
- Soups: Add to broths for enhanced flavor and nutrition.
- Salads: Use raw leaves for a crunchy addition to salads.
Start Growing with DH Garden Centre Today!
With these fast-growing crops, you can enjoy fresh, homegrown produce in under a month! Whether you’re a beginner or an experienced gardener, these crops offer quick wins and satisfying harvests.
Why Choose DH Garden Centre?
✅ Locally Sourced & Organic Seeds
✅ Expert Gardening Advice for Canadian Growers
✅ Online & In-Store Shopping Options
🚛 Order Now & Start Your Garden Today! 🚛
👉 Shop Now at DH Garden Centre
Follow Us for More Gardening Tips & Inspiration!
📷 Instagram: @DHGardenCentre
📘 Facebook: DH Garden Centre
🌿 Happy Gardening & Quick Harvests! 🌿