
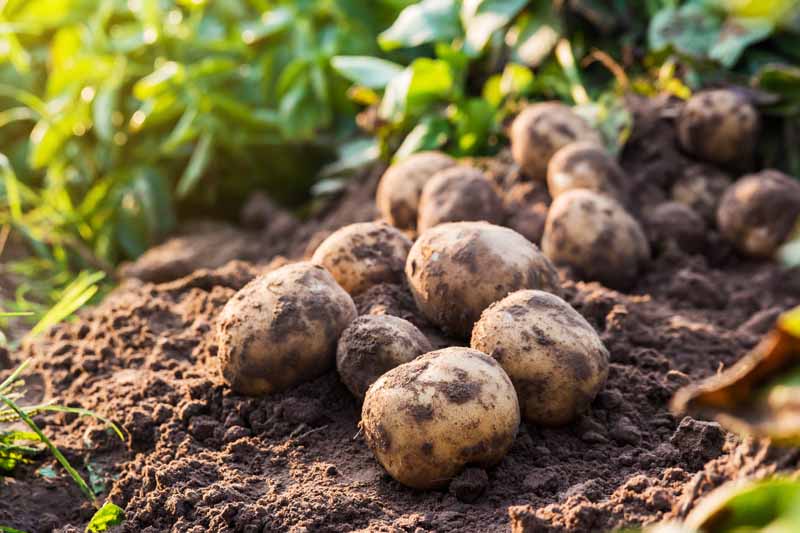
Are you as obsessed with potatoes as we are at DH Garden Centre? Potatoes are not only delicious and versatile in the kitchen—mashed, fried, baked, roasted—but they’re also surprisingly easy to grow. Whether you have a spacious backyard or just a small patio, you can cultivate your own crop of these humble tubers. In this comprehensive guide, we’ll walk you through everything you need to know to plant, care for, and harvest potatoes with minimal fuss, from the basics of determinate versus indeterminate varieties to specialized growing methods like the Ruth Stout method.
By the end of this article, you’ll have a step-by-step roadmap to ensure a bumper crop of nutritious, tasty potatoes right from your own garden. Plus, we’ll answer some of the most frequently asked questions about potato cultivation. Let’s get growing!
1. Why Grow Potatoes?
1.1. Nutritional Powerhouse
Potatoes are a staple food across the globe for good reason. They’re packed with carbohydrates to fuel your energy needs, along with essential nutrients like vitamin C, vitamin B6, potassium, and dietary fiber. Home-grown potatoes can be even more nutritious (and certainly tastier) because you have full control over soil quality, fertilizers, and pest management, resulting in a cleaner, chemical-free harvest.
1.2. Versatility in the Kitchen
From creamy mashed potatoes and crispy fries to hearty stews and refreshing potato salads, potatoes shine in a wide range of culinary dishes. Different varieties offer distinct textures and flavors that suit specific cooking methods—something we’ll dive deeper into later. Whether you love them waxy and dense or fluffy and starchy, there’s a potato variety that’s perfect for your favorite recipe.
1.3. Ideal for Any Garden Size
One of the best things about potatoes is that they can be grown in almost any setup. You can grow them:
- In the ground, if you have ample backyard space.
- In raised beds, for better drainage and less back strain.
- In buckets or grow bags, if you have a smaller patio or balcony.
No matter your living situation, you can enjoy fresh, homegrown potatoes. They’re truly one of the most adaptable crops in modern home gardening.

1.4. Low-Maintenance yet Highly Rewarding
Though they can benefit from regular watering and occasional fertilization, potatoes generally don’t need complicated care routines or perfect soil. They often flourish in conditions where other vegetables might struggle, making them a great choice for both novice and experienced gardeners alike.
2. Determinate vs. Indeterminate Potatoes
When we talk about determinate and indeterminate potatoes, these terms can be a bit confusing—especially if you’re already familiar with determinate and indeterminate tomatoes. Tomatoes and potatoes are related botanically, but the determinate/indeterminate distinction works a bit differently in potatoes.
2.1. Determinate Potatoes (Also Known as First Early & Second Early)
- Maturity: Typically ready for harvest in about 10 to 15 weeks.
- First Early: About 10–12 weeks
- Second Early: About 13–15 weeks
- Characteristics:
- Often smaller in size, perfect for new potatoes or potato salad.
- Grow in a single layer near the soil surface (so mounding or “hilling” doesn’t dramatically increase yields).
- Great for gardeners who want a quicker harvest.
- Popular Varieties:
- Red Pontiac (a First Early type, known for its red skin).
- Charlotte (a Second Early favorite in many home gardens).
2.2. Indeterminate Potatoes (Main Crop Potatoes)
- Maturity: Typically mature in 16 to 22 weeks.
- Characteristics:
- Form multiple layers of tubers as the plant grows, so “hilling up” can increase yields.
- Can reach larger sizes, making them highly versatile in the kitchen (baking, frying, mashing, etc.).
- Often used by gardeners aiming for a hefty, all-purpose harvest.
- Popular Varieties:
- Russet (great for fries, baking, and mashing).
- Maris Piper, King Edward, or similar large main-crop types.
Key takeaway: If you want an early harvest of small, tender potatoes, go for determinate varieties (first/second earlies). If you prefer large tubers and a bigger yield, choose indeterminate (main crop). For many gardeners, planting both types ensures a continual supply of potatoes throughout the season.
3. Choosing the Right Potato Variety
Apart from deciding between determinate and indeterminate, selecting the right potato variety often comes down to color and texture.
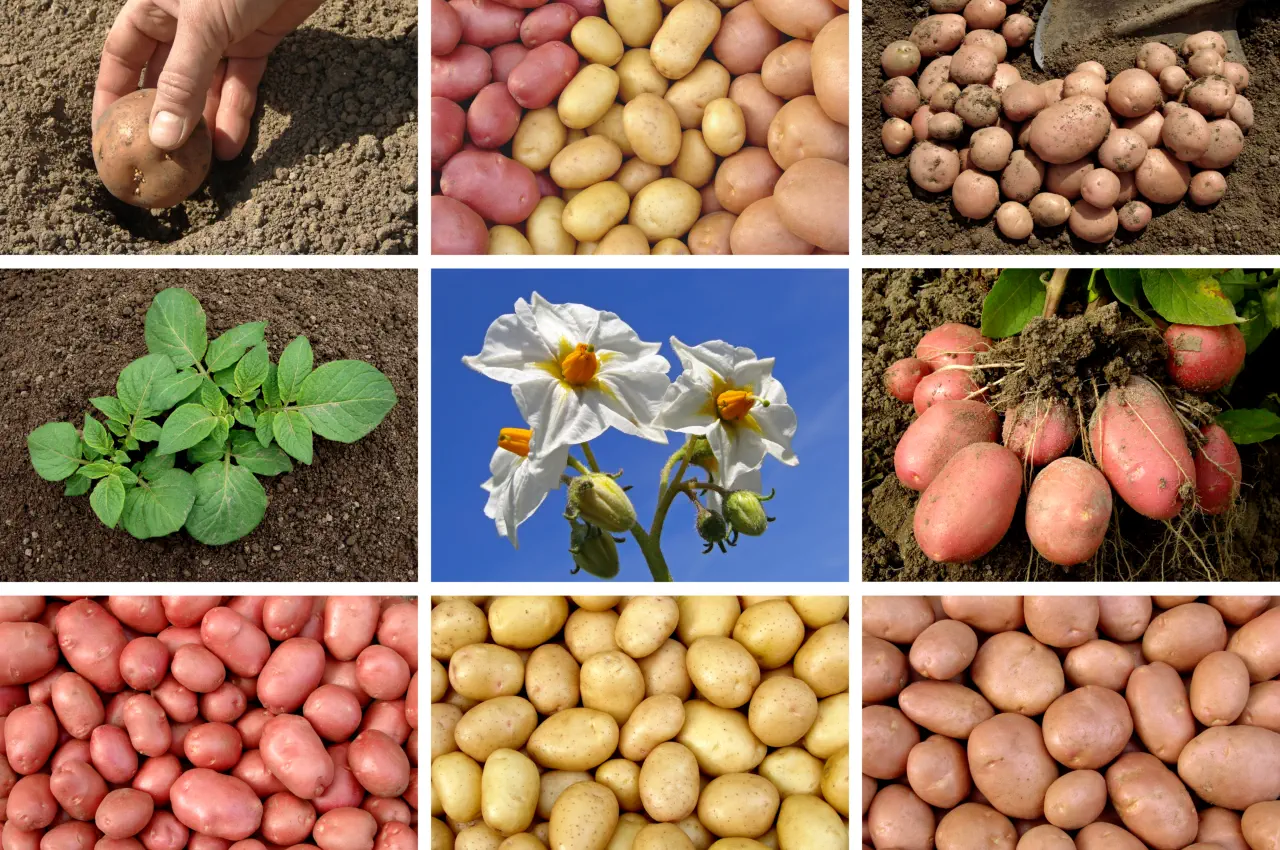
3.1. Color
Potatoes aren’t limited to the typical beige or brown skin. You can find:
- Red varieties (e.g., Norland Red, Red Pontiac)
- Yellow varieties (e.g., Yukon Gold)
- White varieties (e.g., Kennebec)
- Blue/Purple varieties (e.g., Adirondack Blue)
These different colors offer diverse flavors, nutritional profiles, and visual appeal. Blue or purple potatoes, for instance, contain higher levels of antioxidants. Red potatoes typically have thin skins, making them excellent for salads and quick cooking.

3.2. Texture
- Waxy Potatoes: High moisture content, tight cells, and a glossy feel when cooked. These hold their shape well when boiled and are ideal for salads or soups. Examples: Norland Red, Red Bliss.
- Starchy Potatoes: Fluffy, airy texture, and better at absorbing flavors. Typically used for mashing, baking, or making fries. Examples: Russet, Maris Piper.
Pro tip: Think about how you like to eat potatoes—baked, fried, roasted, in salads—and choose a variety that matches your cooking style. Planting multiple types in the same season gives you culinary flexibility.
4. Chitting Potatoes (Pre-sprouting)
One of the unique techniques in potato growing is “chitting.” While the name might sound a bit odd, it simply means pre-sprouting your seed potatoes before planting them in the ground or containers.
4.1. Why Chit Your Potatoes?
- Faster growth: Chitting gives potatoes a head start, crucial for gardeners in colder climates or those with short growing seasons.
- Higher yields: By ensuring each seed potato has strong sprouts, you maximize the potential for more tubers underground.
4.2. How to Chit
- Select your seed potatoes: Look for ones that have multiple “eyes” (small dimples where sprouts emerge).
- Position them in an egg carton or a tray with the majority of eyes facing upward.
- Place the tray in a cool, well-lit area: Aim for a temperature around 50–60°F (10–15°C).
- Wait 4–6 weeks: Allow the sprouts to grow to about 1 inch (2–3 cm). Once they reach that length, they’re ready to plant.
4.3. Do You Have to Chit?
Not necessarily. In warmer regions, many gardeners simply plant seed potatoes directly in the soil without pre-sprouting. However, if you experience harsh winters or want to ensure a stronger, faster start, chitting is a smart and simple technique.

5. Four Methods to Plant Potatoes
Now, let’s explore four different methods to grow potatoes. Each comes with its own advantages, depending on your available space, soil quality, and personal preference.
5.1. Bucket Method
Ideal for: Small spaces, balconies, or patios
- Choose a 5-gallon bucket (about 19 liters).
- Drill drainage holes in the bottom if not already present.
- Fill the bucket about halfway with a light potting mix.
- Place 1 seed potato (or a section with at least 2–3 eyes) in the center.
- Cover with 2–3 inches of soil and water gently.
- Hill up: As the sprouts grow 6–8 inches high, add more soil or compost around the stems until you reach near the top of the bucket.
- Pros: Easy to move around, straightforward harvesting—just tip it over.
- Cons: Limited root space can mean a smaller yield compared to in-ground methods.
5.2. Grow Bag Method
Ideal for: Gardeners who want more flexibility and good drainage
- Select a large grow bag (around 10–15 gallons or bigger).
- Fill the base with about 1/3 potting mix.
- Place 2–3 seed potatoes in a triangle pattern, eyes facing upward.
- Cover them with a few inches of soil, water well.
- As the potato plants grow, roll the sides of the bag up and add more soil, maintaining a couple of inches of green leaves above the soil each time.
- Pros: Excellent drainage, good aeration for roots, easy to harvest (just dump the bag).
- Cons: The soil in grow bags can dry out quicker; you’ll need to water more frequently.

5.3. Classic In-Ground Method
Ideal for: Gardeners with sufficient outdoor space and workable soil
- Loosen the soil: Use a shovel or garden fork to aerate the top 8–12 inches. Potatoes need relatively loose soil to form tubers.
- Dig a trench: About 6–8 inches deep.
- Space the seed potatoes: Place them around 12–15 inches apart (for determinate varieties) or 15–18 inches for bigger, indeterminate types.
- Cover with soil.
- Hill up over time if you’re growing indeterminate potatoes.
- Pros: Suitable for large-scale planting, potentially higher yields if you can hill multiple times.
- Cons: Requires a garden plot or raised bed area. Harvesting might be more labor-intensive if the soil is heavy.

5.4. Ruth Stout “No-Dig” Method
Ideal for: Extremely low-maintenance gardeners or those with compacted soil
- Lightly loosen the top layer of soil (optional; Ruth Stout often skipped this step).
- Place the seed potatoes on the surface, spacing them the same as in the classic method.
- Cover with a thick layer (at least 6–8 inches) of straw, hay, or other mulch.
- As the plants grow, you can add more mulch if needed.
- Pros: Almost zero digging, excellent moisture retention, easy to harvest (just lift the mulch).
- Cons: Requires a good amount of organic mulch material. Windy sites may blow the straw away.
Note: The Ruth Stout method is especially appealing if you’re growing early (determinate) potatoes, which don’t necessarily benefit as much from repeated hilling. You can simply push aside the straw to harvest “new potatoes” without disturbing the entire row.
6. Caring for Your Potato Plants
6.1. Watering
- Consistent moisture is key. Potatoes thrive with about 1–2 inches of water per week.
- Avoid waterlogging: Overwatering can lead to rot and fungal diseases. Ensure proper drainage, especially in containers or grow bags.
6.2. Fertilization
- Organic Matter: Mix compost or well-rotted manure into the soil before planting. Potatoes appreciate balanced, organic-rich soil.
- Periodic Feeding: Every 3–4 weeks, you can apply an organic fertilizer (e.g., a 5-5-5 NPK) or a compost tea. This ensures a steady supply of nutrients throughout the growing season.
- Avoid Excess Nitrogen: Too much nitrogen leads to lush foliage at the expense of tuber formation. Moderation is key.
6.3. Hilling Up
- For indeterminate potatoes: Once the plants reach about 6–8 inches tall, mound soil or mulch around the stems, leaving a few inches of leaves exposed.
- Repeat the hilling process every 2–3 weeks or whenever the plants grow another 6–8 inches. This helps protect developing tubers from sunlight (which causes greening) and encourages more layers of tubers.
6.4. Pest and Disease Management
- Common Pests: Colorado potato beetle, aphids, and slugs.
- Prevention: Handpick beetles, use row covers, maintain a clean garden.
- Diseases: Early blight, late blight, scab.
- Prevention: Rotate crops annually (avoid planting potatoes in the same spot every year), ensure good airflow, water at the base (not overhead).
Regularly inspect your plants and act quickly at the first sign of trouble. Organic controls like neem oil or insecticidal soap can be effective against many common pests.
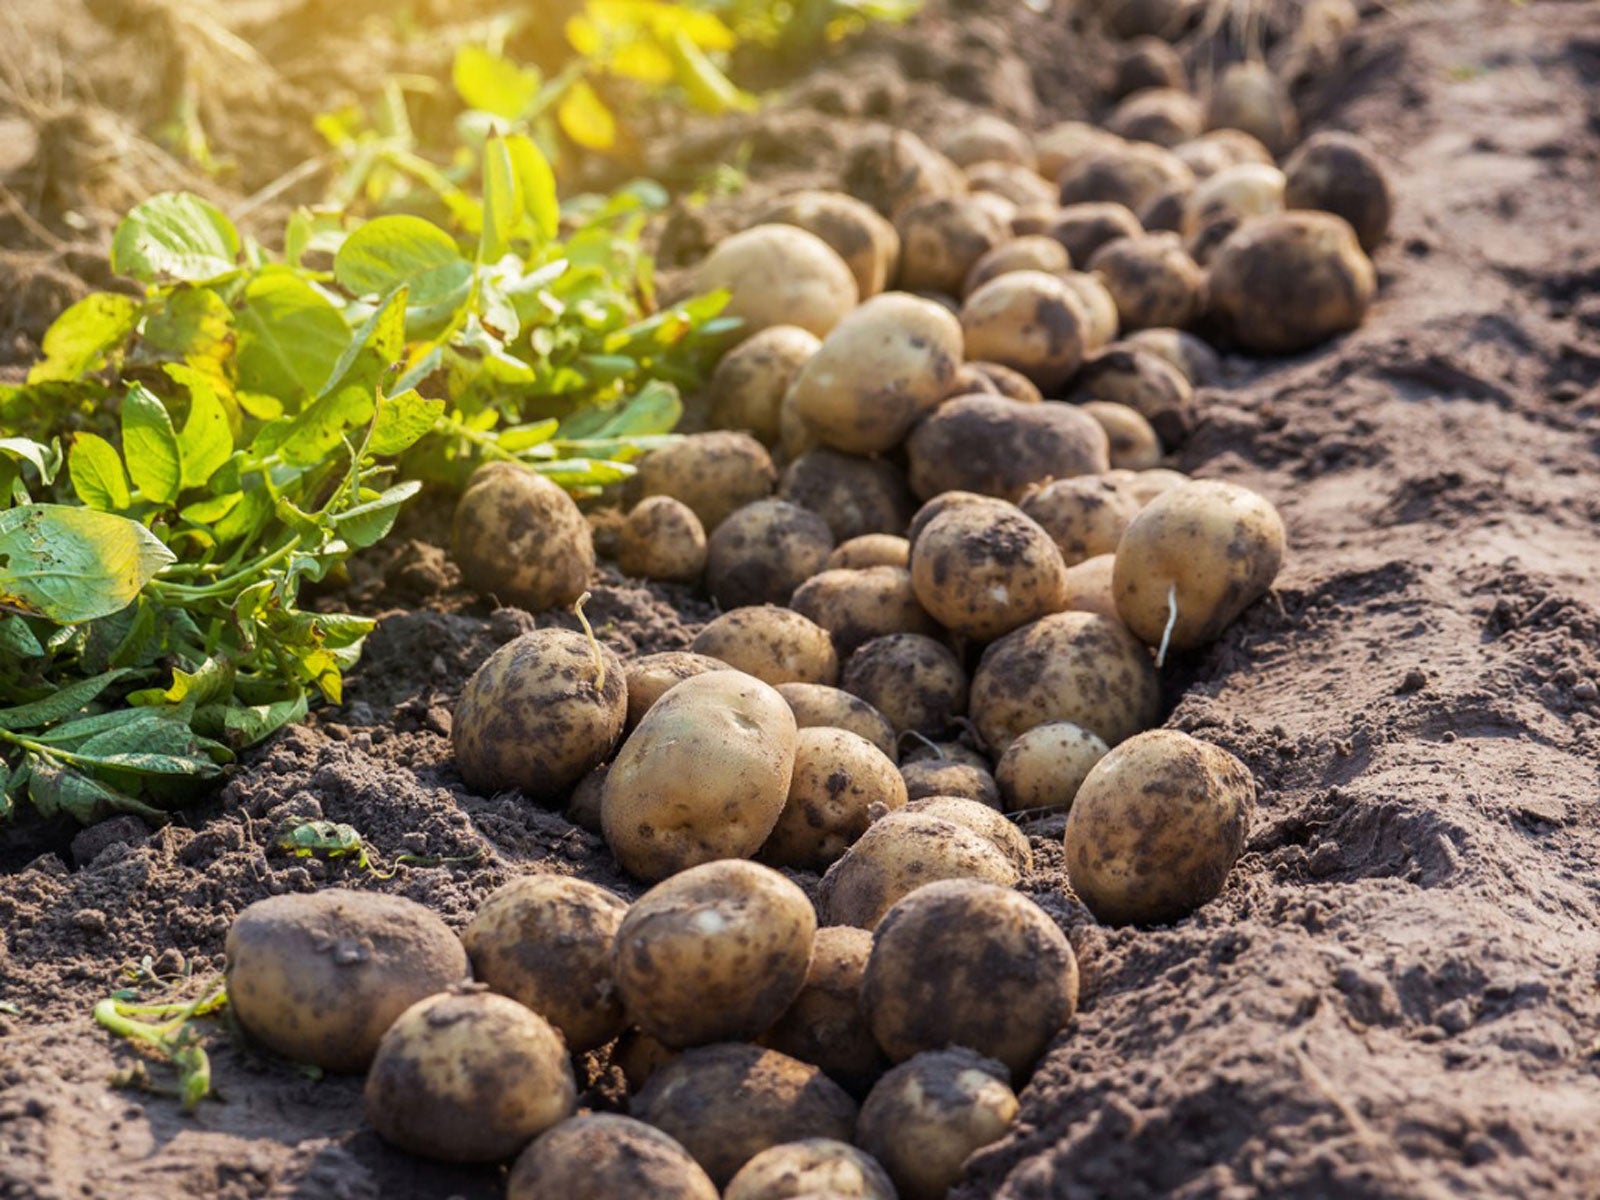
7. Harvesting and Storing Your Potatoes
7.1. When to Harvest
- Determinate (First Early & Second Early): About 10–15 weeks. The foliage often starts to yellow, or you can harvest earlier for “new potatoes.”
- Indeterminate (Main Crop): About 16–22 weeks. Wait until the foliage largely dies back and turns brown. Some gardeners cut the foliage down 1–2 weeks before harvesting to allow skins to toughen.
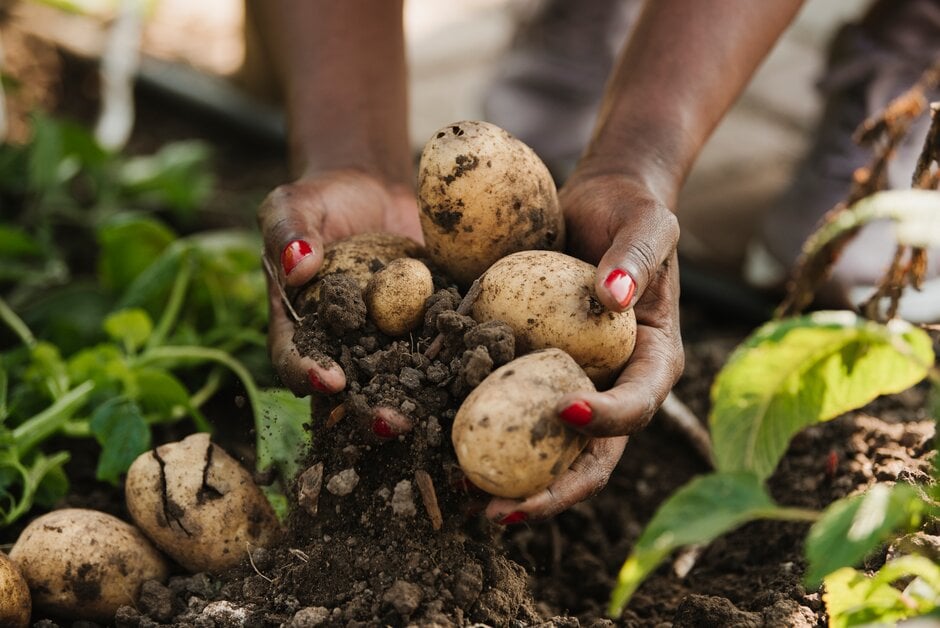
7.2. How to Harvest
- In-Ground Method: Use a garden fork or shovel to gently lift the plants, taking care not to spear the tubers. Brush off excess dirt.
- Bucket / Grow Bag: Tip the container over onto a tarp and sift through the soil. Collect the tubers by hand.
- Ruth Stout: Simply pull back the straw or hay to find the potatoes. This minimal-disturbance approach keeps the soil structure largely intact.
7.3. Post-Harvest Curing and Storage
- Dry Your Potatoes: After harvesting, lay them in a cool, shady spot for a few hours to let the skins dry.
- Avoid Sunlight: Direct sun can cause greening on freshly dug potatoes.
- Curing (Optional): Some gardeners like to cure potatoes for 1–2 weeks in a dark, well-ventilated area at around 50–60°F (10–15°C) to help the skins harden. This step helps extend storage life.
- Storage Conditions: Store in a cool, dark place (around 40–50°F / 4–10°C). A breathable bag or a cardboard box is ideal; avoid sealed plastic bags that trap moisture and cause rot.
- Separate from Ethylene Producers: Keep potatoes away from apples or bananas, which emit ethylene gas and can accelerate spoilage.
8. Frequently Asked Questions (FAQ)
Below are some of the most common questions gardeners have about growing potatoes, especially for those just starting out or looking to refine their techniques.
8.1. Can I Plant Regular Grocery Store Potatoes?
Yes—provided they haven’t been treated with anti-sprouting chemicals. However, certified seed potatoes from DH Garden Centre or another reputable source are often disease-free and bred for higher yields. If you do use store-bought, choose organic and look for signs that the eyes can sprout.
8.2. My Potatoes Turned Green in Spots. Are They Safe to Eat?
Green coloring on potatoes is caused by exposure to light, which leads to the production of solanine, a bitter-tasting compound. While small green areas can be cut off, it’s best to avoid eating large amounts of green potatoes. Prevent greening by hilling up or covering tubers as they develop.
8.3. How Do I Increase My Potato Yields?
- Chit your seed potatoes if you have a short growing season.
- Hill up regularly for indeterminate varieties.
- Fertilize with balanced, organic nutrients without overdoing nitrogen.
- Maintain consistent moisture but avoid waterlogged conditions.
- Rotate crops to prevent soil-borne diseases.
8.4. How Often Should I Water My Potato Plants?
Aim for about 1–2 inches of water per week (through rainfall or irrigation). Check the soil by poking your finger an inch down. If it feels dry, water thoroughly. Overwatering can encourage rot, so always ensure good drainage.
8.5. Do I Really Need to Hill Up Potatoes?
For determinate potatoes, hilling might not drastically increase yield since they form tubers in one layer. But for indeterminate varieties, hilling creates more underground stem area for tubers to develop, boosting overall production and protecting against greening.
8.6. Should I Let the Foliage Die Back Completely Before Harvesting?
For main-crop (indeterminate) potatoes, yes—waiting until the foliage naturally dies back allows tubers to reach maximum size and helps toughen the skins for storage. For new or early potatoes, you can harvest earlier if you prefer smaller, tender tubers.
8.7. How Do I Avoid Diseases Like Blight?
- Crop rotation: Don’t grow potatoes (or tomatoes) in the same spot every year.
- Disease-resistant varieties: Check labels for blight-resistant potato cultivars.
- Healthy environment: Use clean seed potatoes, ensure good air circulation, and avoid overwatering the foliage.
9. Conclusion
Growing potatoes can be one of the most satisfying gardening experiences. There’s a joyful surprise every time you dig into the soil or tip out a container to discover those hidden tubers. Whether you decide to try the bucket method, grow bags, classic in-ground rows, or the Ruth Stout method, the result is fresh, delicious, and versatile potatoes for your dinner table.