
How to Plant Aloe Vera from Cuttings (The Right Way!) – Lessons from a Real Gardener’s Experiment

The Truth About Aloe Vera Cuttings: A Gardener’s Journey to Discovery
Hey friends, Darrell here from DH Garden Centre and DH Landscape Solution in beautiful Kitsilano, Vancouver. I want to share with you something that really hit home recently a lesson that even experienced gardeners sometimes forget: plants don’t always follow our expectations.
Let me tell you about Danny – a passionate gardener who, like many of our customers, wanted to propagate aloe vera at home. He wasn’t just experimenting for fun. He was trying to answer a real question that’s been circling the plant lover community:
Can you grow aloe vera from a cut leaf? And what happens if you cut the leaf in half?
Well, Danny went full in. He sliced the leaves, dried them, planted both top and bottom halves, and waited. And what he learned from that process will save you a lot of time, energy, and let’s be honest – disappointment.
Let’s dig into everything he (and we) discovered so that your aloe vera propagation journey goes the right way from day one.
Can You Propagate Aloe Vera from Leaf Cuttings?
Let’s make one thing crystal clear right from the start – aloe vera isn’t your average succulent. Sure, it looks similar, with thick, juicy leaves that store water. But when it comes to propagation, aloe vera follows a different set of rules and that’s something many new gardeners don’t realize until they’ve tried and failed.
At DH Garden Centre in Vancouver, we often meet customers who say,
“I cut off a leaf, let it dry, and planted it… but nothing happened!”
And honestly? That’s not surprising. Here’s why:
Unlike other succulents, aloe vera doesn’t grow new roots from just any leaf cutting. What it really needs is a piece of the stem tissue, located at the very base of the leaf—what we call the crown or the rosette base. That’s where all the growth energy is stored.
If you snip off a leaf halfway up the plant and try to root it?
❌ No roots.
❌ No pups.
❌ Just a sad, shriveled-up leaf.
But if you include a small section of that crown tissue when making your cutting, you’ve got a real shot at success. It’s one of the key tips we love sharing with customers who visit our garden centre in Vancouver, especially those just starting their journey into plant propagation.
Knowing this one detail can make all the difference—and it’s why we’re here: to help your plants actually grow, not just look good on Instagram for a week.

Danny’s Experiment: Cut Leaf vs. Whole Leaf
Now here’s where things got really interesting—and where Danny’s experiment took a turn from casual curiosity to full-on plant science mode.
Instead of simply removing full leaves from the aloe vera plant, Danny decided to go a step further. He wanted to push the boundaries of what we know about aloe propagation. So what did he do?
👉 He carefully cut several aloe vera leaves in half, separating each one into a top section and a bottom section.
His reasoning? He wanted to see if both halves—if properly dried—could still produce roots and pups. Because some people online claimed all you need is to let the leaf callous (meaning: let the wound dry out and harden), and then pop it into soil. Sounds simple, right?
So here’s what he did, step-by-step:
-
He took healthy, mature leaves from a mature aloe vera plant.
-
He sliced each leaf horizontally—creating two parts:
-
The bottom half, which still had a portion of the base and stem tissue.
-
The upper half, which had no stem connection at all.
-
-
He placed all the cuttings in a shaded, well-ventilated area for about a week, allowing the wounds on both ends to properly callous over.
-
Once the surfaces were dry and sealed, he planted both the top and bottom halves into well-draining succulent soil, just like the one we recommend at DH Garden Centre in Vancouver.
-
And then… he waited.
⏳ Day 1… Day 3… Day 7…
By Day 12, something incredible started to happen.
What Happened Next?
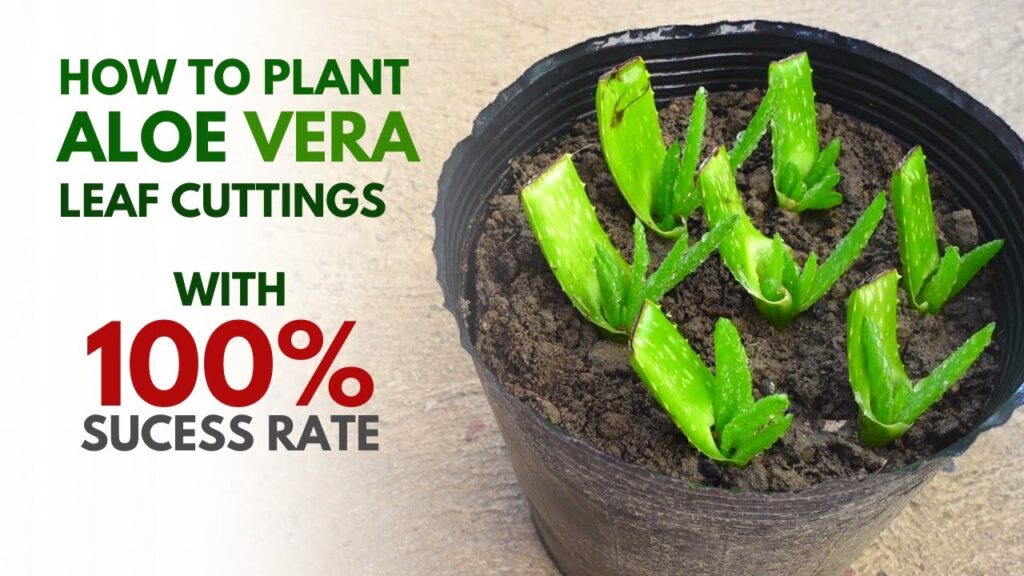
🌱 The bottom halves—the ones with a bit of stem tissue still attached—began to grow.
Some showed tiny root hairs poking into the soil. Others pushed out little green pups—baby aloe plants that form as offshoots. One cutting even produced multiple pups! This was exciting and validating for Danny, because it proved that the crown tissue was the key player in propagation success.
🚫 The top halves—the ones without any stem tissue—told a very different story.
After three weeks, not a single one had produced roots or new shoots. Most still looked the same as the day they were planted—maybe a little thinner, a little yellower, but surprisingly still intact. They weren’t rotting… but they also weren’t growing.
It was like they were just… stuck in limbo.
Danny’s Conclusion? As Clear as Day:
❌ Callousing alone isn’t enough.
✅ You must include a portion of the stem or crown tissue if you want your aloe cutting to root and thrive
How to Propagate Aloe Vera the Right Way
Here’s our expert, tried-and-true method for propagating aloe vera from cuttings or offsets.
✅ Step 1: Choose a Healthy Mother Plant
Make sure your aloe vera is:
-
At least 2–3 years old
-
Has pups (offsets) or large mature leaves
-
Not under stress from overwatering or pests
💡 Pro Tip: Aloe vera thrives in bright, indirect light. Stress from low light or soggy soil makes propagation harder.
✅ Step 2: Look for Pups First (Best Method!)
The most reliable way to propagate aloe vera is by dividing pups, which are the baby plants growing from the base of the mother.
-
Gently remove the plant from the pot or dig around the base in the garden.
-
Look for small rosettes with their own root systems.
-
Separate with a clean knife or hand.
-
Let dry (callous) for 1–2 days in a shaded, airy spot.
-
Plant in a well-draining cactus/succulent mix.
✅ Step 3: If You Want to Try Leaf Cuttings…
…and you’re feeling experimental like Danny, here’s what to do:
-
Use a sharp, sterile knife to cut a lower leaf as close to the base as possible.
-
Ensure a small portion of the stem/crown is attached to the leaf.
-
Let the cutting dry for at least 5–7 days in a bright, shaded place until a hard callous forms.
-
Plant cut-side down into dry, gritty soil (like our Succulent & Cactus Mix at DH Garden Centre).
-
Support with stones if needed.
-
Water very lightly after one week, then wait until roots establish before watering again.
🔥 Pro Gardener Tip: Always keep the soil on the dry side when propagating aloe vera. Moisture is the enemy of success in the early stages.
What Soil is Best for Aloe Vera Cuttings?
Choose a gritty, well-draining mix. At DH Garden Centre, we recommend:
-
50% cactus mix
-
25% perlite or pumice
-
25% coarse sand
You can also buy our ready-to-use Aloe Vera Propagation Kit, available in-store or online.
Mistakes to Avoid When Propagating Aloe Vera
🛑 Cutting leaves too far from the base
🛑 Forgetting to let the cut ends callous
🛑 Overwatering before roots develop
🛑 Planting in compact or soggy soil
🛑 Expecting quick results—this process takes time!
Lessons Learned from the Experiment
Danny’s experiment taught us that:
-
Not all leaf cuttings are equal. Without crown tissue, the leaf won’t root.
-
Drying time matters. Rushing the callousing process leads to rot.
-
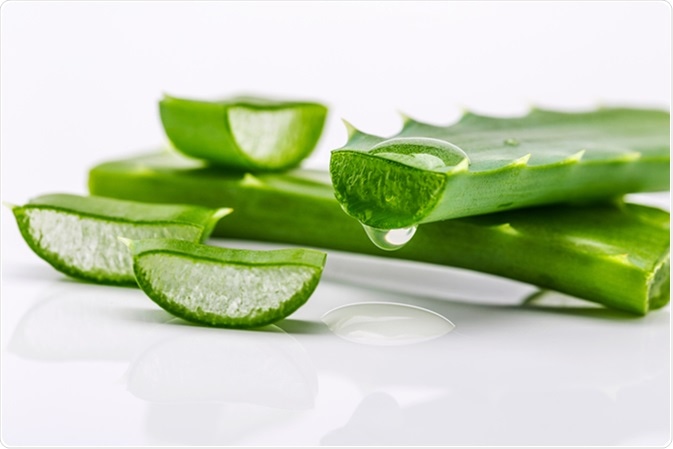
The top half of the leaf is basically useless for propagation. (Though you can still use it for its gel!)
-
Aloe pups are a MUCH better way to grow your collection.
Final Thoughts from Darrell
At DH Garden Centre, we believe in learning through doing—and sharing those lessons with our community. Whether you’re a newbie plant parent or a seasoned succulent collector, there’s always something to discover.
Aloe vera is a beautiful, healing plant, and with a little knowledge and patience, you can propagate it successfully. Just remember: don’t fall for every trick you see online. Use the right technique, and your aloe babies will thank you.
And if you’re ever unsure, come by and talk to us at 3742 West 10th Avenue, Vancouver. We’re always here to help you grow!
FAQs About Aloe Vera Propagation
❓Can I grow aloe vera from a leaf cutting?
Yes, but only if the base of the leaf contains part of the stem or crown tissue. Otherwise, it’s unlikely to root or grow pups.
❓Do aloe vera leaf cuttings need to callous before planting?
Absolutely! Drying the cut end helps prevent rot and allows the plant to seal the wound. Wait at least 5–7 days before planting.
❓How long does it take for aloe vera to root?
If done correctly, you may start to see roots and pups in 10–14 days, but it can take longer depending on temperature, light, and moisture levels.
❓Why didn’t my aloe vera cutting grow roots?
Most likely, the cutting lacked crown tissue or it rotted from too much moisture. Try again using a lower leaf and allow proper callousing.
❓Can I plant the top half of a cut aloe vera leaf?
No. Without the base or crown, the top half of the leaf won’t root—even if it’s calloused.
🌿 Ready to Try It Yourself?
If you’re feeling inspired to give aloe vera propagation a try, we’ve got everything you need right here at DH Garden Centre in Vancouver—from healthy starter plants and high-quality succulent soil to expert tips from our friendly team.
Not sure where to start? Swing by our store in Kitsilano or shoot us a message online. We’re always happy to chat plants and help you pick the best tools and techniques for your home garden.
And remember—gardening is a journey. Whether your first cutting thrives or dries, every step teaches you something new.
Let’s grow something beautiful together.
👉 Visit DH Garden Centre in Vancouver today and start your aloe vera adventure with confidence!