

Why Repotting Is Essential for Healthy Plants
If you’ve ever wondered how to repot indoor plants, you’re not alone. Many Vancouver plant lovers come into DH Garden Centre and ask me the same thing: “Do I really need to repot?” The truth is, yes. Repotting isn’t just swapping an old container for a new one, it’s giving your plant fresh energy. Roots need space to grow, soil needs to be replenished with nutrients, and the foundation of your plant needs to stay strong if you want it to thrive year after year.
Without repotting, soil compacts, water drains poorly, and roots begin circling tightly, which eventually stunts growth. From the outside, your plant might look fine for a while, but beneath the surface it’s slowly struggling. Repotting provides a reset: fresh soil, better aeration, and room for roots to spread. It’s one of the simplest habits you can build into your plant care routine, and here in Vancouver, where we treat our homes as green havens, it’s the key to keeping your indoor plants healthy and vibrant for seasons to come.
Which Signs Tell You It’s Time to Repot Your Indoor Plants?
One of the most frustrating things for plant lovers is when a once-thriving plant suddenly looks tired – yellow leaves, drooping stems, or growth that seems to stall no matter how carefully you water or feed it. Many gardeners in Vancouver come to me at DH Garden Centre thinking they’ve done something wrong, when in fact the real issue is simple: the plant has outgrown its pot. Without timely repotting, roots suffocate, soil turns lifeless, and the plant slowly declines. That’s why knowing the early warning signs makes all the difference.
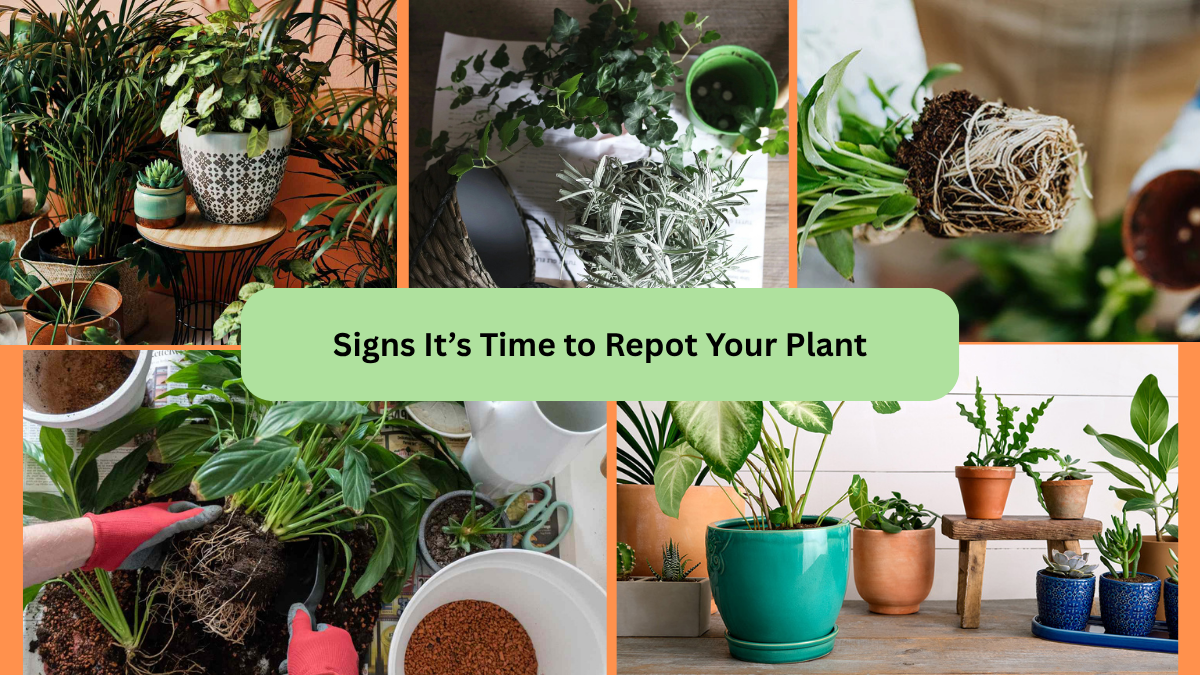
Root Warning Signs
When roots start circling tightly around the inside of the container, it means your plant has outgrown its home. You may also notice roots poking out from the drainage holes at the bottom of the pot or even pushing up through the surface of the soil. If you gently slide the plant out and see a dense, tangled root ball with very little soil left, that’s a clear signal it’s time to repot. Giving roots more room is the foundation of learning how to repot indoor plants successfully.
Soil Signals
Healthy soil should drain well, smell fresh, and feel springy to the touch. If water begins to pool on top instead of soaking in, the soil may be compacted or exhausted. Sometimes it even turns dusty, hard, or sour-smelling, all of which mean nutrients are depleted and the root zone is suffocating. In my experience helping customers repot plants in Vancouver, these soil changes are one of the most overlooked yet important signs that repotting is overdue.
Plant Behavior
Even if you’re watering correctly, your plant may show stress when it’s rootbound. Yellowing leaves, sudden wilting right after watering, or overall stunted growth are classic symptoms. Some plants may also drop leaves prematurely or stop producing new growth altogether. For anyone asking how to repot indoor plants, recognizing these behavioral changes early is critical, don’t wait until the plant is desperate. Proactive repotting ensures healthier, longer-living greenery, and for local plant lovers, repotting plants Vancouver style means setting them up with the right soil mix and container size from the start.
When Should You Repot Plants in Vancouver?
The ideal seasons for repotting are spring and early summer. This is when most indoor plants enter their active growth phase, producing fresh leaves and expanding root systems. If you repot during this period, your plant will bounce back quickly because new growth naturally supports recovery. For Vancouver gardeners who want their plants to thrive, spring is the safest and most effective time to refresh soil and give roots more room.
Late summer can also be suitable, especially for fast-growing plants such as pothos, philodendrons, or herbs. These vigorous growers adjust well even if the season is a little past its peak. However, the earlier in the season you repot, the better the results you’ll see.
Times to Avoid
Winter is not a good time to repot. Even though Vancouver winters are relatively mild, indoor plants still enter a semi-dormant state. Their energy slows down, which means they cannot handle the stress of root disturbance. Repotting now may leave them vulnerable to shock, root rot, or stalled growth.
You should also avoid repotting during flowering. Many plants, from orchids to African violets, put enormous energy into producing blooms. If you repot them at this stage, they may drop flowers or fail to produce healthy buds the following cycle. It’s best to wait until the flowering period ends before giving them new soil.
Local Climate Tip for Vancouver
Learning how to repot indoor plants in Vancouver requires paying attention to our unique coastal climate. Even though the temperatures feel mild in winter, the shorter daylight hours and lower natural light indoors make plants semi-dormant. Unless there’s an urgent issue—like roots breaking out of the pot or severe soil compaction—wait until spring to give your plant the best chance at thriving.
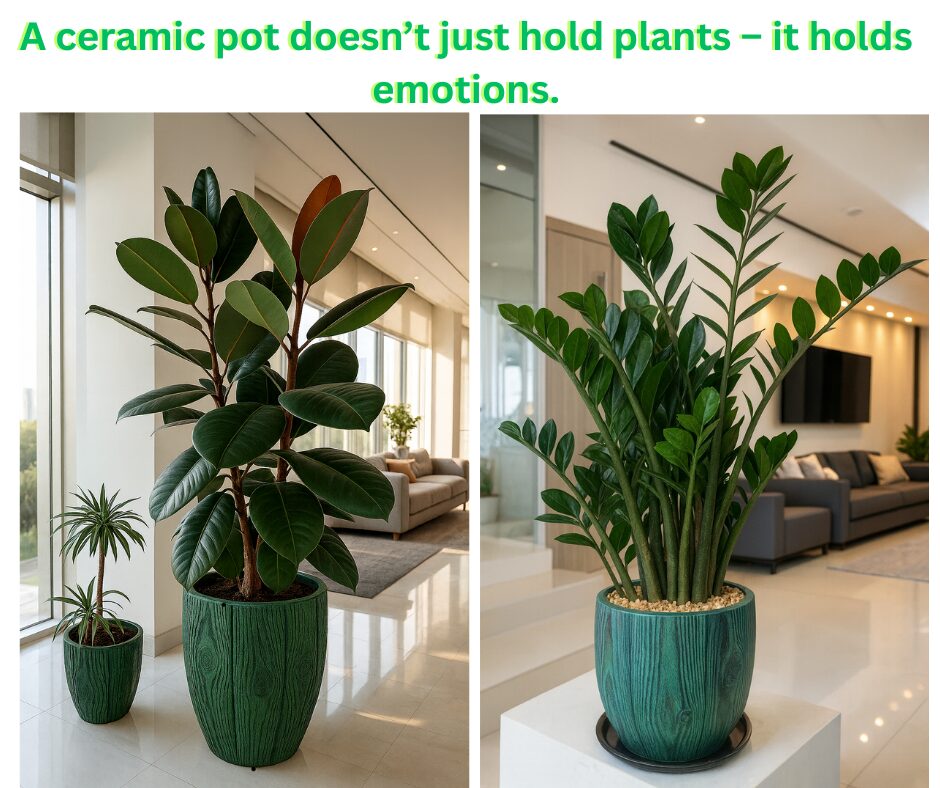
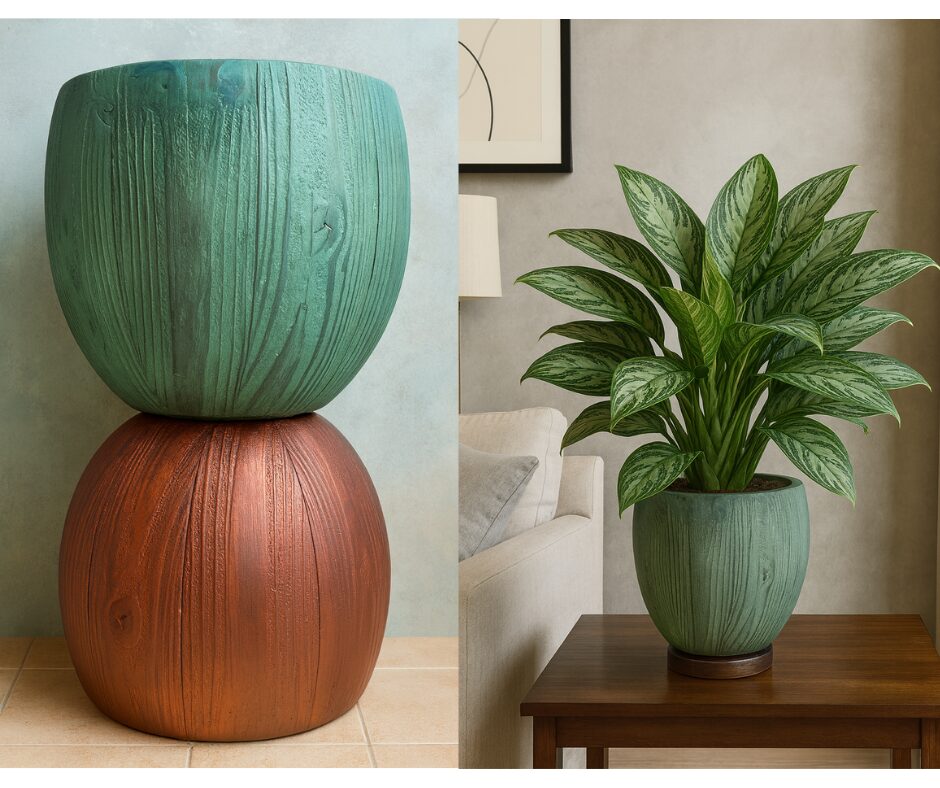
Choosing the Right Pot
A common mistake is moving a plant into a pot that is far too large. The golden rule is simple: go up just 1–2 inches in diameter. For example, if your pothos is in a 6-inch pot, move it into an 8-inch pot. Oversized pots hold too much soil, which retains excess water and suffocates the roots. When you repot plants Vancouver homes love, always remember that moderation is key—just a small size increase is enough.
Pot Materials
-
Terracotta: Porous and breathable, allowing excess moisture to evaporate. This makes it perfect for succulents, cacti, and houseplants that don’t like wet feet.
-
Ceramic (glazed): Holds more moisture than terracotta, which works well for tropical plants such as ferns and calatheas that prefer consistently moist soil.
-
Plastic: Lightweight, affordable, and versatile. Great for hanging plants or larger specimens that need mobility, though it retains more moisture than terracotta.
Drainage: Non-Negotiable
No matter what pot material you choose, drainage holes are essential. Without them, water accumulates at the bottom, suffocating roots and leading to rot. Even the most stylish container won’t save a plant if excess water can’t escape. If you’re serious about how to repot indoor plants successfully, this is the number one rule: style is optional, drainage is mandatory.
Preparing to Repot: Tools and Materials
Before you repot plants Vancouver, get everything ready:
-
New pot with drainage.
-
Fresh potting mix suited to your plant type.
-
Trowel or spoon.
-
Gloves.
-
Pruners for trimming roots.
-
Watering can with room-temperature water.
A big part of knowing how to repot indoor plants is choosing the right soil:
-
Tropical plants: Peat, perlite, and compost mix.
-
Succulents: Sandy, gritty soil.
-
Orchids: Bark-based medium.
Step-by-Step Guide: How to Repot Indoor Plants
This is the heart of the process—here’s exactly how to repot indoor plants in a way that sets them up for success.
Step 1: Prepare the New Pot
-
Cover drainage hole with mesh or a shard.
-
Add a base layer of fresh soil.
Step 2: Remove the Plant
-
Water lightly the day before—it helps the plant slide out.
-
Support the base and gently tip.
-
Tap sides if needed.
Step 3: Loosen and Inspect Roots
-
Untangle circling roots.
-
Trim rotten or mushy ones. Healthy roots should be firm and white.
Step 4: Position the Plant
-
Place at the same soil depth as before.
-
Add fresh soil around roots, pressing lightly.
Step 5: Water Thoroughly
-
Water until excess drains out.
-
Let the pot rest before putting it back on its saucer.
By following these steps, anyone in Vancouver can master how to repot indoor plants confidently.
Mistakes to Avoid When Repotting
Even experienced gardeners make mistakes. If you’re learning how to repot indoor plants, here’s what not to do:
-
Oversizing pots → causes root rot.
-
Using garden soil indoors → compacts and harbors pests.
-
Repotting too often → plants prefer stability.
-
Repotting in winter → slows recovery.
-
Forgetting root inspection → hidden rot spreads.
I’ve seen countless plants decline simply because these mistakes were overlooked.
FAQs About Repotting
Q: How often should I repot my plants?
A: Every 1–2 years for most. Fast growers annually, slow growers like snake plants every 3–4 years. This schedule helps you know how to repot indoor plants efficiently.
Q: Can I repot in winter?
A: Only for emergencies. In Vancouver, wait for spring unless root rot is urgent. That’s the best way to repot plants Vancouver without shocking them.
Q: Should I fertilize after repotting?
A: No—fresh soil has nutrients. Fertilize only after 4–6 weeks.
Q: What soil is best?
A: Use blends designed for indoor plants. At DH Garden Centre, we stock mixes tailored to Vancouver’s conditions.
Q: My plant wilted after repotting. Did I do something wrong?
A: Likely just transplant shock. Understanding how to repot indoor plants means knowing this is normal—give it time.
Conclusion: Repotting Is a Fresh Start
Every time you repot plants Vancouver gardeners cherish, you’re giving them a chance at new life. Roots stretch, soil refreshes, and the plant responds with energy.
If you’ve been hesitant, now’s the time. Learn how to repot indoor plants step by step, avoid common mistakes, and embrace the joy of renewal.
I’ve watched countless plants bounce back from the brink simply because their owners took the time to repot. Trust me: it’s worth it.
At DH Garden Centre in Vancouver, we carry everything you need to repot plants Vancouver homes and offices proudly display. From premium potting mixes to pots with proper drainage, and expert guidance on how to repot indoor plants, we’re here to help.
📍 Visit us at 3742 West 10th Avenue, Vancouver, BC or shop online at dhgardencentre.com.
Let’s make your indoor garden thrive—one repot at a time.