
Learn how to start a worm farm from scratch using a simple 7-10 gallon tote. Expert vermicomposting tips, bedding prep, worm care, feeding schedules, moisture control, troubleshooting, and best practices for producing rich, microbe-packed worm castings at home.
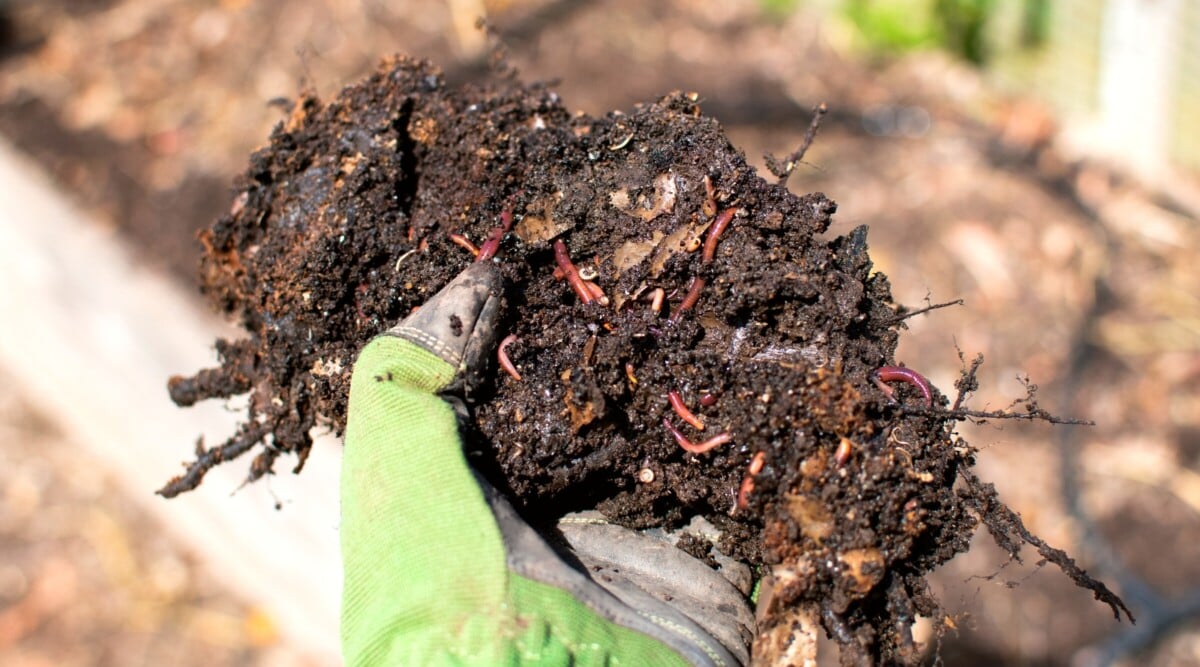
Vermicomposting is one of the most efficient and sustainable ways to recycle food waste at home. It requires no electricity, no transportation, very little space, and the results are extraordinary: worm castings rich in beneficial microbes, humus, and nutrients that dramatically improve soil health.
If you’re new to vermicomposting, congratulations, you’re about to begin a simple, low-cost practice that transforms everyday kitchen scraps into living soil.
This guide walks you through every step of starting a worm bin using a basic 7–10 gallon tote. No fancy systems required, though the same principles apply to higher-end worm farms like fabric flow-through systems.
Why Vermicomposting Works: It All Starts With Microbes
Worms get all the attention, but vermicomposting begins and ends with microorganisms.
Before worms eat any food waste, bacteria and fungi break down organic materials into softer, partially decomposed matter. As this bacteria-coated waste moves through the worm’s digestive system, microbial populations explode in diversity. The worm’s gut adds mucus and enzymes, creating nutrient-dense castings that supercharge soil biology.
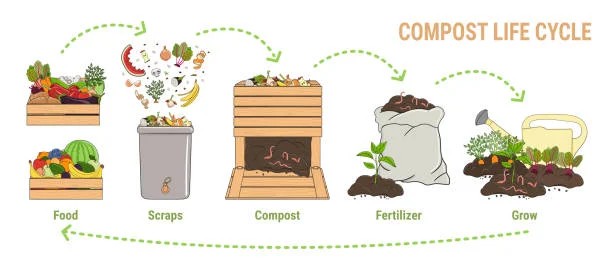
This cycle looks simple:
-
Microbes colonize food waste
-
Worms ingest microbe-rich waste
-
Worm castings multiply microbial life
-
Castings inoculate the bin, accelerating decomposition
It is a perfectly self-sustaining loop, nature’s own recycling system.
Step 1: Choose and Prepare Your Worm Bin (7–10 Gallons Recommended)
You don’t need a custom-made system to start. A simple plastic tote from any hardware store works well.
Why a 7–10 gallon tote?
• Easier to move
• Provides enough depth and volume for beginners
• Reduces risk of anaerobic (low-oxygen) conditions
• Affordable and accessible
Drill ventilation holes
To maintain aerobic conditions, drill dozens of holes in the top few inches of the sidewalls. Holes should be smaller than ¼ inch to prevent worms escaping or pests entering.
If your bin will stay outdoors:
• Drill holes only on the sides (rain can enter holes drilled in the lid).
If indoors:
• Additional holes on the lid help airflow.
Important: Remove plastic shavings so they don’t end up in your castings.
Optional: Create a leachate catch system
Use a second tote underneath to collect excess moisture.
While a properly maintained worm farm should not produce leachate, beginners often overwater. If liquid collects, discard it, it is not worm tea and can contain anaerobic pathogens.
Step 2:
Add and Prepare Bedding (The Worms’ Home + Food Source)
Bedding is more than habitat, it is also food. Unlike animals that need new bedding replaced, worms actually consume the bedding itself.
Best bedding options (carbon-rich materials):
• Shredded paper or cardboard
• Peat moss
• Coco coir
• Leaf mold
• Commercial cellulose-based products (e.g., PittMoss)
Paper and cardboard are most common because they’re free and abundant. For best results, use cross-cut shredded material. It creates more surface area, decomposes faster, and allows smoother worm movement.
Add “living material” for microbial jumpstart
To accelerate microbial activity, mix in:
• Leaf mold
• Compost
• Existing worm castings
These materials introduce beneficial microbes that help food waste decompose before worms consume it.
Moisten the bedding
Food waste is 85-90 percent water, so bedding must be absorbent. Soak it for 24 hours, then wring it out until damp like a squeezed sponge.
Add 4-6 inches of bedding to your tote.
If you lack compost or leaf mold, add 1-2 cups of food waste directly into the bedding to activate microbial growth before your worms arrive.
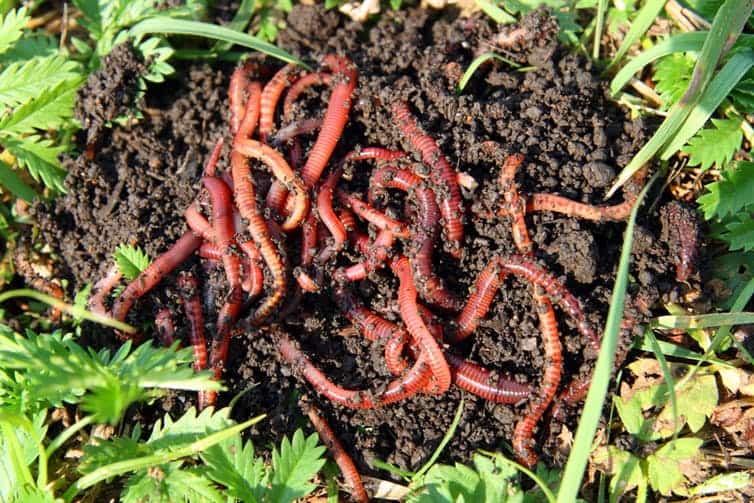
Step 3: Order and Introduce Your Composting Worms
For a tote system, one pound of worms is ideal.
Common species include:
• Eisenia fetida (Red Wigglers) – the industry standard
• Eisenia hortensis (European Nightcrawler) – larger, slower, but effective
When worms arrive:
-
Place them directly on top of bedding
-
Turn on a bright light above the open bin
-
Leave the lid open
Worms hate light. They will burrow quickly into their new habitat. Keep the light on for 24 hours to ensure they acclimate and don’t attempt to crawl upward or escape.
Step 4: Begin Feeding, Slow and Small (Critical for Beginners)
The biggest beginner mistake is overfeeding.
For the first week:
• Feed no more than 1 cup of food waste
• Add 2 cups of dry bedding
• Mix food and bedding together, then bury lightly
• Cover with newspaper, bubble wrap, or a worm blanket to retain moisture
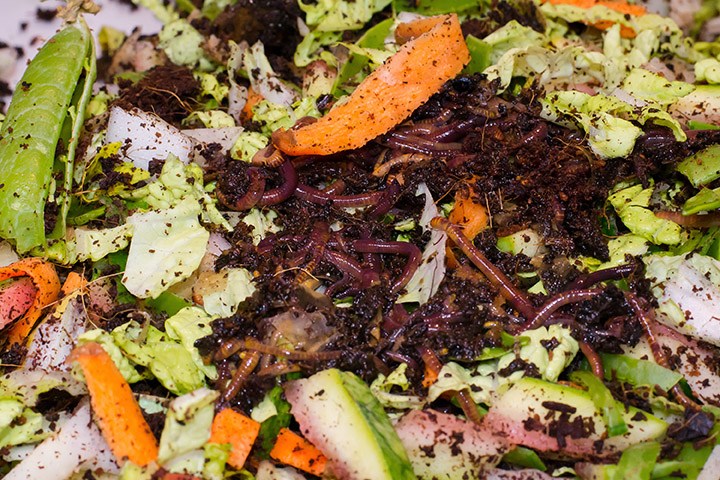
Best foods to start with:
• Vegetable scraps
• Fruit scraps (sparingly, to avoid fruit flies)
• Coffee grounds
• Tea leaves
• Soft plant matter
Avoid in early weeks:
• Meat
• Dairy
• Oils
• Citrus
• Spicy foods
• Large, whole pieces of waste
Cut or blend food for faster decomposition
Smaller particles = easier microbial colonization = faster worm digestion.
Freeze food waste before use
Freezing kills fruit fly eggs and ruptures cell walls, softening the waste.
Step 5: Add Grit for Worm Digestion
Since worms do not have teeth, they need grit to break down food in their gizzard.
Effective grit sources:
• Finely crushed eggshells
• Playground sand
• Rock dust
• Pulverized limestone (dolomitic lime for pH buffering)
Add a tablespoon every 1–2 weeks.
Step 6: Monitor and Maintain Moisture Properly
Moisture determines 90 percent of worm bin success. Bedding should feel like a wrung-out sponge.
Too dry?
• Use a spray bottle on mist setting
• Never pour water directly
Too wet?
• Add dry bedding in layers
• Improve ventilation
• Remove excess liquid from catch bin
If the top surface looks muddy, shiny, or smells sour, conditions may be anaerobic. Add carbon immediately.
Step 7: Establish a Feeding Rhythm
You should only feed again when:
• You no longer recognize the previous food
• The surface of the vermicompost is flat and uniform
• No wet pockets or unbroken chunks remain
This usually takes 1-2 weeks, depending on bin size, temperature, and worm population.
Over time, as your worm population grows, feeding frequency increases naturally.
How Long Until You Can Harvest Castings?
A tote system typically produces usable castings in:
• 8-12 weeks for partial harvest
• 4-6 months for full harvest
Flow-through systems harvest more frequently, but tote systems are simple and reliable for beginners.
Common Vermicomposting Mistakes (and How to Avoid Them)
1. Overfeeding
Leads to smell, pests, and anaerobic conditions.
2. Not enough bedding
Causes acidic conditions and soggy texture.
3. Too little ventilation
Worms suffocate without oxygen.
4. Too much moisture
Leachate, mold growth, and oxygen depletion.
5. Adding worms before microbes are established
The bin must “age” 3–7 days before adding worms.
Why Worm Castings Matter
Worm castings are biologically active and contain:
• Plant growth hormones
• Beneficial bacteria and fungi
• Humic and fulvic acids
• NPK in slow-release form
• Minerals in plant-available chelated formats
They improve:
• Soil structure
• Water retention
• Aeration
• Root development
• Disease resistance
A handful of castings can inoculate an entire garden bed.
Start Your Vermicomposting Journey Today
If you want to turn kitchen scraps into living soil, reduce waste, and grow healthier plants, a worm farm is one of the simplest ways to begin.
Start small. Stay consistent. Let the microbes do the work.
If you need:
• Composting worms
• Bedding materials
• A flow-through worm bag
• Castings
Visit your trusted local supplier or vermicomposting resource hub.
Healthy soil starts at home, one tote, one worm, one banana peel at a time.
FAQ About Starting a Worm Farm
Q1: Which worms should I buy for composting?
Red wigglers (Eisenia fetida) are the most reliable and widely used.
Q2: How often should I feed my worm bin?
Every 1–2 weeks, after the previous food has been fully processed.
Q3: Should a worm bin smell?
No. A healthy bin smells like damp soil. Odors indicate overfeeding or poor airflow.
Q4: Can I keep a worm farm indoors?
Yes, if maintained properly, it produces no smell and is insect-free.
Q5: What temperature is best for worms?
Between 15–27°C (59–80°F) for optimal activity.
Q6: Can I harvest liquid from my worm bin?
Avoid using leachate from tote bins. Only aerated worm tea made from finished castings is safe and beneficial.

3742 West 10th Avenue, Vancouver, BC V6R 2G4, Canada
Whether you’re shopping for plant lovers, hunting for meaningful plants, or simply looking to add a touch of green to your own holiday décor, DH Garden Centre has everything you need for a joyful, vibrant, and beautifully green Christmas.
Visit DH Garden Centre today: where the holidays grow brighter, one plant at a time.