
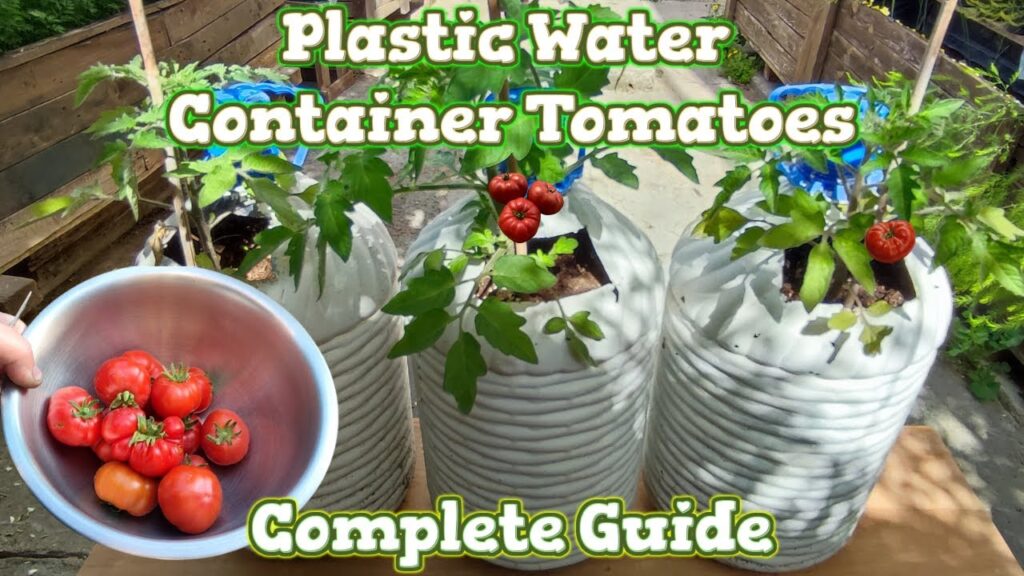
Learn how to grow cherry tomatoes at home using plastic bottles and simple hydroponics. A step-by-step guide from seed to harvest by DH Garden Centre.
Small Space, Big Harvest
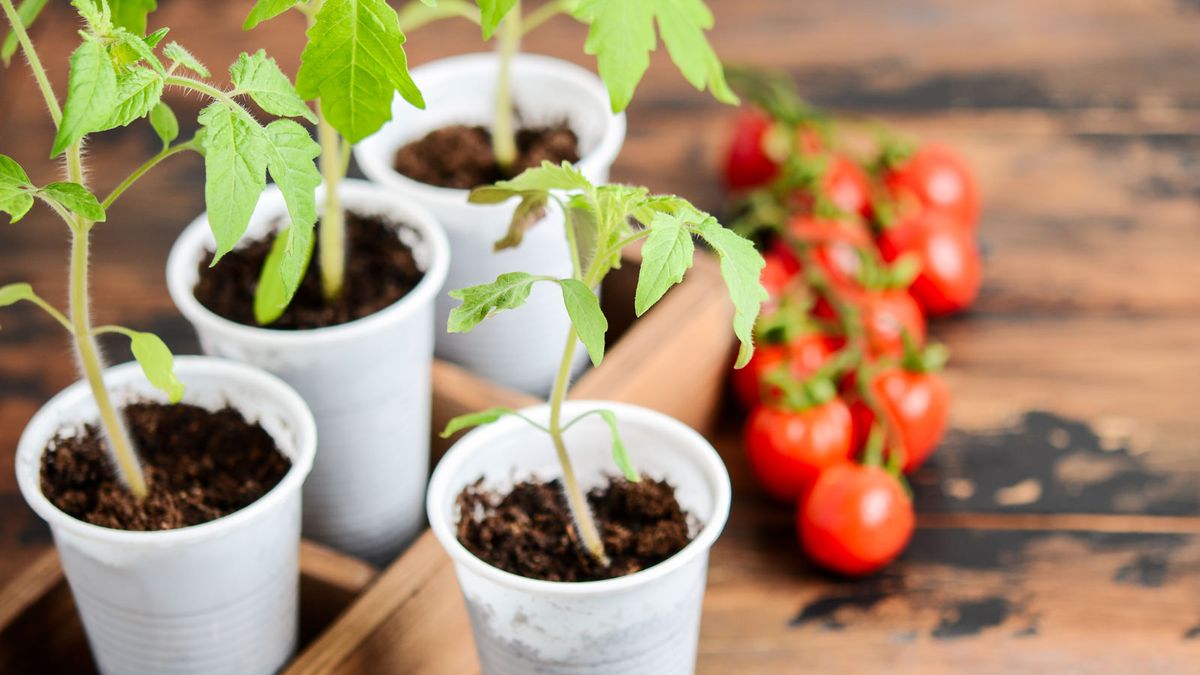
Many gardeners assume that cherry tomatoes need large gardens, deep soil beds, and complex setups. In reality, cherry tomatoes are one of the best vegetables to grow in small spaces, even indoors, when given consistent water and nutrients.
At DH Garden Centre, we often encourage growers to experiment with space-saving methods. This plastic bottle hydroponic technique proves that a productive tomato harvest is possible using recycled materials, careful nutrient management, and patience.
In this guide, we walk through the full process, from germinating seeds in cold weather to harvesting sweet, ripe cherry tomatoes more than 100 days later.

Why Grow Cherry Tomatoes Hydroponically?
Growing cherry tomatoes hydroponically offers several advantages:
-
Consistent moisture reduces cracking
-
Faster growth compared to soil
-
Easier nutrient control
-
Ideal for balconies, patios, and indoor growing
-
Reuses household materials like plastic bottles
This method is especially useful in early spring or colder climates, when outdoor soil is not yet suitable for planting.
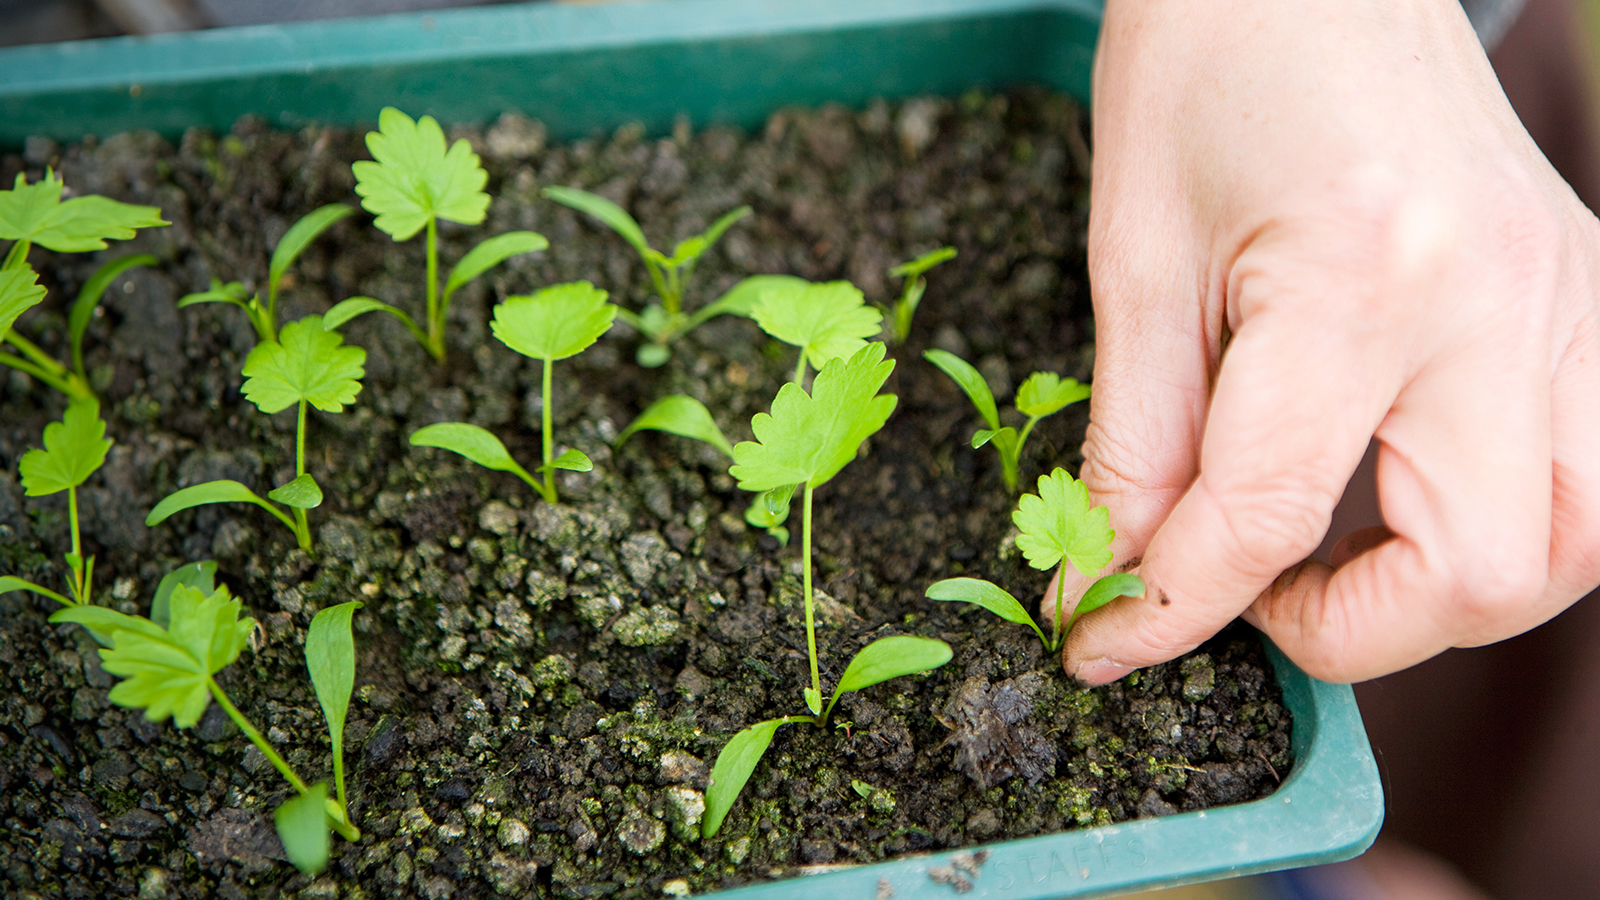
Step 1: Germinating Cherry Tomato Seeds in Cold Weather
Because temperatures were still low, seeds were pre-germinated using water moss.
How to Germinate Seeds
-
Place cherry tomato seeds in moist water moss
-
Keep them in a warm indoor location
-
After 4 days, roots begin to emerge
Once roots appear, the seeds are ready for planting.
This early germination step increases success rates and speeds up seedling establishment.
Step 2: Preparing the Plastic Bottle Hydroponic Container
Materials Needed
-
Clean plastic bottle
-
Microfiber towel
-
Non-woven cloth
-
Vermiculite or coconut peat
-
Tape
-
Aluminum foil
-
Liquid fertilizer
Assembly Process
-
Cut off the top of the plastic bottle
-
Cut microfiber towel strips and insert through the bottle spout
-
Cover the top with non-woven cloth
-
Fill with vermiculite or coconut peat
-
Make small seed holes
-
Plant germinated seeds
-
Cover lightly with growing medium
-
Add 900 ml of water, ensuring the spout does not fully submerge
-
Tape the cut edges for stability
-
Wrap aluminum foil around the bottle to block light from roots
Blocking light is critical, as exposed roots are more prone to algae growth and stress.

Step 3: Early Growth and Nutrient Transition
After 10 days, seedlings germinate successfully and roots become visible.
Switching to Liquid Fertilizer
Once roots emerge:
-
Replace plain water with liquid fertilizer
-
Start with a 2000x dilution (1 g fertilizer per 2 L water)
-
EC target: ~1067 µS/cm
-
Ideal seedling EC: up to 1300 µS/cm
This gentle nutrient level supports early growth without burning roots.
Step 4: Thinning Seedlings for Strong Growth
Multiple seeds were planted gradually as roots appeared.
Thinning Schedule
-
At 2–3 true leaves: thin from 3 plants to 2
-
At 5 true leaves: thin to 1 strong plant
Thinning ensures:
-
Better airflow
-
Stronger root systems
-
Faster vertical growth
Step 5: Transition to Outdoor Growing
Once night temperatures consistently reached 15°C, plants were moved outdoors.
Key actions:
-
Remove dead or damaged leaves
-
Monitor water temperature
-
Support rapid growth during warm weather
By May, plants grew rapidly due to heat and consistent feeding.
Managing Weather Challenges
Storm Damage Prevention
A heavy rainstorm caused plastic bottles to fall over due to strong wind.
Solution:
-
Secure bottles with weights or supports
-
Add thin rods to stabilize top-heavy plants
Early intervention prevented plant loss.
Understanding Root and Plant Signals
White Fluff on Roots
White fuzzy growth on roots is healthy root hair, not mold.
Aerial Roots on Stems
Small bumps along stems are aerial roots that:
-
Absorb moisture from air
-
Indicate high humidity and healthy growth
No removal is needed.
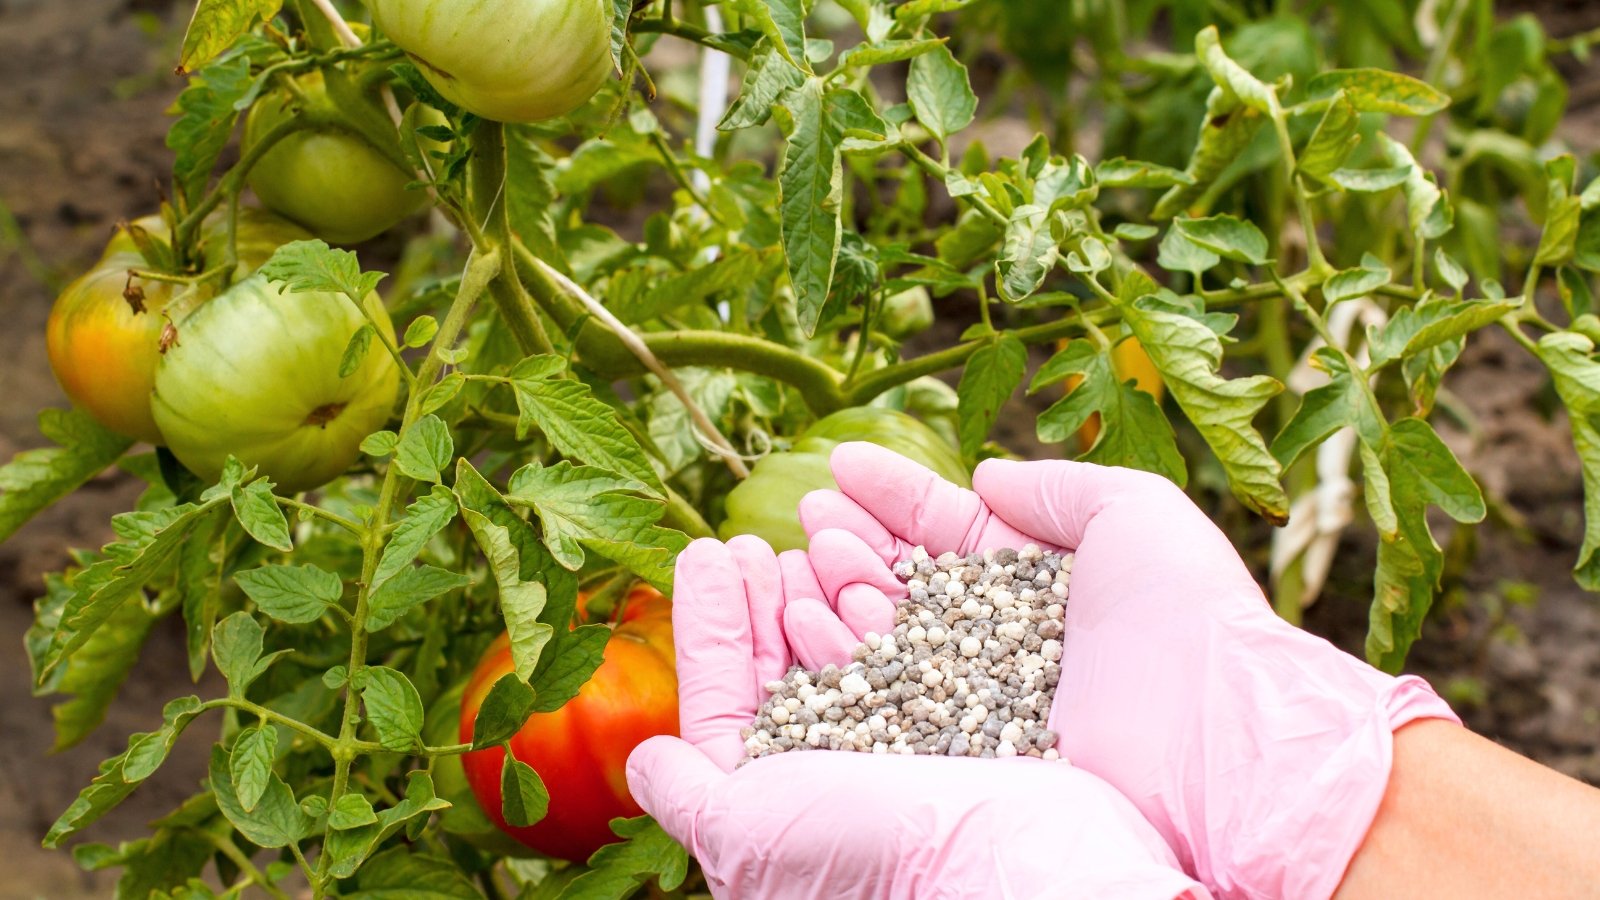
Fertilizer Management During Hot Weather
As temperatures increased to 28–35°C, nutrient solution levels dropped rapidly.
Adjustments Made
-
Change liquid fertilizer every 3 days
-
Increase dilution to 1000x during active growth
-
Target EC: ~1500 µS/cm
-
Add fertilizer daily during peak heat
Frequent monitoring prevents nutrient imbalance and root stress.
Supporting Heavy Growth and Flowering
As cherry tomatoes developed:
-
Plants became top-heavy
-
Thin rods were added for support
-
Lower leaves were pruned to improve ventilation
This reduced disease risk and improved energy flow to fruits.
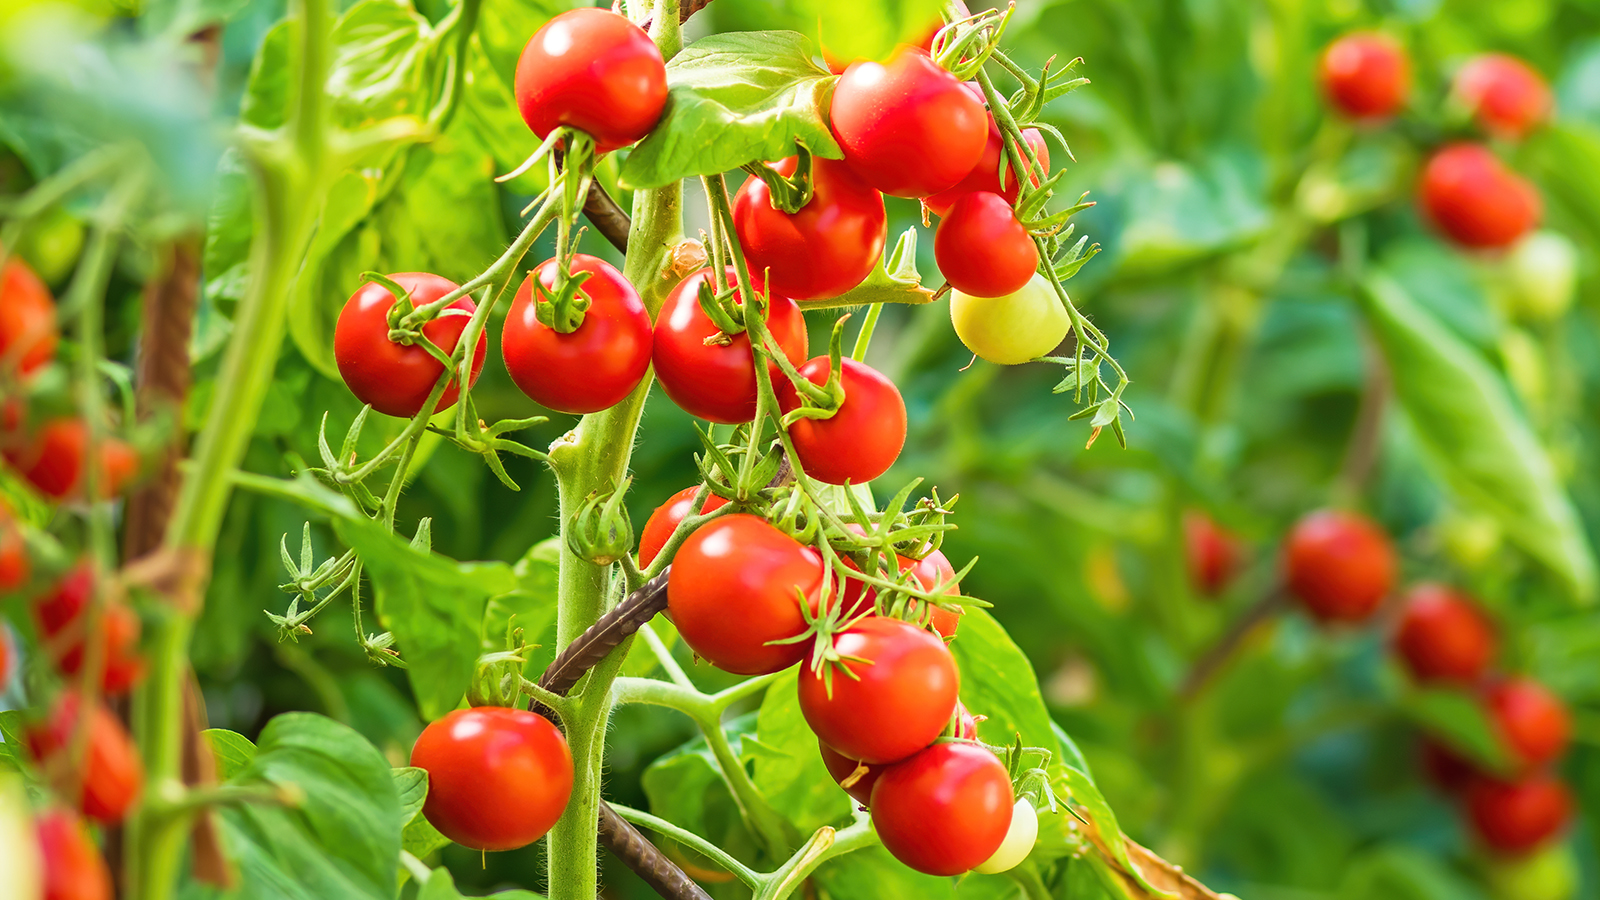
From Flower to Fruit: Harvest Timeline
-
BB-sized fruits appeared early
-
Fruits turned orange, then bright red
-
Only one tomato cracked due to consistent watering
-
Calyx strain indicated heavy, well-developed fruit
Harvest Tip
Tomatoes taste best when:
-
Fully red
-
Easily picked with gentle touch
Final Results: Taste and Yield
Measurements
-
Width: 3.4 cm
-
Weight: 18 g
Despite being labeled as an ornamental variety, the tomatoes:
-
Were sweet when fully red
-
Had strong tomato flavor
-
Outperformed store-bought tomatoes in freshness
Can You Grow Cherry Tomatoes Indoors Year-Round?
Yes. With sufficient light:
-
Plants continue producing leaves and flowers
-
Ideal for winter indoor growing
-
Requires grow lights and stable temperature
This makes cherry tomatoes one of the best edible plants for indoor hydroponics.
Common Questions (FAQ)
Can I grow cherry tomatoes in plastic bottles?
Yes. Plastic bottle hydroponics works well when nutrients and water levels are managed correctly.
How often should I change liquid fertilizer?
Every 3 days in hot weather, weekly in cooler conditions.
Do I need to remove side shoots?
For this variety, side shoots were left intact and did not reduce productivity.
Why do cherry tomatoes crack?
Cracking is usually caused by inconsistent watering or rain exposure.
Is this method suitable for beginners?
Yes. It is simple, affordable, and ideal for small spaces.
Why DH Garden Centre Recommends This Method
At DH Garden Centre, we support:
-
Sustainable gardening
-
Space-efficient growing
-
Reuse of household materials
-
Practical methods with proven results
This cherry tomato technique aligns perfectly with those values.
Ready to grow your own cherry tomatoes at home?
Visit DH Garden Centre for:
-
Quality seeds
-
Growing media
-
Liquid fertilizers
-
Expert gardening advice
Start small, grow smart, and enjoy sweeter harvests—right from your own space.
Whether you’re shopping for plant lovers, hunting for meaningful plants, or simply looking to add a touch of green to your own holiday décor, DH Garden Centre has everything you need for a joyful, vibrant, and beautifully green Christmas.
Visit DH Garden Centre today: where the holidays grow brighter, one plant at a time.