
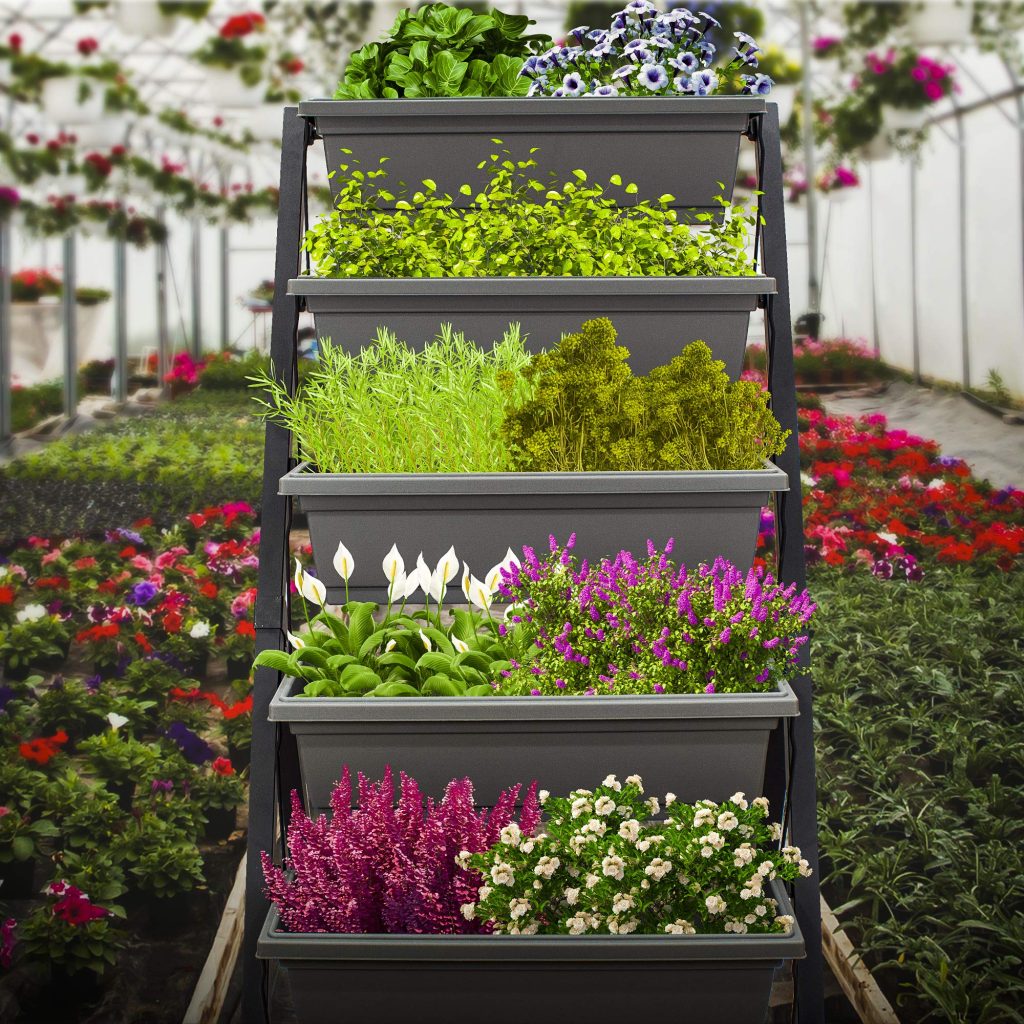
Growing your own vegetables at home is one of the most rewarding activities for gardeners of all experience levels. Whether you live in an apartment with limited outdoor space or you have a backyard you’d like to transform, a raised bed garden in a plastic tote is an excellent way to begin. Plastic tote gardens are compact, cost-effective, and incredibly versatile. In this guide, DH Garden Centre will walk you through every detail—from choosing a food-safe tote to harvesting your first homegrown vegetables. Let’s get started!
1. Why Choose a Plastic Tote Garden?
If you’re new to gardening or simply looking for a convenient way to grow vegetables, you might wonder: Why use a plastic tote for gardening? Here are a few key advantages:
-
Space Efficiency
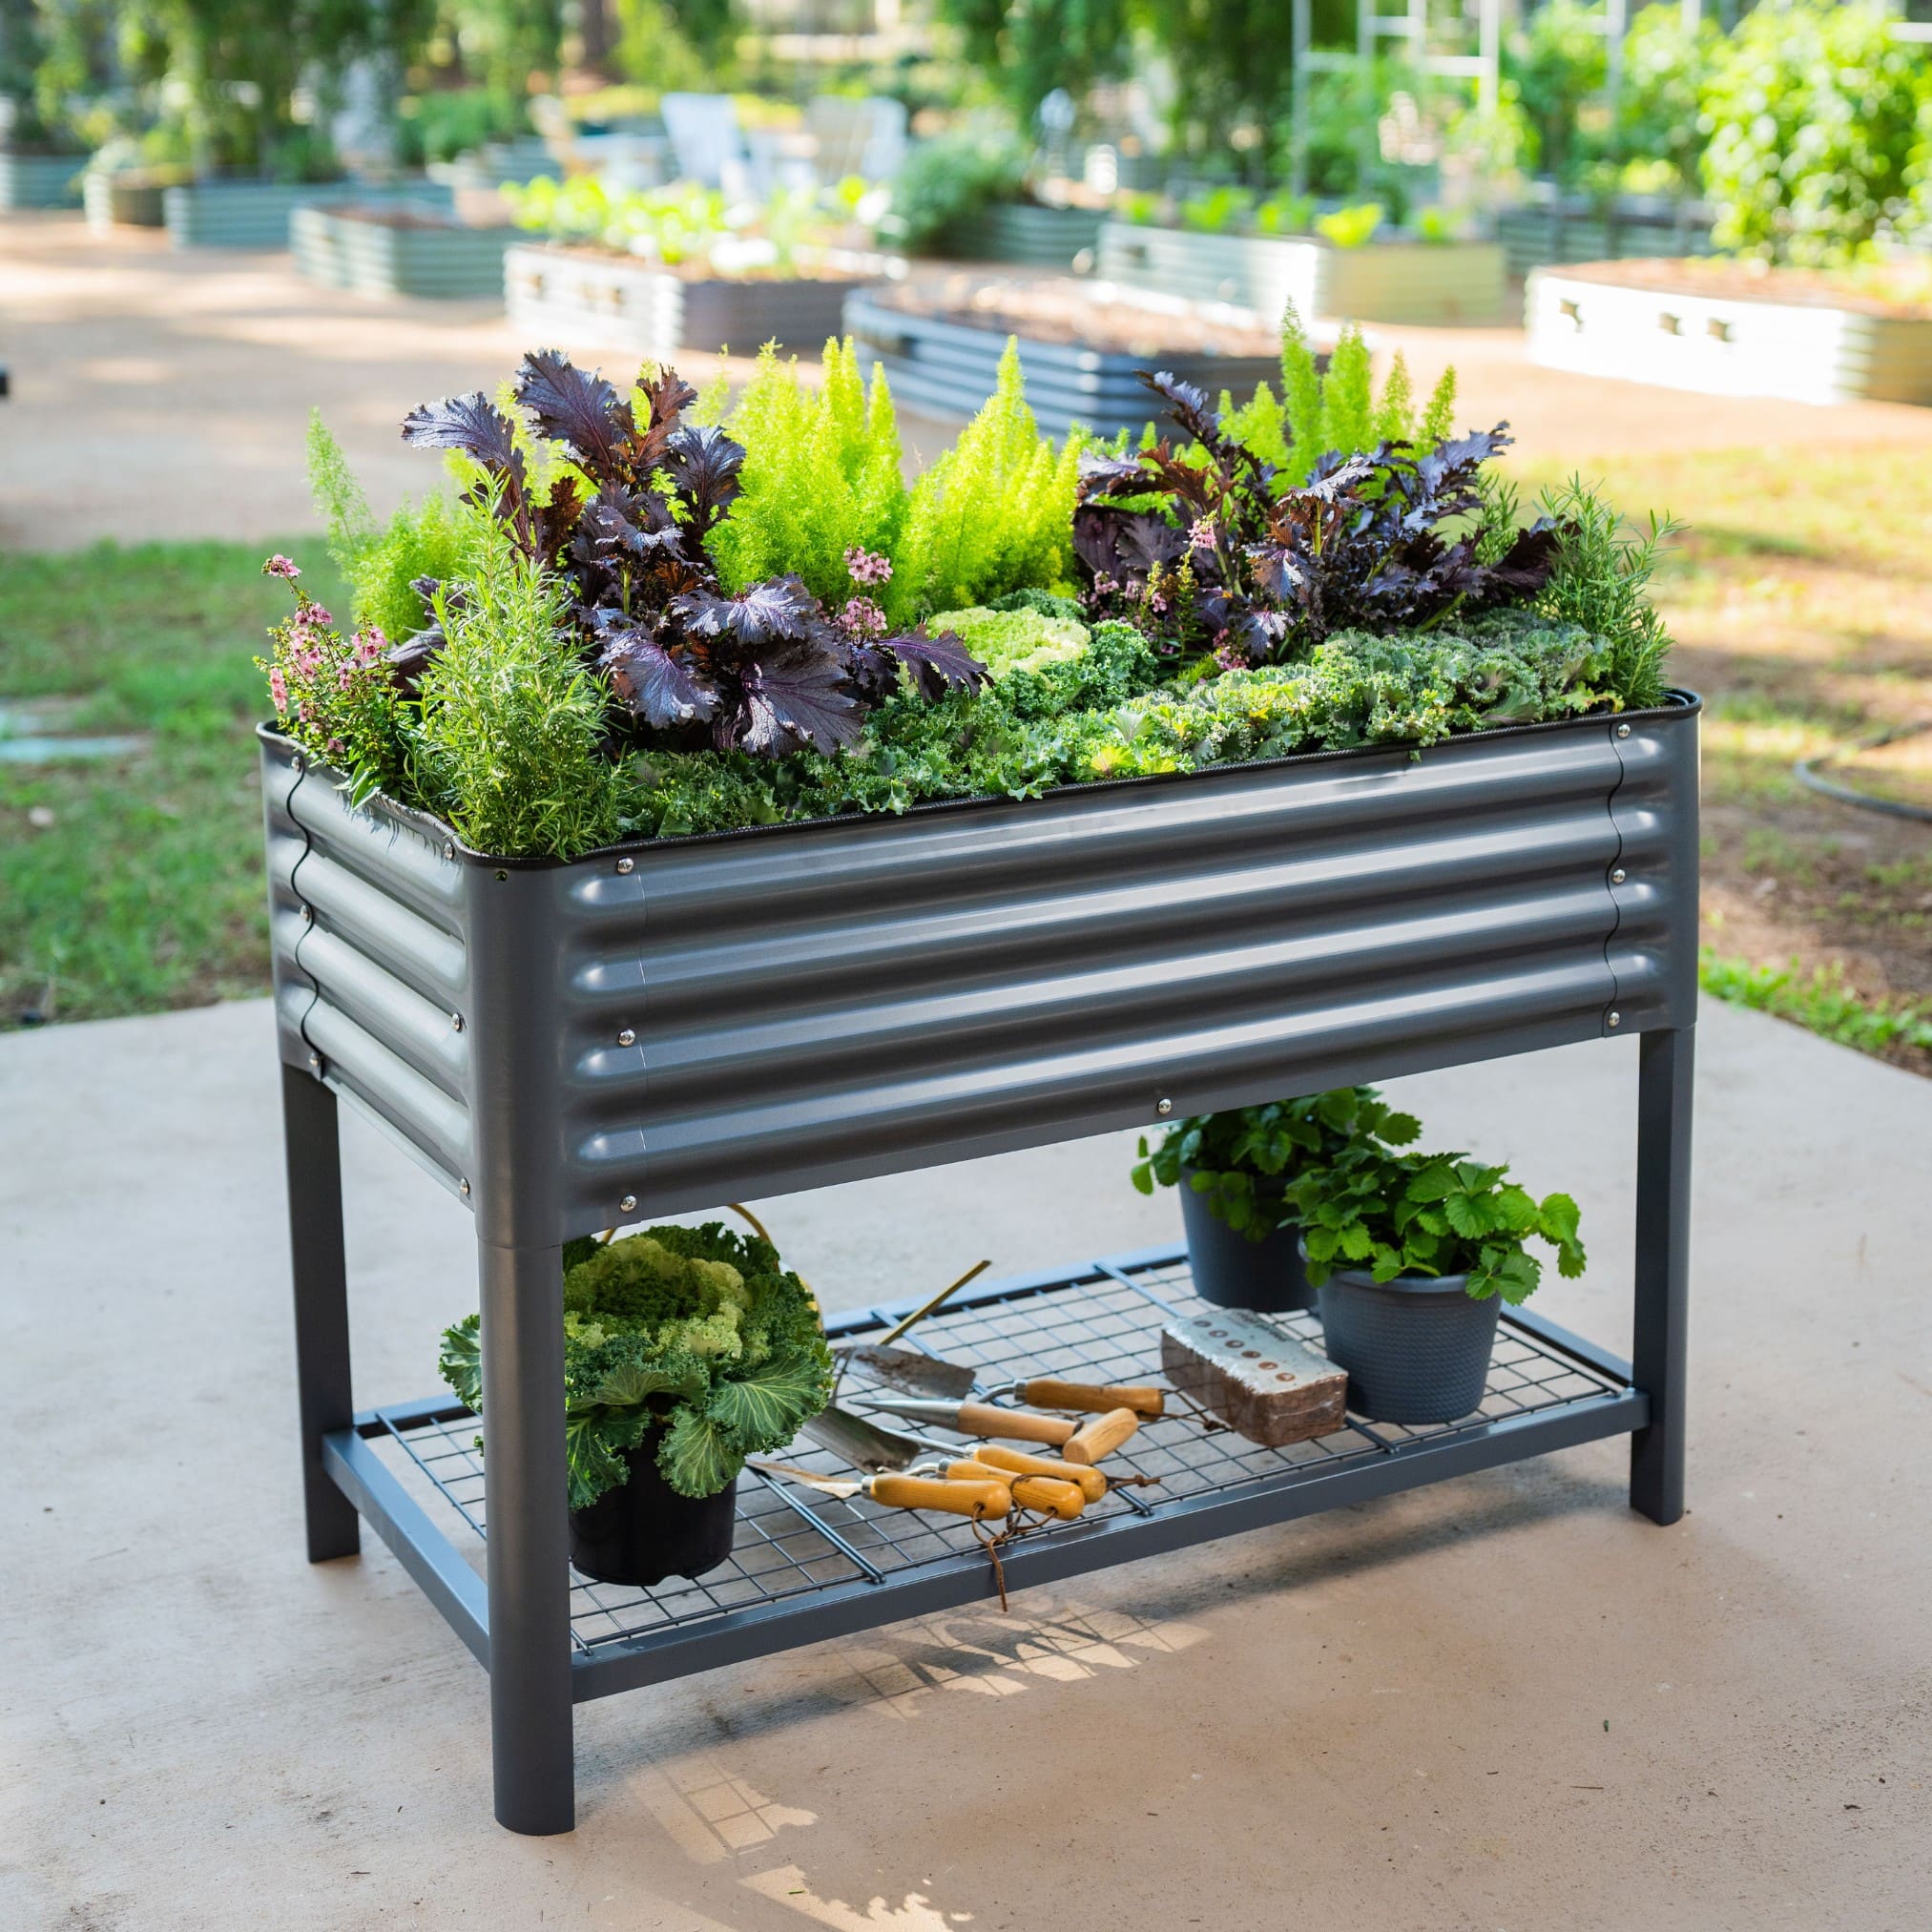
- Plastic tote gardens are a fantastic option for balconies, patios, decks, or small backyards. The compact size makes it easy to place them anywhere you have enough sun exposure, typically around 4–6 hours a day for leafy greens and up to 6–8 hours for fruiting vegetables.
-
Cost-Effectiveness
- You don’t need an expensive raised bed or multiple large pots. A single plastic tote—often available at a low cost—can serve as your entire mini-garden. Many people even repurpose old storage containers, making this method both budget-friendly and eco-friendly.
-
Mobility
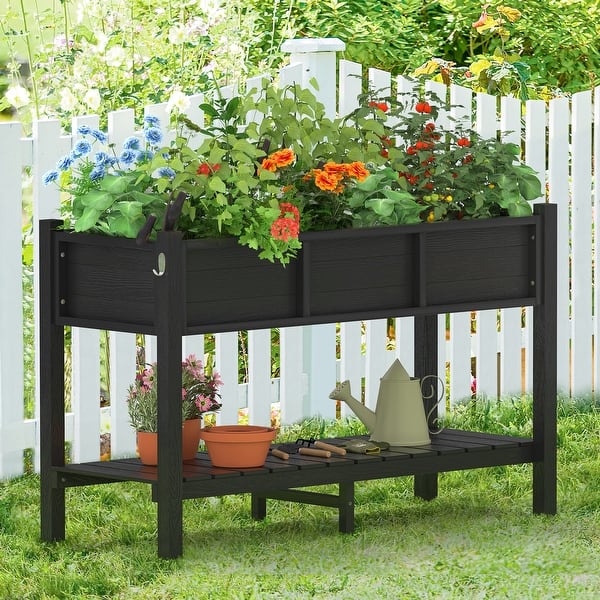
- Need to move your plants for better sunlight or to protect them from harsh weather? No problem. A plastic tote is easy to relocate compared to an in-ground or wooden raised bed.
-
Easy Drainage Control
- With a tote garden, you have full control over drainage. By drilling a few holes in strategic places, you can ensure your plants’ roots won’t sit in water. This customization is particularly helpful for novice gardeners who want to prevent overwatering.
-
Great for Beginners
- Because it’s contained, a plastic tote garden is simpler to monitor. It’s an ideal “starter kit” if you’re new to growing vegetables. You’ll quickly learn about watering, fertilizing, and pest control with minimal risk and investment.
2. Selecting the Right Food-Safe Tote
The first step in creating your tote garden is choosing a suitable container. Not all plastic is created equal, and some types are safer for growing food than others.
- Look for the Food-Safe Symbol
Most plastic totes have a recycling symbol with numbers from 1 to 7. Safe plastics for growing edible plants typically include 2 (HDPE), 4 (LDPE), and 5 (PP).

- Size Matters
- For leafy greens and herbs, a smaller tote (roughly 5 gallons or 18–20 liters in volume) often suffices.
- If you plan to grow larger plants like tomatoes, zucchini, or peppers, opt for a larger tote in the range of 70–80 liters (18–20 gallons).
- Depth should be at least 20–25 cm (8–10 inches) to allow room for root growth.
Pro Tip: If you’re unsure about the plastic type, look at the bottom of the tote or on the lid. Often, there will be a stamp indicating the type of plastic used. When in doubt, contact DH Garden Centre or your local garden store for further clarification.

3. Preparing Your Tote (Drilling Drainage Holes)
Once you have a food-safe tote, the next crucial step is ensuring your container provides adequate drainage. Over-saturation can lead to root rot and other diseases.
-
Gather Your Tools:
- A drill with a 1/2-inch (or about 1 cm) drill bit.
- A permanent marker to mark where you want your holes.
-
Mark the Drainage Points:
- Typically, you’ll want 4–6 holes spaced evenly at the bottom of the tote. Some gardeners prefer drilling a few holes slightly above the bottom to hold a small reservoir of water, but for beginners, placing holes in the bottom is usually best.
-
Drill Carefully:
- Ensure you’re drilling on a stable surface.
- Clean any plastic shards that might remain after drilling.
-
Optional Layer of Gravel or Rocks:
- If you want extra drainage, place a thin layer (about an inch) of gravel or small stones at the bottom of the tote. This step isn’t mandatory but can help improve airflow and water runoff.
4. Soil Mix and Fertilizer: Building a Healthy Foundation
Soil is the heart of any garden, and for container gardening, quality potting mix is essential. You want a mix that retains enough moisture but also drains well.
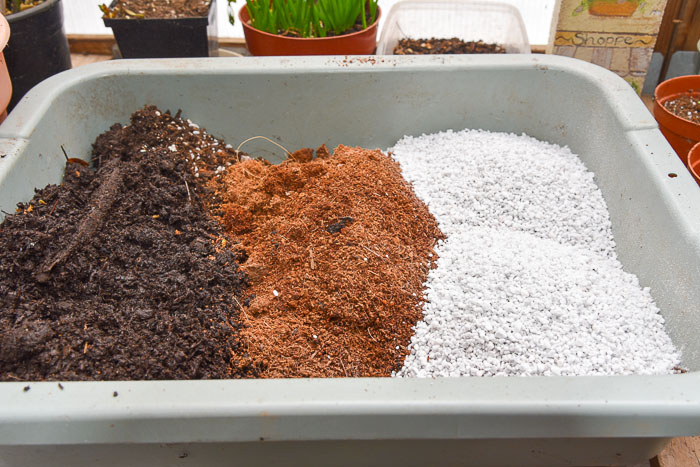
4.1. Recommended Soil Components
A typical DIY potting mix might include:
- Coco Coir (or Peat Moss):
Retains moisture while remaining relatively airy. Coco coir is often preferred because it’s renewable and less acidic than peat moss. - Compost or Mushroom Compost:
Provides vital nutrients for growth. High-quality compost also enriches soil structure. - Perlite and Vermiculite:
Improve aeration and drainage. Vermiculite helps retain moisture; perlite keeps the mix light.
A handy ratio:
- 3 parts coco coir
- 2 parts compost
- 0.5 part perlite
- 0.5 part vermiculite
4.2. Fertilizers
- All-Purpose Organic Fertilizer: An OMRI-listed product can supply a well-balanced nutrient profile. Some garden centers sell their own blends, like “JP’s Secret Stuff,” which includes beneficial microbes and organic nutrients.
- Mycorrhizal Fungi (Mykos): This beneficial fungus helps roots absorb nutrients more efficiently, leading to stronger, healthier plants.
- Slow-Release Organic Granules: Great for a consistent nutrient feed if you don’t want to fertilize frequently.
How to Use:
- Mix your fertilizer into the top 5–10 cm (2–4 inches) of soil.
- If using mycorrhiza, sprinkle a small amount in each planting hole right before placing your transplant.
5. Planting Your Tote Garden: Step-by-Step
Now that your tote is set up with proper drainage and quality soil, it’s time for the fun part: planting.
-
Fill the Tote with Soil:
- Fill the container about 3/4 full. The soil will settle once you start watering.
- Gently pat down the surface without over-compressing.
-
Check Soil Level:
- There should be at least an inch or two of space from the top rim to make watering easier and prevent overflow.
-
Add Fertilizer (If Not Already Mixed):
- Sprinkle a handful of your all-purpose organic fertilizer on top, then lightly mix it into the top layer.
-
Transplants vs. Direct Seeding:
- Transplants: If you have seedlings in small pots or seed trays, dig a hole slightly larger than the root ball, place the seedling, and backfill.
- Direct Sowing: Follow the seed packet instructions. Most seeds only need to be covered lightly with soil (about 2–3 times the seed’s diameter).
-
Water In:
- Use a gentle watering can or a hose with a fine spray nozzle.
- Water until you see excess moisture draining from the bottom holes.
6. Seasonal Planting Strategies (Spring and Summer Examples)
6.1. Spring Tote Garden
For a Spring Garden Tote, you might choose:
- Early Jersey Wakefield Cabbage (in one corner)
- Cauliflower (Puntoverde) (in another corner)
- Leaf Lettuces (like Concept and Pirat Butterhead)
- Swiss Chard (between the cauliflower and lettuce)
- Chamomile (centerpiece)
- Radishes or Baby Carrots in remaining gaps
This combination maximizes space and creates an appealing variety. The lettuces and radishes can be harvested quickly, while cabbage and cauliflower continue to develop.
Maintenance Tips:
- Thin out radishes if they sprout too closely together.
- Watch for caterpillars on brassicas (cabbage, cauliflower). Spray with organic BT (Bacillus thuringiensis) if necessary.
- Keep an eye on moisture, watering as needed.

6.2. Summer Tote Garden
For a Summer Garden Tote, opt for plants that thrive in warmer weather:
- Cucumbers (Suyo Long) in one corner (they can sprawl over the side)
- Zucchini (Costata Romanesco) in another corner
- Peppers or Eggplants
- Basil (center or side)
- Heat-Tolerant Lettuce (Slobolt, Lollo Di Vino)
- African Daisy or Marigolds (for beneficial insect attraction)
Maintenance Tips:
- Ensure at least 6–8 hours of direct sunlight for fruiting vegetables like cucumbers or zucchini.
- Stake or trellis if you want vertical growth for cucumbers.
- Water more frequently in hot weather, but be mindful of drainage.
7. Ongoing Care: Water, Fertilizers, and Pest Control
A healthy tote garden requires consistent care. Here’s how to keep your plants thriving:
7.1. Watering
- Check Soil Moisture Daily: Especially during hot months. Stick your finger about an inch into the soil. If it feels dry, it’s time to water.
- Timing: Early morning or late afternoon is best. Avoid watering in direct midday sun to reduce evaporation.
- Method: A gentle watering can or drip irrigation system is ideal to avoid disturbing roots or soil.
7.2. Fertilizing
- Schedule: For most vegetables, a light feeding every 2–3 weeks keeps them vigorous.
- Organic Liquid Feeds: Seaweed or fish emulsion can give plants a quick nutrient boost.
- Top-Dressing: If you’re using granular fertilizer, sprinkle around the base of plants and lightly cultivate into the soil’s surface, then water in.
7.3. Pest and Disease Management
- Inspect Leaves: Look under leaves for signs of caterpillars, aphids, or fungal spots.
- Organic Solutions:
- BT (Bacillus thuringiensis) for caterpillars.
- Neem Oil for various insects and mild fungal issues.
- Companion Planting with flowers like African daisies, marigolds, or chamomile to attract beneficial insects and deter pests.
- Proper Spacing: Overcrowded plants reduce airflow, increasing the risk of mold and mildew.
8. Harvesting and Replanting
Harvesting is the ultimate reward of your gardening efforts. Different vegetables have unique harvest windows:
-
Leafy Greens (Lettuce, Swiss Chard, Spinach)
- Cut the outer leaves as needed, allowing the center to continue producing. This “cut-and-come-again” method extends harvest over several weeks.
-
Root Crops (Radishes, Carrots)
- Check the top of the root for size. Gently pull up when they reach mature dimensions (often indicated on the seed packet).
-
Fruit Vegetables (Cucumbers, Zucchini, Peppers)
- Harvest cucumbers and zucchini when they’re still relatively small for the best flavor.
- Peppers can be picked green or left longer to ripen and develop sweetness or heat, depending on the variety.
-
Replanting
- Once you remove a crop, loosen the soil gently and add a small amount of compost or organic fertilizer.
- You can then replace that space with a new seedling or direct-sow seeds, practicing succession planting to maximize yield.
9. Common Questions and Troubleshooting
Q1: Can I use a tote that previously held non-food items?
- Yes, if it’s made of safe plastic (labeled #2, #4, or #5) and thoroughly cleaned. Avoid totes that contained chemicals or solvents.
Q2: What if my tote garden becomes waterlogged?
- Increase drainage by adding more holes. Mix in additional perlite or coarse material if the soil remains too wet. Check that water isn’t pooling underneath the tote.
Q3: How often should I replace or refresh the soil?
- Over time, the potting mix can become compacted or depleted. Many gardeners refresh the top few inches with compost or new potting mix each planting season. A full replacement might be necessary every 1–2 years, depending on usage.
Q4: Do I need to worry about plastic leaching chemicals into my food?
- While no method is 100% risk-free, choosing a food-safe plastic significantly reduces concerns. Proper drainage and consistent organic matter also help maintain a healthy soil environment.
Q5: How many plants can I fit in one tote?
- It depends on the size of your tote and the mature size of the plants. Read seed packet or plant tag spacing recommendations. For a typical 18–20 gallon tote, you might fit:
- 2–3 lettuce heads, 1–2 pepper plants, and a few herbs, or
- 1 zucchini plant (which can sprawl over the side), plus a few small herbs around the edges.
10. Conclusion: Start Growing Today!
A plastic tote garden is an excellent way to dip your toes into the world of homegrown vegetables. It’s space-efficient, budget-friendly, and accessible to almost anyone—regardless of gardening experience. By following the steps laid out in this guide from DH Garden Centre, you can confidently set up a successful raised bed in a tote and enjoy bountiful harvests of lettuce, herbs, peppers, cucumbers, and more.
Key Takeaways:
- Choose a Food-Safe Tote: Prioritize plastics labeled #2, #4, or #5.
- Ensure Proper Drainage: Drill enough holes to prevent waterlogging.
- Use Quality Soil Mix: A blend of coco coir, compost, and perlite/vermiculite works best.
- Fertilize Appropriately: Organic options keep plants and soil healthy long-term.
- Watch for Pests: Regular checks and organic treatments (like BT and neem oil) will keep issues at bay.
- Harvest and Replant: Enjoy a continuous supply of fresh produce by practicing succession planting.
Whether you’re looking to supplement your grocery list or dive into a more self-sufficient lifestyle, a tote-based raised bed garden is a great project to start right now. You’ll discover the joy of picking fresh produce straight from your container, all while enjoying the simplicity and control that container gardening offers.
So, what are you waiting for? Head to your local DH Garden Centre (or your preferred garden supply store), grab a food-safe tote, stock up on high-quality soil and organic fertilizer, and begin your journey as a proud urban gardener. The satisfaction of growing your own food—and the delicious flavors that come with it—are well worth the effort.
Additional Resources from DH Garden Centre
- Organic Fertilizers and Soil Amendments: Explore our range of OMRI-listed products, including compost, worm castings, and specialty blends like “JP’s Secret Stuff.”
- Seeds and Seedlings: Choose from a wide selection of high-quality vegetable seeds and starter plants for every season.
- Gardening Workshops: Join one of our in-person or virtual workshops to learn hands-on techniques for improving your yield and battling common pests.
For more guidance, tips, or to browse our products, visit DH Garden Centre’s official website or contact our support line. We’re here to help you grow healthy, organic produce in the simplest way possible.