

Learn how to grow mushrooms in a cardboard box using a simple, cheap, beginner-friendly method. Perfect for indoor winter growing in Canada’s Zone 8. No special equipment needed.
How to Grow Mushrooms in a Cardboard Box (Zero Skills Needed): The Ultimate Zone 8 Canada Guide
Winter gardening may slow down in Canada, but growing your own mushrooms does not. In fact, if you live in Canada’s Zone 8, you have one of the best climates for indoor mushroom cultivation, especially using this incredibly cheap and straightforward method.
This guide will teach you exactly how to grow mushrooms in a cardboard box with no specialized equipment, no complicated sterilization steps, and no fancy setup. If you’ve failed at mushroom growing before, or if you’re a total beginner, this method is designed to give you reliable, delicious results in just 6 to 8 weeks.
Everything in this guide follows the core principles behind high-search-volume queries such as grow mushrooms at home, mushroom growing for beginners, indoor mushroom growing, and how to grow mushrooms cheaply, all of which trend seasonally in Canada during fall and winter.
Let’s grow mushrooms the easy way.

Why Grow Mushrooms in a Cardboard Box?
This method has become increasingly popular in mushroom growing Canada communities because it checks all the boxes:
• Affordable
• Beginner-friendly
• Minimal equipment
• Works indoors all year
• Perfect for Zone 8 winter conditions
• Uses common materials like cardboard and manure
• Gives fast results
Unlike gardening outdoors, mushrooms do not require sunlight. They prefer darkness, mild temperatures, and consistent humidity conditions that Canadian winter homes already provide naturally.
This makes how to grow mushrooms in a cardboard box one of the top long-tail gardening queries in Canada each winter.
What You Need (Cheap and Easy Supplies)
To grow mushrooms at home using this DIY method, you need only a few simple items:
1. A cardboard box or crate
Double-layer cardboard is better because it resists moisture.
Old mushroom crates lined with cardboard also work beautifully.
2. Well-rotted cow manure or quality potting mix
Never use fresh manure, it contains too much ammonia and will burn your mushrooms.
Well-composted manure, however, is ideal and one of the best mushroom substrates.
3. Mushroom spawn (button, chestnut, or cremini)
This is the “seed” of the mushroom.
Button mushrooms, cremini, and portobello are all the same species (Agaricus bisporus) and grow perfectly in this method.
4. Newspaper
Used to retain moisture and protect the substrate during colonization.
5. Spray bottle
For misting and maintaining humidity.
This minimal supply list is why searches for how to grow mushrooms with no equipment and DIY mushroom growing spike every single winter.
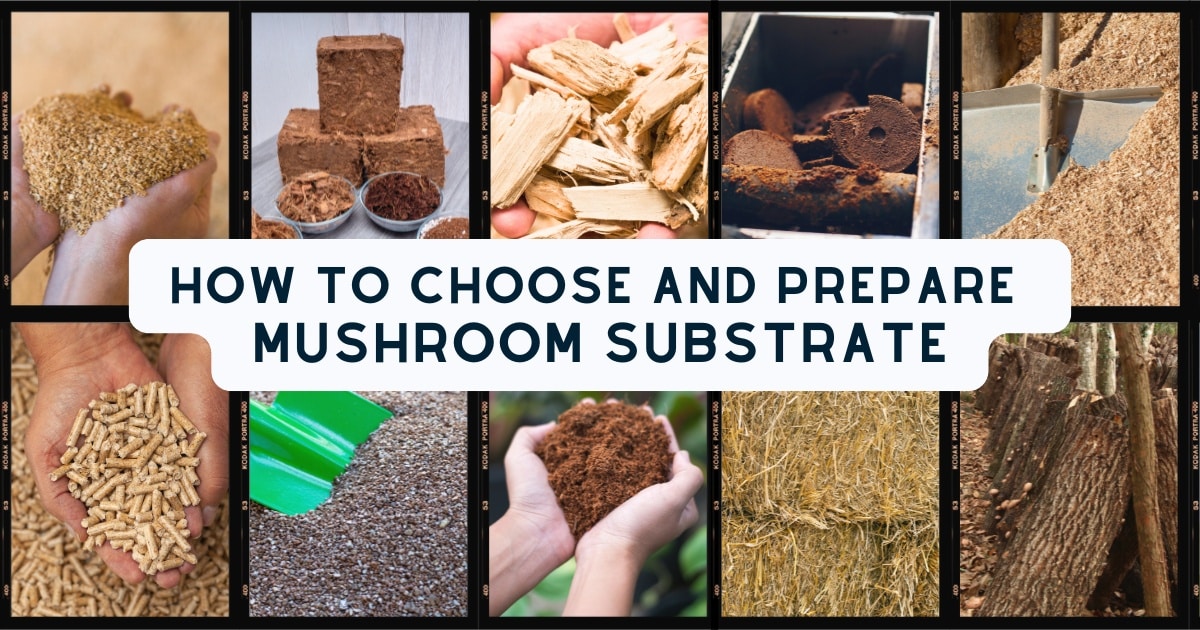
Step 1: Prepare Your Substrate (The Mushroom Food)
The heart of how to grow mushrooms in a cardboard box is the substrate. Mushrooms need something rich and moist to feed on. Well-rotted cow manure is perfect.
Moisture Level Test (the “drip test”)
Grab a handful and squeeze:
• A few drops should come out
• No stream should run down your hand
• It should feel damp but not soggy
If you want to mix half potting soil and half manure, this works extremely well too.
Fungi thrive on decomposed organic material, and well-rotted manure delivers precisely what button mushrooms and chestnut mushrooms crave.
Step 2: Line the Box and Add the Substrate
Line the box with cardboard to prevent leaks and hold moisture.
Fill the box two-thirds full with your prepared manure substrate.
Depth matters:
At least 6 inches (15 cm) is required for healthy mushroom growth.
The mushrooms don’t need light, so this box can be placed in a shed, closet, basement, pantry, or insulated garage, anywhere dark and cool.
This step aligns with high-volume searches like grow mushrooms in small spaces and indoor mushroom growing Canada.
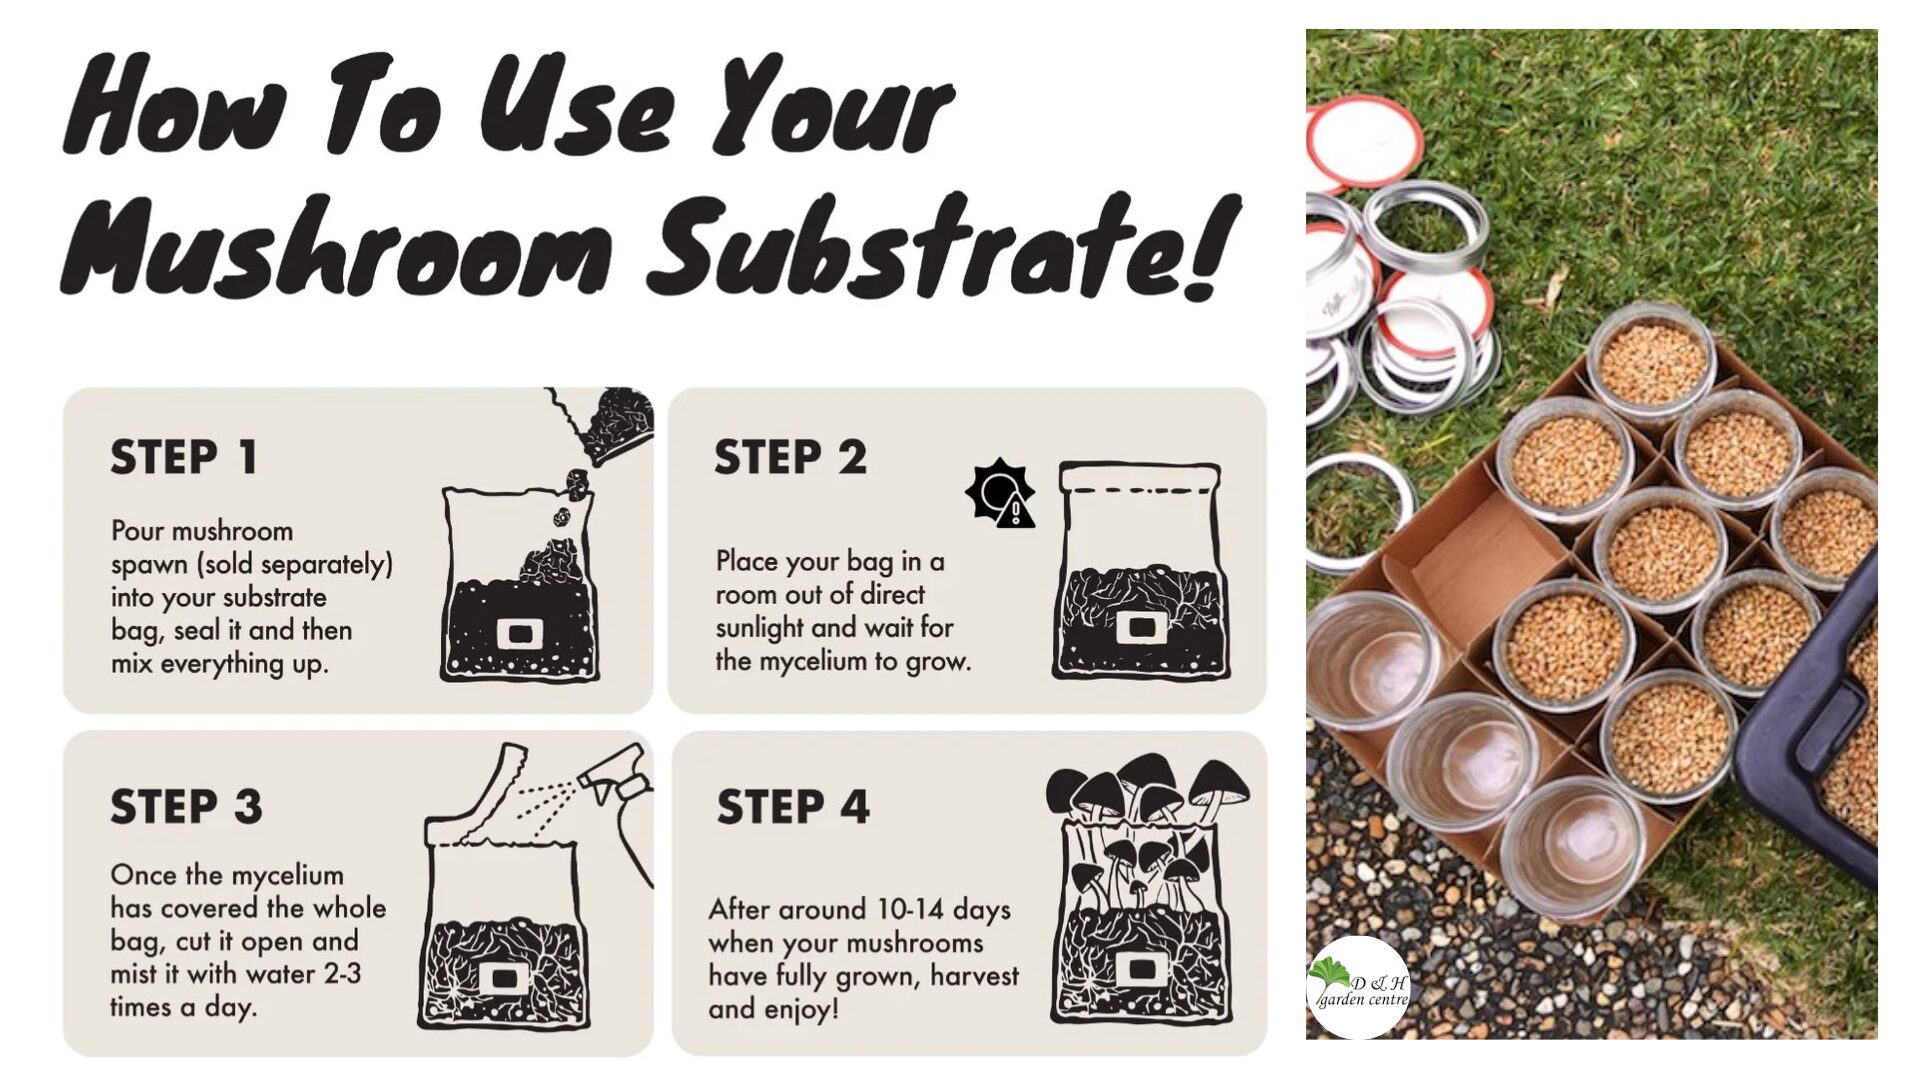
Step 3: Mix in the Mushroom Spawn
Break up the spawn between your hands so the grains separate. This helps the mycelium spread more efficiently.
Recommended spawn amount:
Use 2-10 percent of your substrate volume.
Closer to 10 percent gives faster colonization and higher success.
Spread the grain spawn across the top few inches of the manure, then gently fold it in so the spawn is evenly distributed.
What you see in the grains is the mycelium, the living fungal network that will eventually turn your box white with life.
Step 4: Cover With Damp Newspaper
Thoroughly wet several sheets of newspaper until they are fully soaked, then wring them so excess water doesn’t pool.
Lay the damp sheets gently over the substrate.
This slows evaporation and maintains the high humidity required for mushroom growth.
Think of it as tucking the mushrooms into bed.
Step 5: Incubate the Box (The Colonization Stage)
Place the box somewhere:
• Dark
• Slightly warm
• Well ventilated
• Protected from sunlight
Ideal temperature:
15°C–24°C (60°F–75°F)
Too cold = slow mycelium
Too hot = damaged mycelium
This stage typically lasts 10-14 days.
After a week or two, you’ll notice fine white threads spreading across the manure, this is the early mycelium growth.
Within another 7-10 days, the entire box will turn white. This is exactly what you want.
These visuals are what mushroom farmers call, “A sign you’re on the right track.”
Step 6: Add the Casing Layer
This step transforms the colonized manure into a mushroom-fruiting environment.
The perfect casing mixture:
• 50 percent coconut coir
• 50 percent vermiculite
Why?
Coir retains moisture beautifully, while vermiculite keeps the structure light and airy, allowing proper oxygen flow.
Moisten the casing layer to the same “drip test” level as before.
Spread the casing about 1 inch (3 cm) thick over the entire surface.
This casing layer triggers the fungal network to begin forming mushrooms.

Step 7: Return the Box to Darkness and Lower Temperatures
Now that the casing layer is applied, keep the box:
• Dark
• Cool
• Moist
Best temperature range:
15°C-20°C (60°F-8°F)
Mist lightly once or twice a day to maintain high humidity.
Never water directly, only spray.
Over the next 7-14 days, tiny “pins” will begin to appear through the casing. These will become full-size mushrooms in just a couple of days.
This step corresponds directly with trending search queries such as mushroom growing step by step and mushroom growing for beginners.
Step 8: Harvest Your Homegrown Mushrooms
Harvest when the caps are:
• Fully formed
• Still closed underneath
• Firm and plump
To harvest:
Twist and pull upward gently.
Do NOT cut the stems, cutting leaves behind stumps that can rot and ruin future flushes.
After harvesting, push the casing layer back over the hole to retain moisture.
Your box will produce multiple flushes of mushrooms over several weeks.
Step 9: After the Final Harvest
Once your mushroom box stops producing:
• Empty the spent substrate into your compost or garden beds
• Use it as a nutrient-rich fertilizer
• Celebrate the fact that you closed the loop of natural recycling
This aligns with rising Canadian gardening searches like organic waste recycling, sustainable gardening, and natural fertilizers Canada.
Why This Method Works Especially Well in Canada Zone 8
In Canada Zone 8 (parts of BC), winter temperatures indoors stay naturally within the ideal mushroom-growing range.
Homes in Zone 8 commonly maintain:
• Mild warmth
• Stable humidity
• Naturally lower winter light levels
• Cool dark corners perfect for cultivation
This makes Zone 8 one of the easiest and most dependable climates for indoor mushroom growing.
Ready to start your own mushroom-growing adventure?
Explore our full guides on:
• how to grow mushrooms in a cardboard box,
• mushroom growing for beginners,
• DIY mushroom substrates, and
• indoor gardening Canada
Subscribe for more winter gardening tutorials designed specifically for Canada Zone 8 growers.
FAQs
1. Can you really grow mushrooms in a cardboard box?
Yes. Cardboard holds moisture, maintains darkness, and supports mushroom colonization. When combined with manure or potting mix, it becomes an ideal mushroom-growing container.
2. What mushrooms can I grow using this method?
Button, cremini, chestnut, and portobello mushrooms, all the Agaricus bisporus family, grow extremely well in this system.
3. How long does it take to grow mushrooms indoors?
Typically 6 to 8 weeks, depending on temperature and spawn quality.
4. Do mushrooms need sunlight?
No. Mushrooms grow best in darkness. Too much light or heat will slow down or damage growth.
5. Is this method safe in Canadian homes?
Yes. As long as you keep the box ventilated, avoid moldy manure, and monitor moisture, this is one of the safest indoor growing methods.
6. Do I need expensive equipment?
Not at all. This is why how to grow mushrooms cheaply and grow mushrooms with no equipment are among the fastest-growing search phrases in Canada
Whether you’re shopping for plant lovers, hunting for meaningful plants, or simply looking to add a touch of green to your own holiday décor, DH Garden Centre has everything you need for a joyful, vibrant, and beautifully green Christmas.
Visit DH Garden Centre today: where the holidays grow brighter, one plant at a time.