
Learn how to revive a dying anthurium using natural methods. Expert step-by-step care advice trusted by a garden centre in Vancouver.
Don’t Throw the Plant Away Just Yet
If you truly love plants, you know the heartbreak.
A pot you’ve watered, fed, and protected slowly wilts. Leaves yellow. Growth stops. The plant looks beyond saving.
Most people give up here.
At our Vancouver garden centre, we see this moment every week. And more often than not, the plant is not dead. It is simply overwhelmed. Roots are damaged, the growing medium is exhausted, and pathogens have quietly taken over.
The good news is that many houseplants, including anthuriums, can be revived using simple, natural techniques. This method does not rely on chemicals. It focuses on restoring vitality from the roots upward.
Why Anthuriums Decline So Quickly Indoors
Anthuriums are resilient plants, but they are unforgiving when roots suffer.
Common causes include:
-
Old, compacted soil
-
Root rot from prolonged moisture
-
Pathogens lingering in reused growing media
-
Poor oxygen around the root zone
By the time symptoms appear above the soil, damage has already happened below it. This is why symptom-only treatments fail.
At any reputable garden centre in Vancouver, root health is always the first priority when reviving a struggling plant.
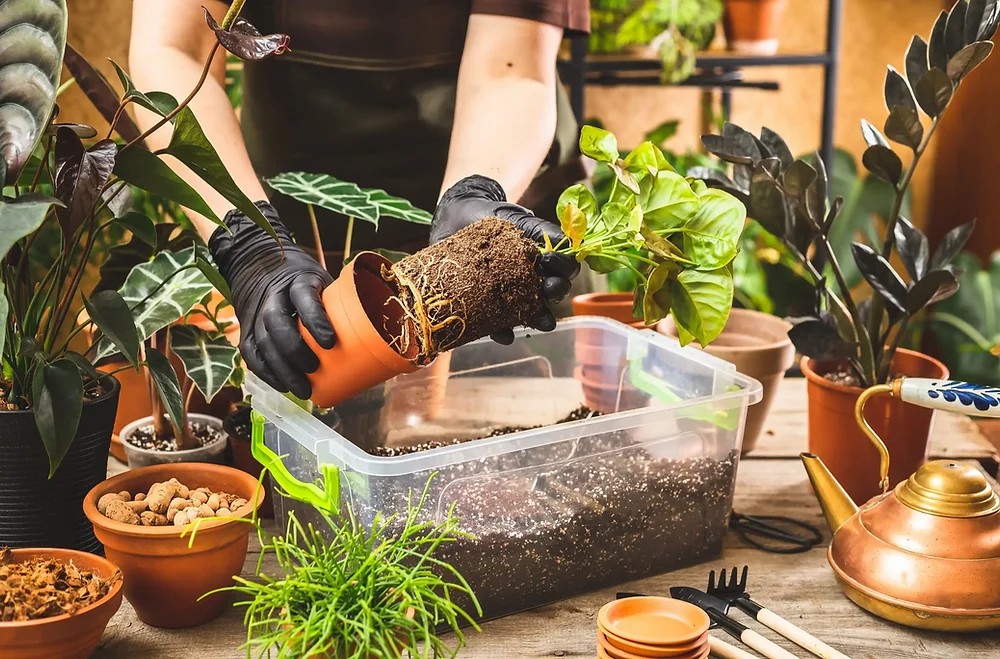
Step 1: Removing the Plant and Resetting the Roots
The rescue begins by completely removing the plant from its pot.
This step is essential. Leaving old soil in place traps pathogens and prevents recovery.
Carefully shake away all old growing medium. This allows you to:
-
Inspect root condition
-
Remove decaying material
-
Give the plant a true fresh start
You will likely see:
-
Healthy roots that are firm and pale
-
Weak roots that are brown
-
Rotten roots that are black or mushy
Do not panic. Weak roots are not lost causes.

Step 2: Pruning Damaged Roots and Stems
Pruning is not cruelty. It is survival.
Using clean, sharp tools, cut away:
-
All rotten roots
-
Soft or collapsing stem sections
Each cut should be deliberate. Leaving damaged tissue behind allows disease to spread again.
At our Vancouver garden centre, this is one of the most important steps we teach customers. A plant cannot heal if it keeps feeding dying tissue.
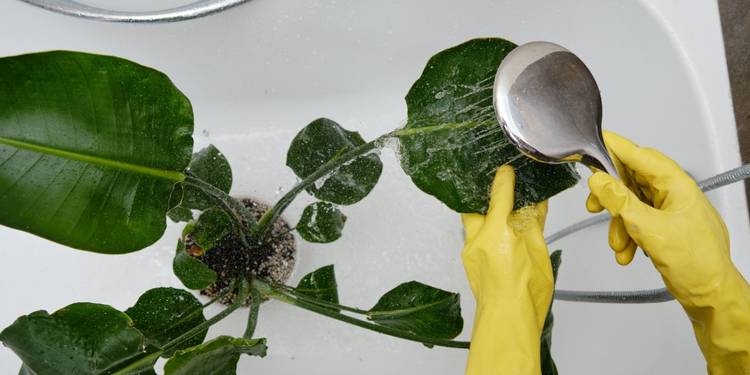
Step 3: Rinsing and Drying the Plant Properly
After pruning, rinse the entire plant gently under clean water.
This removes:
-
Residual soil
-
Bacteria around cut surfaces
-
Spores that can re-infect wounds
Next, allow the plant to air dry in a cool, ventilated area. This drying stage is critical. Replanting wet roots almost guarantees rot will return.
Professional growers and every experienced garden centre in Vancouver follow this step religiously.
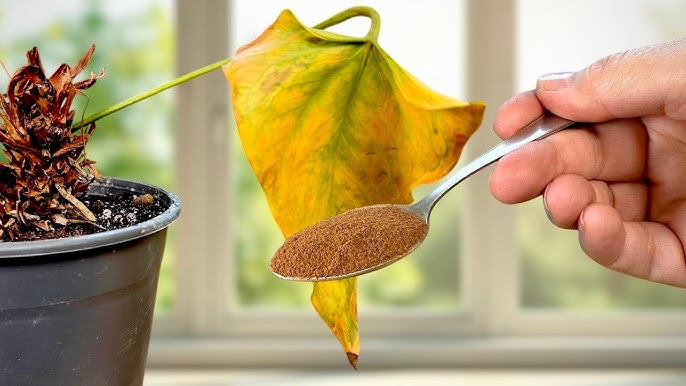
Step 4: Natural Base Treatment with Cinnamon
Cinnamon is one of the most effective natural antifungal agents available.
Prepare a cinnamon solution:
-
1 teaspoon cinnamon powder
-
500 ml boiling water
-
Cover and let cool completely
Once cooled, filter out all sediment. Only the clear liquid should be used.
Soak the base of the anthurium for about 30 minutes. This disinfects wounds and protects weak tissue during the most vulnerable stage.
You can also use a cotton pad dipped in the solution to gently wipe the leaves, reducing fungal pressure on the foliage.
Step 5: Preparing a Root-Recovery Growing Medium
For recovery, the growing medium must be:
-
Clean
-
Breathable
-
Lightly moisture-retentive
A proven mix:
-
1 part garden soil
-
2 parts coconut coir
The soil provides nutrients. The coir keeps the mix loose and well aerated.
At our Vancouver garden centre, coconut coir is preferred for recovery because it holds moisture without suffocating roots.
Mix thoroughly until the texture is even and crumbly.
Step 6: Repotting with Care and Restraint
Once soaking is complete:
-
Dab excess moisture from the base
-
Allow slight surface drying
When planting:
-
Spread roots gently
-
Avoid bending or crowding
-
Do not bury the base too deeply
Lightly firm the mix to stabilize the plant without compacting it.
At this stage, the plant will still look weak. That is normal. Recovery begins underground first.
Step 7: Gentle Nutrition Using Rice Water
Rice water is a mild, natural nutrient source rich in B vitamins and minerals.
Prepare it by:
-
Soaking 2 tablespoons of white rice in 500 ml water for 5 hours
-
Filtering out the clear liquid
-
Diluting with another 500 ml water
Use this diluted solution to water the newly repotted plant lightly. It supports recovery without shocking sensitive roots.
Remaining rice water can be used as a gentle foliar mist for orchids and other epiphytic plants.
What Happens Over Time: Patience Pays Off
Recovery is not immediate.
Within weeks:
-
Roots stabilize
-
Leaf loss slows
Within months:
-
New shoots emerge
-
Roots extend clean and white
-
Flower buds may begin forming
At our garden centre in Vancouver, we remind growers that plant recovery mirrors healing. Progress is quiet at first.
Why Natural Methods Work Better Long Term
Chemical shortcuts often stress already weakened plants.
Natural methods:
-
Restore microbial balance
-
Reduce resistance buildup
-
Support long-term resilience
Plants revived this way often become stronger than before.
FAQ: Reviving a Dying Anthurium
Can this method save other houseplants?
Yes. Many tropical houseplants respond well to this approach.
Is cinnamon safe for roots?
When diluted correctly, yes. It is widely used as a natural antifungal.
Should I fertilize during recovery?
No. Gentle nutrition only. Strong fertilizer can cause shock.
How long before I see new growth?
Typically 4–8 weeks, depending on conditions.
Final Thoughts: Recovery Is a Process, Not a Miracle
Plants do not recover overnight. But with patience, clean foundations, and gentle care, even severely stressed plants can return to life.
At any trusted Vancouver garden centre, we believe revival starts with respect for roots and restraint in treatment.
Sometimes the most powerful care comes from simplicity.
If you have a struggling houseplant and are unsure where to begin, visit a knowledgeable garden centre in Vancouver. A proper diagnosis can save a plant you thought was lost.
Healthy plants are not about luck.
They are about foundations.
Whether you’re shopping for plant lovers, hunting for meaningful plants, or simply looking to add a touch of green to your own holiday décor, DH Garden Centre has everything you need for a joyful, vibrant, and beautifully green Christmas.
Visit DH Garden Centre today: where the holidays grow brighter, one plant at a time.